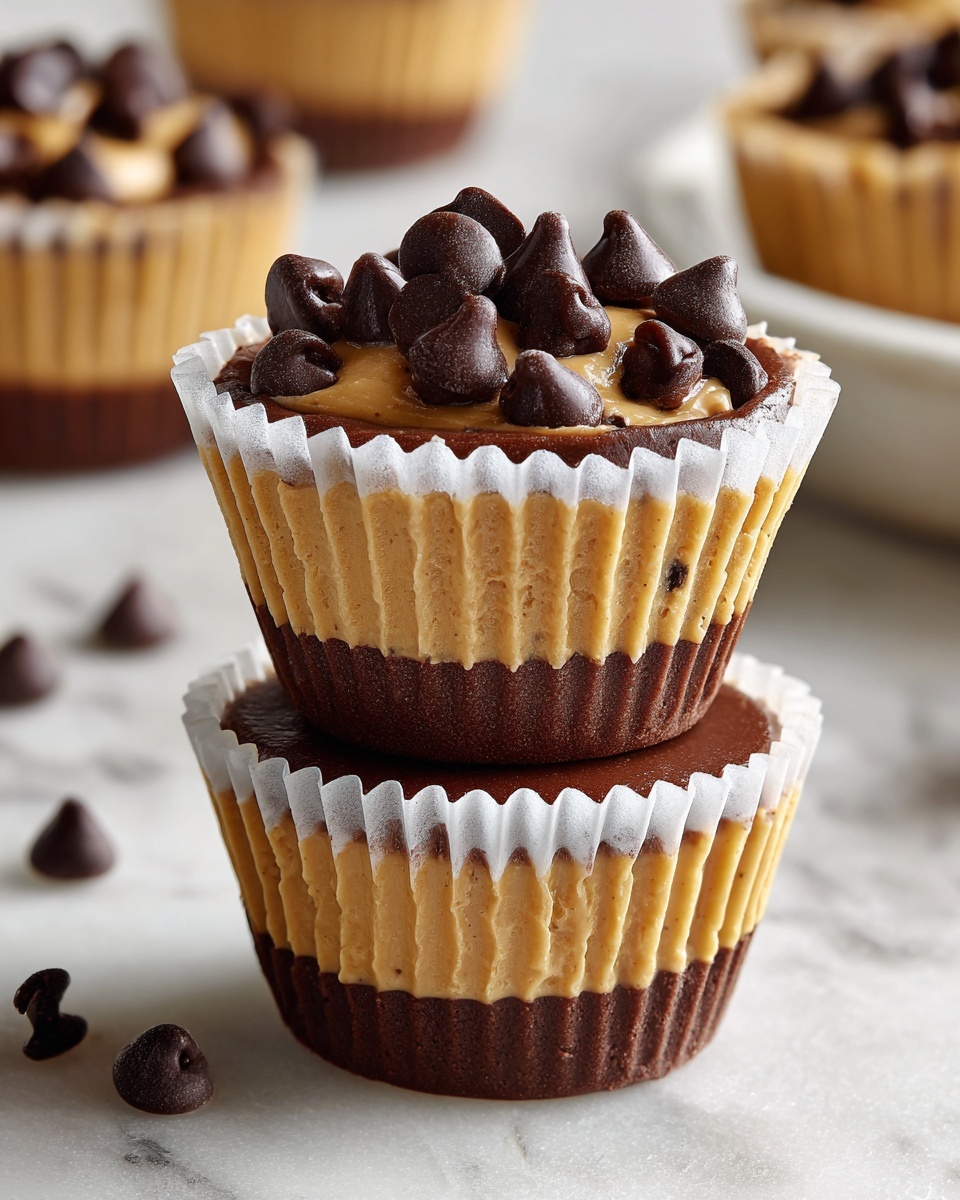
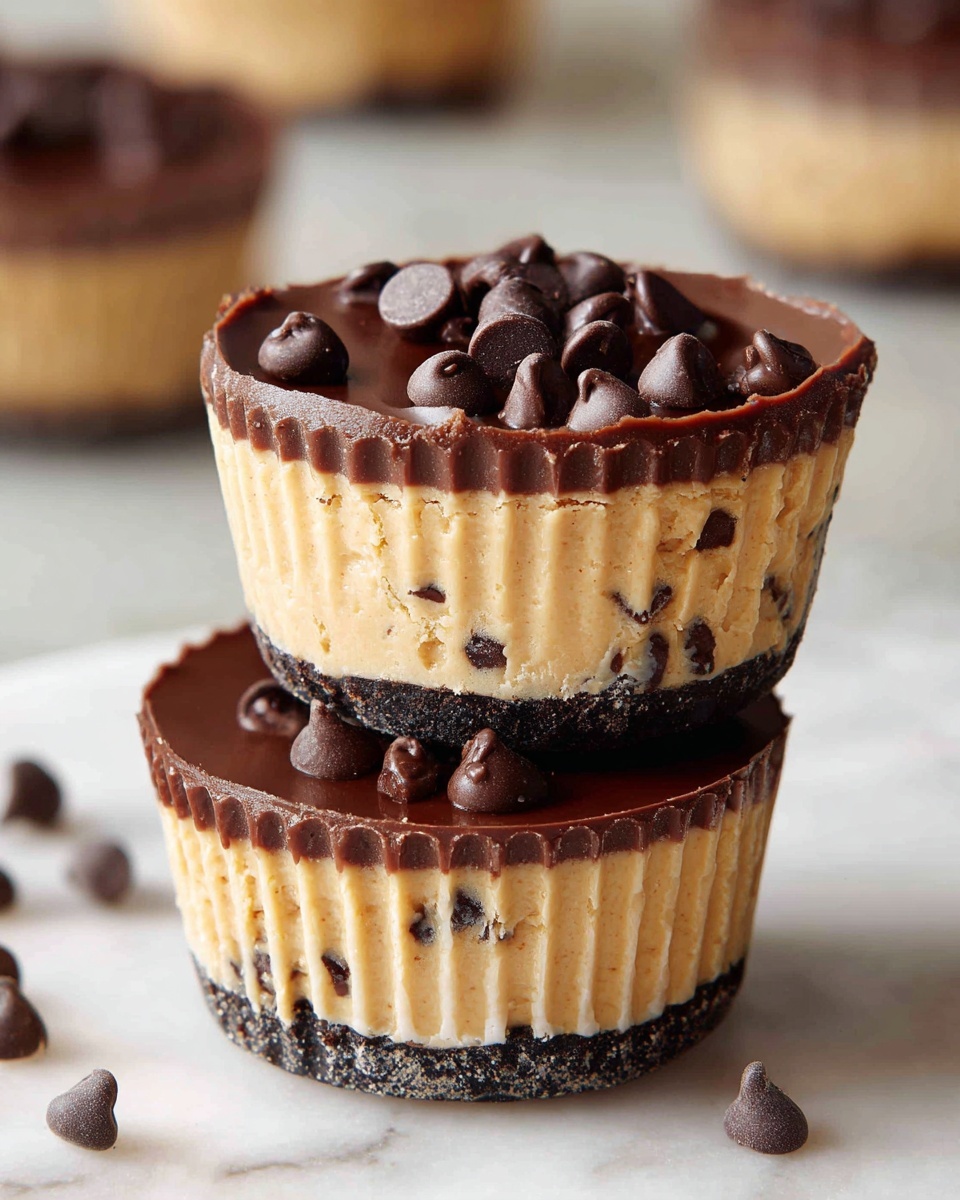
If you love the irresistible combination of creamy peanut butter and melty chocolate chips, you are in for a real treat with this Peanut Butter Chocolate Chip Cookie Cups Recipe. These delightful cookie cups bring the best of both worlds together in a perfectly portioned, crunchy-on-the-outside yet soft-on-the-inside bite, guaranteed to satisfy any sweet tooth. Whether you’re baking for a special occasion or a simple midweek indulgence, these cookie cups are sure to become a favorite with their rich flavors and charming presentation.
Ingredients You’ll Need
Gathering the right ingredients for this Peanut Butter Chocolate Chip Cookie Cups Recipe couldn’t be simpler, but each one plays a crucial role in creating those perfect textures and flavors. From the creaminess of peanut butter to the richness of brown sugar, every component is essential to craft the perfect cookie cup.
- 1 cup creamy peanut butter: Provides the irresistible nutty base flavor and moist texture.
- 1/2 cup unsalted butter, softened: Adds richness and helps bind all ingredients together smoothly.
- 1 cup brown sugar, packed: Infuses the cookie cups with a deep caramel sweetness and chewy texture.
- 1/2 cup granulated sugar: Balances the sweetness and contributes to a slight crispness on the edges.
- 2 large eggs: Act as binders and keep the cookie cups soft and tender.
- 1 teaspoon vanilla extract: Enhances all the flavors with a subtle aromatic note.
- 2 1/2 cups all-purpose flour: Forms the structure to hold the cookie cups together.
- 1 teaspoon baking soda: Helps the cookie cups rise just right and creates a light texture.
- 1/2 teaspoon salt: Balances the sweetness and elevates all the flavors.
- 1 cup semi-sweet chocolate chips: Melt into gooey pockets of chocolate goodness.
- 1/4 cup powdered sugar (optional): For a pretty dusting that adds a festive touch and a bit of extra sweetness.
How to Make Peanut Butter Chocolate Chip Cookie Cups Recipe
Step 1: Preheat the oven and prep your muffin tin
Start by heating your oven to 350°F (175°C) so it’s ready for baking. Meanwhile, grease your 12-cup muffin tin or line it with paper liners to make sure the cookie cups pop out easily once baked.
Step 2: Prepare the dough
In a large bowl, beat together the creamy peanut butter, softened butter, brown sugar, and granulated sugar. Whip until the mixture is creamy and smooth—that’s your base for rich flavor and tender texture. Next, add eggs one by one, beating well after each to make sure everything is perfectly combined. Finish this step by stirring in the vanilla extract for that lovely extra depth of flavor.
Step 3: Mix the dry ingredients
In a separate bowl, whisk the all-purpose flour, baking soda, and salt. This ensures your leavening agent and seasonings are evenly distributed. Gradually add this dry mixture into your wet ingredients, blending well but gently, until you have a cohesive dough that’s ready for molding.
Step 4: Form the cookie cups
Scoop about 1 tablespoon of dough into each muffin cup. Use your fingers or the back of a spoon to gently press down in the center, creating a small well that will hold the chocolaty goodness in the next step. This shaping is the key to creating those iconic cookie cups that look as delightful as they taste.
Step 5: Add the chocolate chips
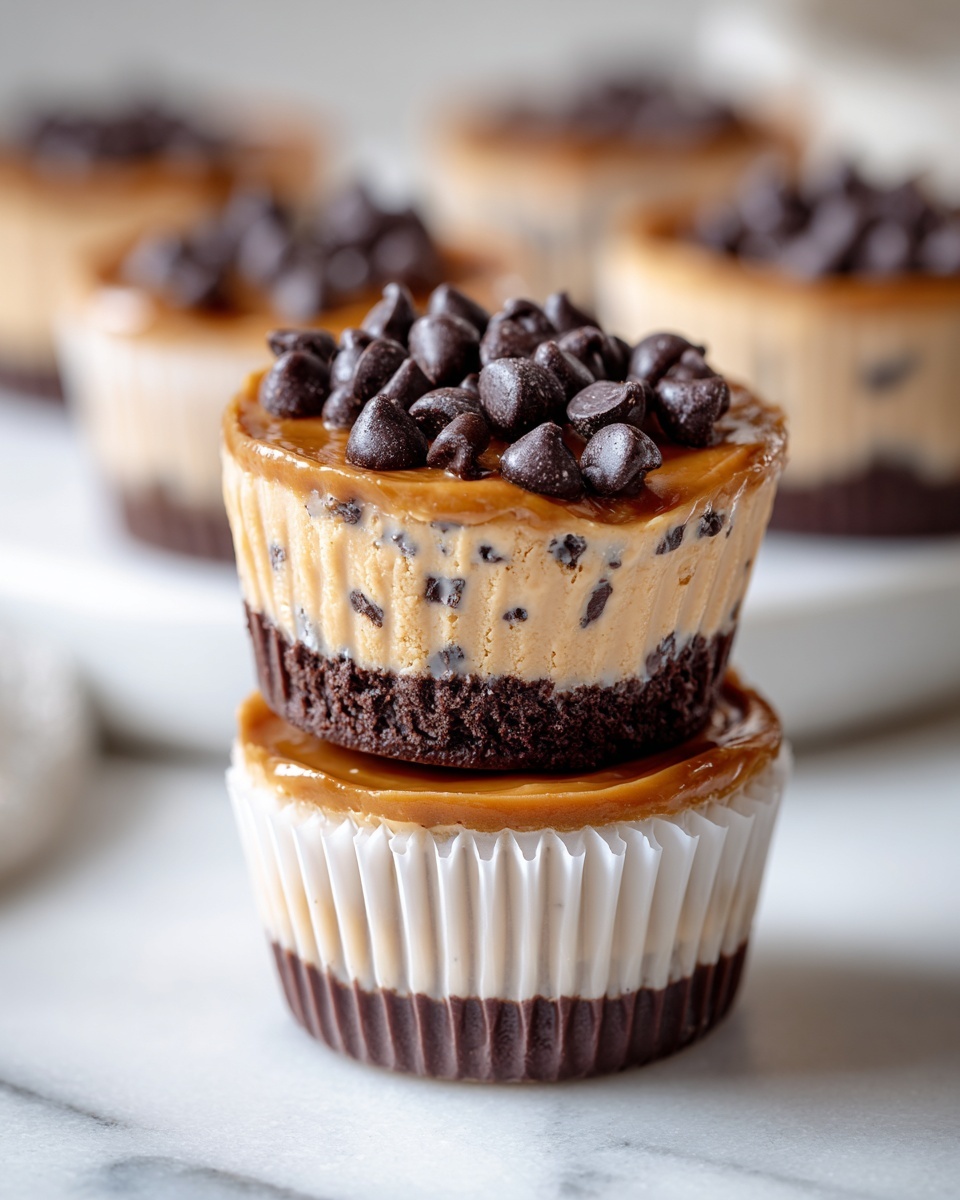
Fill each indent you created with about 1 tablespoon of semi-sweet chocolate chips. These will melt while baking, making a luscious chocolate-filled center that makes these cookie cups so irresistible.
Step 6: Bake and cool
Bake the cookie cups for 12 to 15 minutes, or until the edges are golden brown and the cups have set. Don’t worry if the centers look a touch soft right out of the oven; they will firm up as they cool. Allow the cookie cups to rest in the tin for 5 minutes before transferring them to a wire rack to cool completely.
How to Serve Peanut Butter Chocolate Chip Cookie Cups Recipe
Garnishes
Dusting a little powdered sugar over the cooled cookie cups instantly elevates their appearance, making them look festive and inviting. You can also drizzle a bit of melted chocolate or even a swirl of peanut butter on top for extra flair and flavor.
Side Dishes
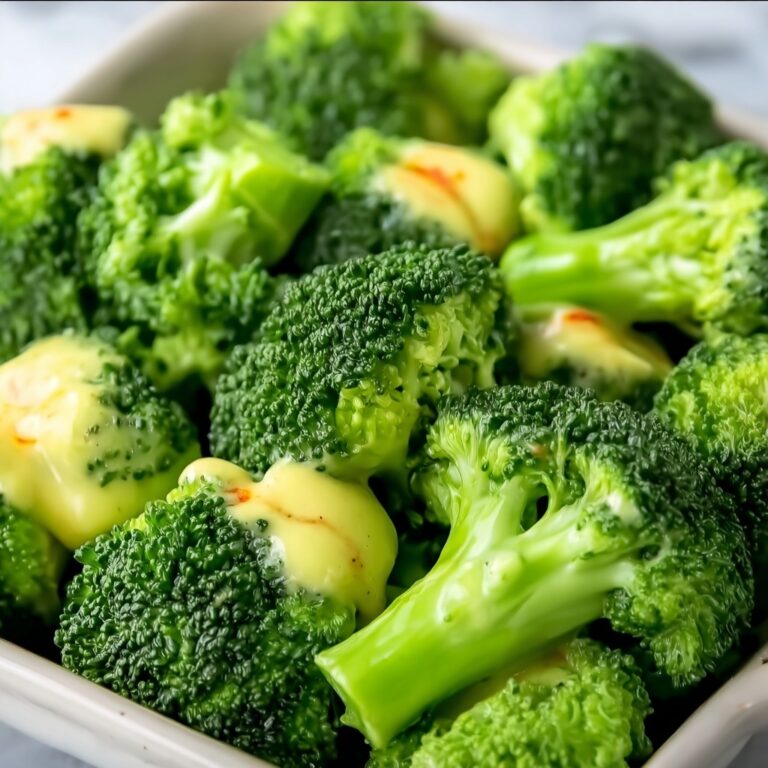
These cookie cups pair wonderfully with a tall glass of cold milk or a creamy vanilla ice cream scoop. If you want to indulge, enjoy them alongside a warm cup of coffee or hot chocolate for the coziest dessert experience.
Creative Ways to Present
Serve these Peanut Butter Chocolate Chip Cookie Cups Recipe treats in cute paper liners or arrange them on a decorative platter with fresh berries for a vibrant contrast. You can transform them into mini dessert sandwiches by sandwiching a dollop of whipped cream or frosting between two cookie cups.
Make Ahead and Storage
Storing Leftovers
Keep any leftover cookie cups in an airtight container at room temperature for up to 3 days to maintain their softness and flavor. For longer storage, the freezer is your best friend.
Freezing
Wrap each cookie cup individually in plastic wrap and place them in a freezer-safe container or bag. Frozen cookie cups will stay delicious for up to two months. When you’re ready for a treat, simply thaw at room temperature.
Reheating
Warm up frozen or refrigerated cookie cups in a microwave for about 15-20 seconds. This brings back the gooey, melty chocolate and soft, chewy texture that makes this Peanut Butter Chocolate Chip Cookie Cups Recipe so amazing.
FAQs
Can I use crunchy peanut butter instead of creamy?
Absolutely! Using crunchy peanut butter adds a pleasant texture contrast, making the cookie cups even more interesting with little peanut bits scattered throughout. Just be sure to mix thoroughly.
What if I don’t have a muffin tin?
If you lack a muffin tin, you can shape the dough into small rounds on a baking sheet and create the indent with a spoon or your finger to hold the chocolate chips. Baking times may vary slightly, so keep an eye on them.
Can these cookie cups be made gluten-free?
Yes, by substituting the all-purpose flour with a gluten-free flour blend that’s designed for baking, you can enjoy these cookie cups without gluten. Just check your baking soda and other ingredients to ensure they’re gluten-free as well.
Is it okay to use milk chocolate instead of semi-sweet chips?
Definitely! Milk chocolate chips will create a sweeter, creamier chocolate center. The choice of chocolate really depends on your personal preference, but semi-sweet balances the flavors nicely.
How can I make the cookie cups chewier?
For chewier cookie cups, slightly underbake them by a minute or two and be careful not to overmix the dough. Brown sugar also contributes to chewiness, so don’t reduce its amount.
Final Thoughts
There’s something truly comforting and joyful about baking this Peanut Butter Chocolate Chip Cookie Cups Recipe. Each bite offers a perfect harmony of rich peanut butter and melty chocolate that’s sure to brighten your day. Once you try these, I’m confident they’ll become a beloved staple in your dessert lineup. So grab your ingredients, get your oven warming, and prepare to fall in love with this wonderful treat!
Print
Peanut Butter Chocolate Chip Cookie Cups Recipe
- Prep Time: 15 minutes
- Cook Time: 15 minutes
- Total Time: 30 minutes
- Yield: 12 servings
- Category: Dessert
- Method: Baking
- Cuisine: American
Description
These Peanut Butter Chocolate Chip Cookie Cups combine the rich, creamy flavor of peanut butter with the classic sweetness of chocolate chips in a fun, bite-sized treat. Perfectly baked in a muffin tin, these cookie cups have a soft center with slightly crisp edges, making them an irresistible snack or dessert for any occasion.
Ingredients
Wet Ingredients
- 1 cup creamy peanut butter
- 1/2 cup unsalted butter, softened
- 1 cup brown sugar, packed
- 1/2 cup granulated sugar
- 2 large eggs
- 1 teaspoon vanilla extract
Dry Ingredients
- 2 1/2 cups all-purpose flour
- 1 teaspoon baking soda
- 1/2 teaspoon salt
Add-ins
- 1 cup semi-sweet chocolate chips
- 1/4 cup powdered sugar (for dusting, optional)
Instructions
- Preheat the oven: Preheat your oven to 350°F (175°C). Grease a 12-cup muffin tin or line it with paper liners to prevent sticking.
- Prepare the dough: In a large bowl, beat together the creamy peanut butter, softened unsalted butter, brown sugar, and granulated sugar until the mixture is smooth and creamy. Add the eggs one at a time, beating thoroughly after each addition to ensure even incorporation. Stir in the vanilla extract for flavor.
- Mix the dry ingredients: In a separate bowl, whisk together the all-purpose flour, baking soda, and salt. Gradually add this dry mixture to the wet ingredients, stirring until just combined to form the cookie dough.
- Form the cookie cups: Using a tablespoon, scoop the dough into each prepared muffin cup. Press the dough gently in the center to create a small indent to hold the chocolate chips.
- Add the chocolate chips: Place about one tablespoon of semi-sweet chocolate chips into the indent of each cookie dough cup, distributing evenly among all muffin cups.
- Bake: Place the muffin tin in the preheated oven and bake for 12 to 15 minutes or until the edges turn a lovely golden brown and the cookie cups have set. The centers might appear soft, but they will firm up during cooling.
- Cool and serve: Let the cookie cups cool in the tin for about 5 minutes to set further, then transfer them to a wire rack to cool completely. If desired, dust the tops with powdered sugar before serving for a decorative touch and extra sweetness.
Notes
- If you prefer a nuttier texture, use chunky peanut butter instead of creamy.
- Make sure the butter is softened (but not melted) for easier mixing.
- Do not overbake to keep the centers soft and chewy.
- These cookie cups can be stored in an airtight container at room temperature for up to 3 days or refrigerated for up to a week.
- To reheat, warm them slightly in the microwave for a soft, gooey experience.
- For a gluten-free version, substitute all-purpose flour with a gluten-free baking blend.


