
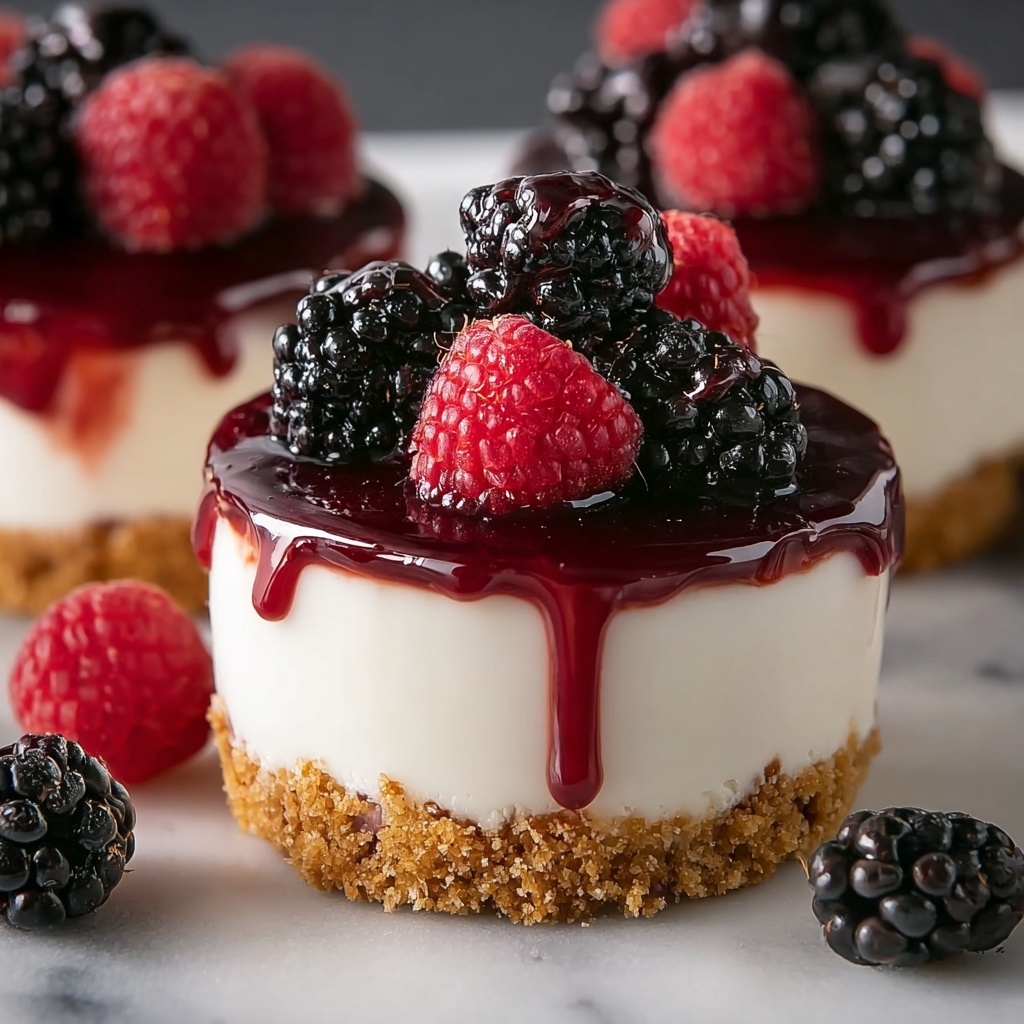
If you’re craving a delightful dessert that’s both charming and effortless, this No-Bake Mini Cheesecakes Recipe is an absolute winner. Perfectly creamy and sweet with a tender graham cracker crust, these little treats bring all the indulgence of cheesecake without the hassle of the oven. Whether you’re whipping them up for a casual get-together or a special celebration, these mini cheesecakes steal the show with their luscious texture and customizable toppings. Plus, their individual size makes them irresistibly cute and convenient to share with friends and family!
Ingredients You’ll Need
Gathering simple, quality ingredients is the secret to making these mini cheesecakes shine. Each component plays a crucial role in delivering the perfect balance of flavor and texture.
- Graham cracker crumbs (1 1/2 cups): The quintessential base that adds a subtle crunch and buttery warmth to the crust.
- Unsalted butter, melted (6 tablespoons): Binds the crust ingredients together and enhances richness without overpowering.
- Granulated sugar (2 tablespoons): Adds a touch of sweetness to bring out the crust’s flavor.
- Cream cheese, softened (16 ounces): The star ingredient that creates a smooth, creamy filling with that signature tang.
- Powdered sugar (1/2 cup): Sweetens the filling delicately while helping it maintain a velvety consistency.
- Vanilla extract (1 teaspoon): Infuses a warm, aromatic note that elevates the cheesecake’s flavor profile.
- Heavy whipping cream (1 cup): Whipped to fluffy perfection, it lightens the filling for a wonderfully airy bite.
- Optional fresh berries or fruit topping: Adds a fresh pop of color and tartness that beautifully complements the creamy filling.
How to Make No-Bake Mini Cheesecakes Recipe
Step 1: Prepare the Crust
Start by combining the graham cracker crumbs, melted butter, and granulated sugar in a medium bowl. Mix until the crumbs are evenly coated and start to clump together. This combination ensures your crust will be both flavorful and hold its shape. Press about 2 tablespoons of this mixture firmly into the bottom of each cupcake liner or mini cheesecake pan well. Firm pressure helps create a solid base that won’t crumble apart when you serve your mini cheesecakes.
Step 2: Whip the Cream Cheese Mixture
In a large bowl, beat the softened cream cheese until it becomes luxuriously smooth and free of lumps. Next, add the powdered sugar and vanilla extract. Continue beating until the mixture is evenly blended and creamy. This step is key to achieving that silky texture every cheesecake lover dreams of.
Step 3: Fold in the Whipped Cream
In a separate bowl, whip the heavy cream until stiff peaks form—this means the cream holds shape when you lift the whisk. Gently fold the whipped cream into the cream cheese mixture using a spatula. This lightens the filling, giving it a fluffy, melt-in-your-mouth feel. Be careful not to overmix; folding preserves the airiness of your filling.
Step 4: Assemble and Chill
Spoon or pipe the creamy filling evenly over the prepared crusts, smoothing the tops with a spatula for a clean finish. Cover the pan with plastic wrap and refrigerate for at least 4 hours—or overnight if you have the patience. This chilling step allows the cheesecakes to set perfectly, achieving that quintessential firmness you expect without baking.
Step 5: Serve with Your Favorite Toppings
Carefully remove the mini cheesecakes from the pan and add your choice of fresh berries, fruit, or other toppings just before serving. This keeps them looking fresh and lets each person customize their dessert experience.
How to Serve No-Bake Mini Cheesecakes Recipe
Garnishes
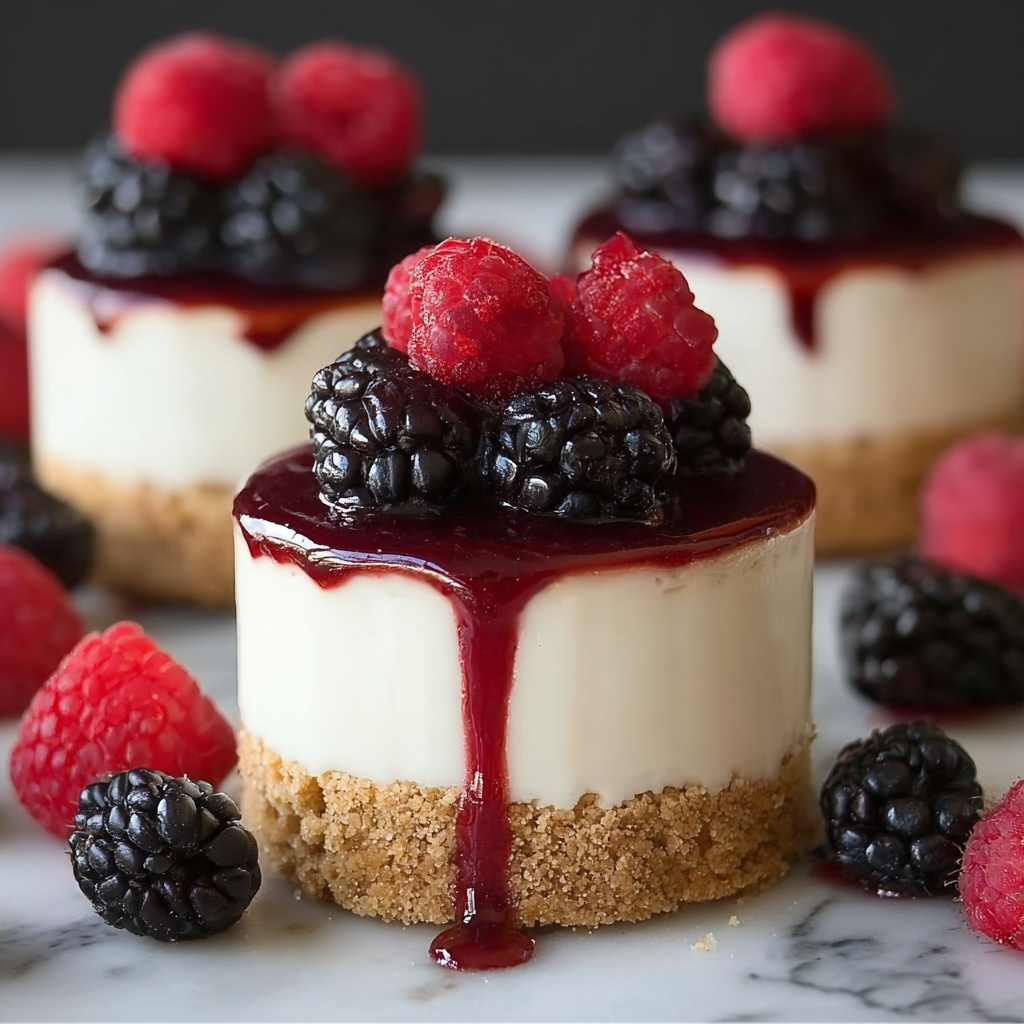
The beauty of these mini cheesecakes lies in their versatility. Fresh berries like strawberries, blueberries, or raspberries add vibrant color and a tart contrast to the rich filling. For a touch of elegance, a drizzle of caramel or chocolate sauce can heighten the indulgence. A sprinkle of chopped nuts or a mint leaf also adds texture and visual appeal.
Side Dishes
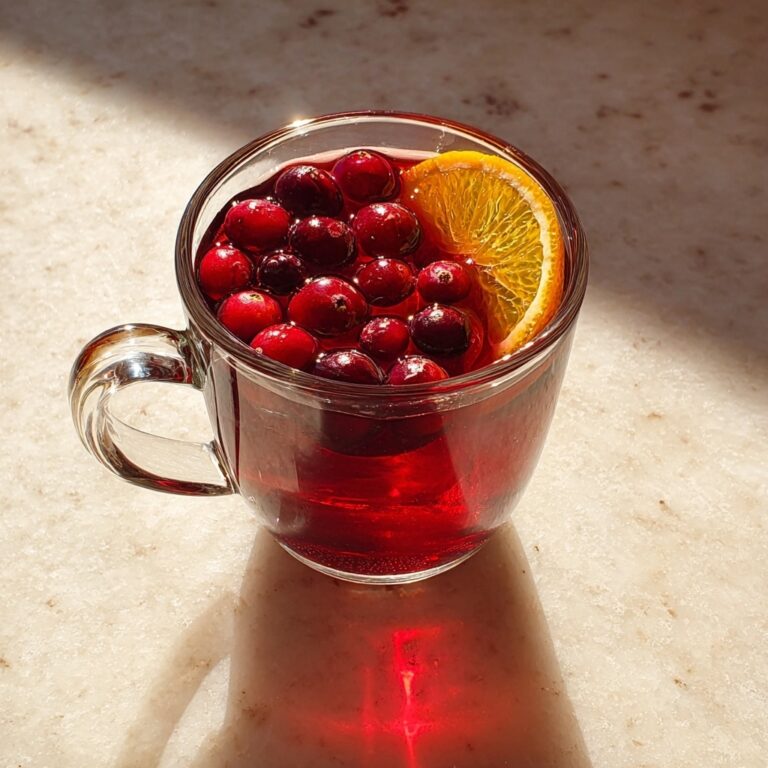
These mini cheesecakes pair wonderfully with light accompaniments such as a crisp glass of sparkling wine or a refreshing fruit salad. For a comforting twist, serve alongside a warm cup of coffee or tea to balance the sweetness, making for a well-rounded dessert experience.
Creative Ways to Present
Elevate your presentation by serving them in decorative cupcake liners or on a tiered dessert stand for a party-ready display. You can also create a dessert platter combining different toppings and sauces, allowing guests to mix and match. For a fun twist, place them in mini mason jars or edible cookie cups to impress your friends.
Make Ahead and Storage
Storing Leftovers
Store any leftover mini cheesecakes in an airtight container in the refrigerator. They’ll keep their fresh taste and creamy texture for up to 3 days, making them perfect for prepping ahead or enjoying later.
Freezing
You can freeze these mini cheesecakes for longer storage. After assembling, freeze them in a single layer on a baking sheet until firm, then transfer to a freezer-safe container. They’ll keep well for up to one month. Thaw in the refrigerator overnight before serving to maintain their ideal texture.
Reheating
Since these are no-bake cheesecakes, reheating isn’t necessary or recommended as it affects their creamy consistency. Serve chilled for the best experience, straight from the fridge or after thawing if previously frozen.
FAQs
Can I use a different crust instead of graham crackers?
Absolutely! You can substitute graham cracker crumbs with crushed digestive biscuits, vanilla wafers, or even oreo crumbs for a chocolatey twist. Just make sure to adjust the sugar accordingly if your crumbs are already sweetened.
Do I have to use heavy whipping cream?
Heavy whipping cream is important to achieve that light, airy texture in the filling. Alternatives like whipped coconut cream can work for a dairy-free version, but they may slightly change the texture and flavor.
How long do these mini cheesecakes need to chill?
A minimum of 4 hours is essential for the filling to set well. For best results, chilling overnight will give you the firmest and creamiest mini cheesecakes.
Can I make this recipe vegan?
You can adapt this recipe using vegan cream cheese and a dairy-free whipped topping, such as coconut-based cream. Keep in mind texture and flavor might differ slightly, but it’s a delicious vegan-friendly option.
What are some fun flavors to add?
Try mixing lemon zest, pumpkin spice, or a swirl of chocolate ganache into the filling before chilling. You can also top the cheesecakes with caramel sauce, crushed candies, or toasted coconut for extra flair.
Final Thoughts
There’s something truly magical about a dessert that feels both fancy and easy, and this No-Bake Mini Cheesecakes Recipe nails that perfectly. It’s my go-to when I want to impress without stress and share a slice of creamy happiness with those I love. Give this recipe a try—you’ll find yourself coming back for seconds, and your friends will be begging you for the secret!
Print
No-Bake Mini Cheesecakes Recipe
- Prep Time: 20 minutes
- Cook Time: 0 minutes
- Total Time: 4 hours 20 minutes
- Yield: 12 mini cheesecakes
- Category: Dessert
- Method: No-Cook
- Cuisine: American
- Diet: Vegetarian
Description
These No-Bake Mini Cheesecakes are creamy, fluffy, and perfectly portioned individual desserts featuring a buttery graham cracker crust and a smooth cream cheese filling. Quick to assemble and requiring no baking, they chill to set beautifully and can be topped with fresh berries or your favorite fruit for a delightful treat.
Ingredients
Crust
- 1 1/2 cups graham cracker crumbs
- 6 tablespoons unsalted butter, melted
- 2 tablespoons granulated sugar
Filling
- 16 ounces cream cheese, softened
- 1/2 cup powdered sugar
- 1 teaspoon vanilla extract
- 1 cup heavy whipping cream
Toppings (Optional)
- Fresh berries or fruit topping
Instructions
- Prepare the crust: In a medium bowl, mix the graham cracker crumbs, melted butter, and granulated sugar until the mixture is thoroughly combined and resembles wet sand.
- Form the crust in pans: Press about 2 tablespoons of the crust mixture firmly into the bottoms of a lined muffin tin or mini cheesecake pan to create an even base.
- Make the cream cheese filling: In a large bowl, beat the softened cream cheese until smooth and creamy. Add the powdered sugar and vanilla extract, then continue beating until well incorporated and no lumps remain.
- Whip the cream: In a separate clean bowl, whip the heavy cream to stiff peaks using a mixer.
- Combine filling and whipped cream: Gently fold the whipped cream into the cream cheese mixture with a spatula, mixing carefully until smooth and fluffy, being careful not to deflate the air incorporated.
- Assemble the cheesecakes: Spoon or pipe the filling evenly over the prepared crusts in the muffin tin, smoothing the tops for a neat finish.
- Chill to set: Refrigerate the mini cheesecakes for at least 4 hours or until the filling is firmly set.
- Serve: Carefully remove the cheesecakes from the pan or liners, top with fresh berries or optional toppings just before serving, and enjoy.
Notes
- For easiest removal of mini cheesecakes, use paper liners in the muffin tin.
- Try flavoring the filling with lemon zest for a citrus twist.
- Top with chocolate ganache as an indulgent variant.
