
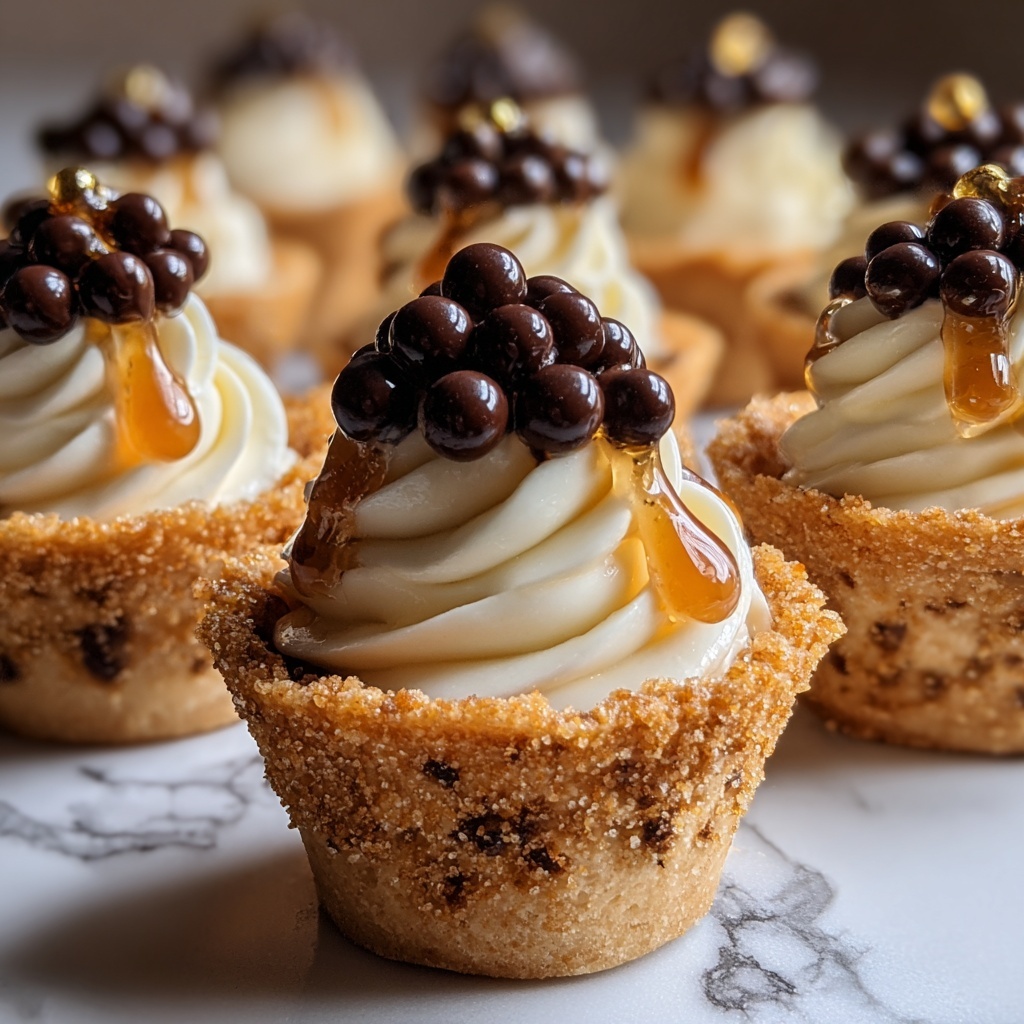
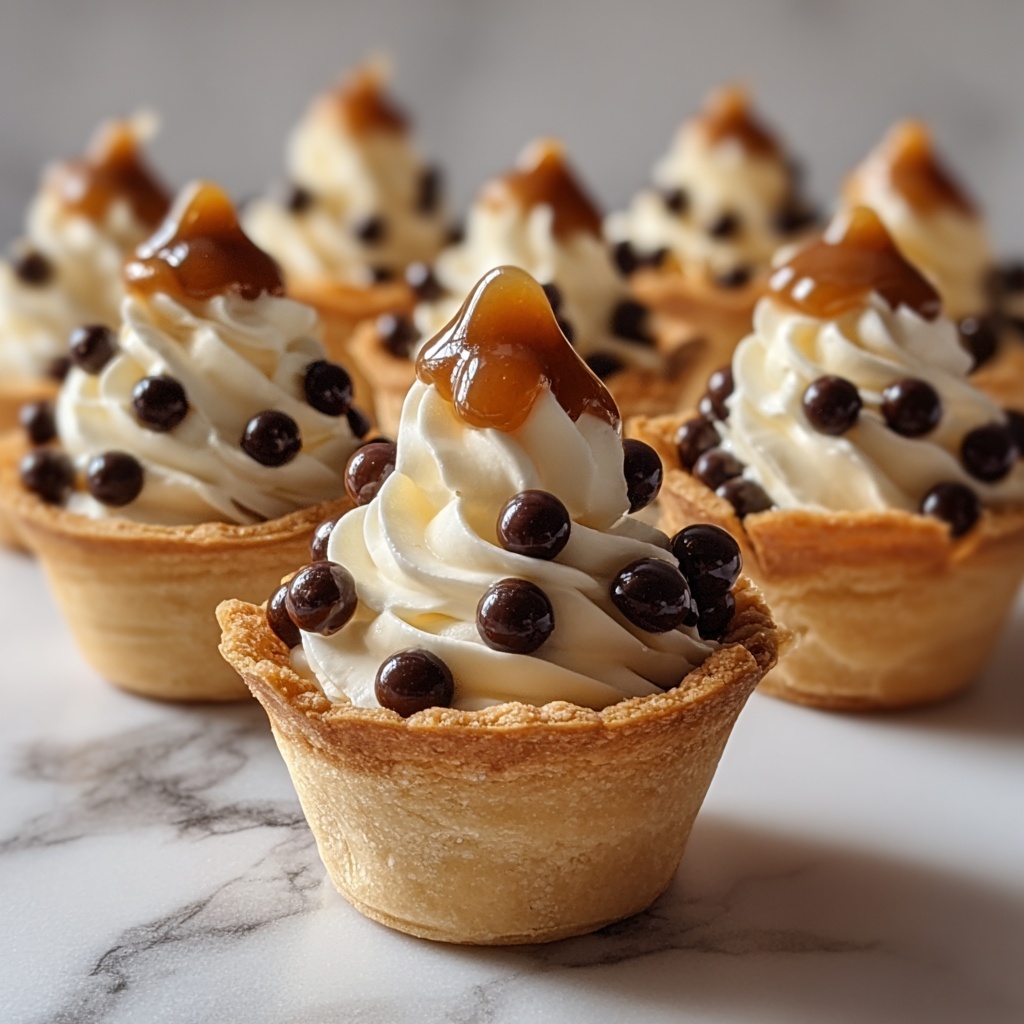
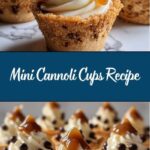
If you are searching for a delightful treat that combines creamy sweetness with a perfectly crisp shell, then this Mini Cannoli Cups Recipe is your new best friend in the kitchen. These bite-sized delights capture all the charm and flavor of traditional cannoli but in a quick, easy, and utterly irresistible cup form. Creamy ricotta filling, a hint of citrus zest, and the crunch of cinnamon-sugar crusts make each mini cup a showstopper for any occasion, from casual get-togethers to elegant dinners.
Ingredients You’ll Need
Getting started with this Mini Cannoli Cups Recipe is a breeze thanks to simple but carefully selected ingredients that work harmoniously to create a textured, flavorful dessert. Each component plays its part in lending richness, sweetness, or that special crunchy finish.
- Whole-milk ricotta cheese: The star of the filling, it offers a smooth, creamy base with a mild tang.
- Powdered sugar: Provides delicate sweetness without graininess, perfect for a light texture.
- Granulated sugar: Adds subtle sweetness and balances the flavors in the filling.
- Orange or lemon zest: Introduces a fresh citrus note that brightens the ricotta filling.
- Vanilla extract: Brings warmth and depth to the creamy filling.
- Refrigerated pie crusts: Convenient and flaky, they form the crisp cups that hold the filling.
- Turbinado sugar: A coarse raw sugar that caramelizes beautifully for a crunchy topping.
- Ground cinnamon: Adds a warm, aromatic spice that complements the sweetness perfectly.
- Miniature semisweet chocolate chips or finely chopped pistachios: Optional toppings that add texture and a pop of flavor.
- Additional powdered sugar: For dusting and presentation to give a lovely finishing touch.
How to Make Mini Cannoli Cups Recipe
Step 1: Prepare the Cannoli Cups
Start by preheating your oven to 375°F (190°C) and lightly greasing a mini muffin tin. This will ensure your cups bake evenly and lift easily from the pan once baked.
Step 2: Cut Out the Dough Circles
Roll out your refrigerated pie crusts on a flat surface until they’re smooth and easy to work with. Using a round cutter about 3 inches wide, cut out circles that will perfectly fit into your mini muffin tin, forming the base of your cups.
Step 3: Form the Mini Cups
Carefully press each dough circle into the mini muffin tin cups, shaping them gently into a cup form. Use a fork to prick the bottoms to prevent the dough from puffing up during baking — this keeps your cups nice and flat for filling later.
Step 4: Add Cinnamon Sugar for Extra Flavor
Mix the turbinado sugar with ground cinnamon in a small bowl and sprinkle this fragrant blend over each dough cup. This step adds a delightful crunch and warm spice note that enhances every bite.
Step 5: Bake Until Golden and Crisp
Bake your cups for 8 to 10 minutes or until they’re a beautiful golden brown and perfectly crisp. Once baked, remove from the oven and let them cool completely while still in the tin, so they hold their shape.
Step 6: Prepare the Creamy Ricotta Filling
In a medium bowl, combine the ricotta, powdered sugar, granulated sugar, citrus zest, and vanilla extract. Stir until everything is completely smooth. If the mixture feels too thick for easy filling, add a bit of heavy cream to achieve a luscious, spreadable consistency.
Step 7: Assemble Your Mini Cannoli Cups
Once cooled, use a spoon or a pastry bag to fill each crisp shell with the smooth ricotta mixture generously but neatly. Don’t rush this step — presentation counts, and these little cups are a feast for the eyes as well as the palate.
Step 8: Garnish and Finish
Sprinkle miniature chocolate chips or chopped pistachios over the filled cups for a delightful textural contrast and added flavor. Finish with a dusting of powdered sugar for that classic, snowy look that tells everyone these are special treats.
Step 9: Serve and Enjoy
Your Mini Cannoli Cups Recipe is ready to impress! Serve immediately for the best crunch, or refrigerate for up to two hours if you prefer a slightly chilled filling that’s set and firm.
How to Serve Mini Cannoli Cups Recipe
Garnishes
The right garnishes not only add visual appeal but also enhance flavors and textures. Try finely chopped pistachios for a nutty crunch or semi-sweet chocolate chips to give those creamy bites a lovely burst of rich sweetness. A sprinkle of powdered sugar adds an elegant finishing touch that’s hard to resist.
Side Dishes
These mini treats shine as a standalone dessert but can also be paired beautifully with a cup of espresso, a fresh berry salad, or even a scoop of vanilla gelato for a truly indulgent experience. The lightness of the ricotta cups pairs well with fruit and coffee-flavored accompaniments.
Creative Ways to Present
Serve your Mini Cannoli Cups Recipe on a beautiful tiered dessert stand or a rustic wooden platter for a charming touch. Add edible flowers or fresh mint leaves around the cups for a pop of color. For parties, place them in mini cupcake liners to keep them tidy yet festive.
Make Ahead and Storage
Storing Leftovers
If you happen to have leftovers, keep the unfilled cannoli cups in an airtight container at room temperature for up to two days to maintain their crispness. Store the ricotta filling separately in the refrigerator and fill the cups just before serving to avoid soggy shells.
Freezing
You can freeze the baked cannoli cups by placing them in a single layer on a baking sheet until solid, then transferring them to a freezer-safe bag for up to one month. Thaw at room temperature before filling to ensure they remain crisp. The filling is best made fresh but can be frozen if needed.
Reheating
To refresh the crispness of frozen or stored cannoli cups, gently warm them in a preheated oven at 300°F (150°C) for 5 minutes. Avoid reheating filled cups as the moisture from the filling will soften the crust.
FAQs
Can I use part-skim ricotta instead of whole-milk ricotta?
Yes, part-skim ricotta can be used, but whole-milk ricotta provides a richer, creamier filling that closely mimics authentic cannoli. If you prefer a lighter option, part-skim works fine too.
How do I prevent the cannoli cups from becoming soggy?
The key is to fill the cups just before serving, so the crust stays crisp. Additionally, pricking the pie crust bottoms prevents puffing and helps maintain structure.
Can I make the filling ahead of time?
You can prepare the filling a day in advance and refrigerate it. Give it a good stir before filling the cups to keep the texture smooth and creamy.
Are there any alternatives to pie crust for the cups?
While pie crust is convenient and delicious, you can experiment with phyllo dough or prebaked tart shells for a different texture and flavor.
What is the best way to add a citrus zest?
Use a microplane or fine grater to zest only the colorful outer layer of the orange or lemon without reaching the bitter white pith. Fresh citrus zest adds a bright, aromatic element essential to this recipe.
Final Thoughts
There’s something truly joyful about making and sharing desserts as charming and delicious as this Mini Cannoli Cups Recipe. It’s an easy way to bring the classic flavors of cannoli to your table with minimal fuss but maximum wow factor. Whether for a holiday treat or an everyday indulgence, these mini cups are sure to delight everyone lucky enough to try them. Give this recipe a go—you’ll love watching these beautifully crisp cups disappear bite after bite.
Print
Mini Cannoli Cups Recipe
- Prep Time: 20 minutes
- Cook Time: 10 minutes
- Total Time: 30 minutes
- Yield: 24 mini cannoli cups
- Category: Dessert
- Method: Baking
- Cuisine: Italian
Description
These Mini Cannoli Cups offer a delightful twist on traditional cannoli, featuring crispy pie crust cups filled with a sweet, creamy ricotta mixture flavored with citrus zest and vanilla. Topped with chocolate chips or pistachios and dusted with powdered sugar, they make for an elegant and easy-to-prepare dessert perfect for gatherings and special occasions.
Ingredients
For the Cannoli Cups
- 1 box (2 count) refrigerated pie crusts, softened as directed on box
- 3 tablespoons turbinado sugar (raw sugar)
- 1 teaspoon ground cinnamon
For the Filling
- 1 container (15 oz) whole-milk ricotta cheese
- 1/2 cup powdered sugar
- 2 tablespoons granulated sugar
- 1 teaspoon finely grated orange or lemon zest
- 1/2 teaspoon vanilla extract
- 1–2 tablespoons heavy cream (optional, for consistency)
For Garnish
- 1/4 cup miniature semisweet chocolate chips or finely chopped pistachios
- Additional powdered sugar (for dusting)
Instructions
- Prepare the Cannoli Cups: Preheat the oven to 375°F (190°C). Lightly grease a mini muffin tin to prevent sticking.
- Cut Dough Circles: Roll out the refrigerated pie crusts on a flat surface. Using a round cutter approximately 3 inches in diameter, cut out dough circles.
- Form Cups: Gently press each dough circle into the mini muffin tin cavities, shaping them into small cups. Prick the bottoms with a fork to avoid puffing during baking.
- Add Cinnamon Sugar: In a small bowl, mix the turbinado sugar with ground cinnamon. Sprinkle this mixture evenly over the dough cups for extra flavor and a slight crunch.
- Bake the Cups: Bake the cups in the preheated oven for 8-10 minutes or until they turn golden brown and crisp. Remove from oven and allow them to cool completely in the tin.
- Prepare the Filling: In a medium bowl, combine the whole-milk ricotta cheese, powdered sugar, granulated sugar, grated orange or lemon zest, and vanilla extract.
- Mix Filling Smoothly: Stir the filling mixture until smooth and well combined. If it seems too thick for piping or spooning, add 1 to 2 tablespoons of heavy cream to reach the desired creamy consistency.
- Fill Cannoli Cups: Once the cups have cooled, fill each one with the ricotta mixture using a spoon or pastry bag for neatness.
- Garnish: Sprinkle each filled cup with miniature semisweet chocolate chips or finely chopped pistachios as a tasty garnish.
- Dust with Powdered Sugar: Lightly dust the assembled mini cannoli cups with additional powdered sugar for an elegant finish.
- Serve and Store: Serve the mini cannoli cups immediately or refrigerate them for up to 2 hours before serving to allow the filling to set and the flavors to meld.
Notes
- Ensure the pie crusts are properly softened before rolling to prevent cracking.
- Pricking the dough bottoms is crucial to keep the cups from puffing up during baking.
- Use freshly grated citrus zest for the best aroma and flavor.
- For a thinner filling, add the heavy cream gradually until you reach the desired texture.
- If not serving immediately, cover and refrigerate the assembled cups to maintain freshness.
- These cannoli cups are best enjoyed within 2 hours of filling to keep the crust crisp.