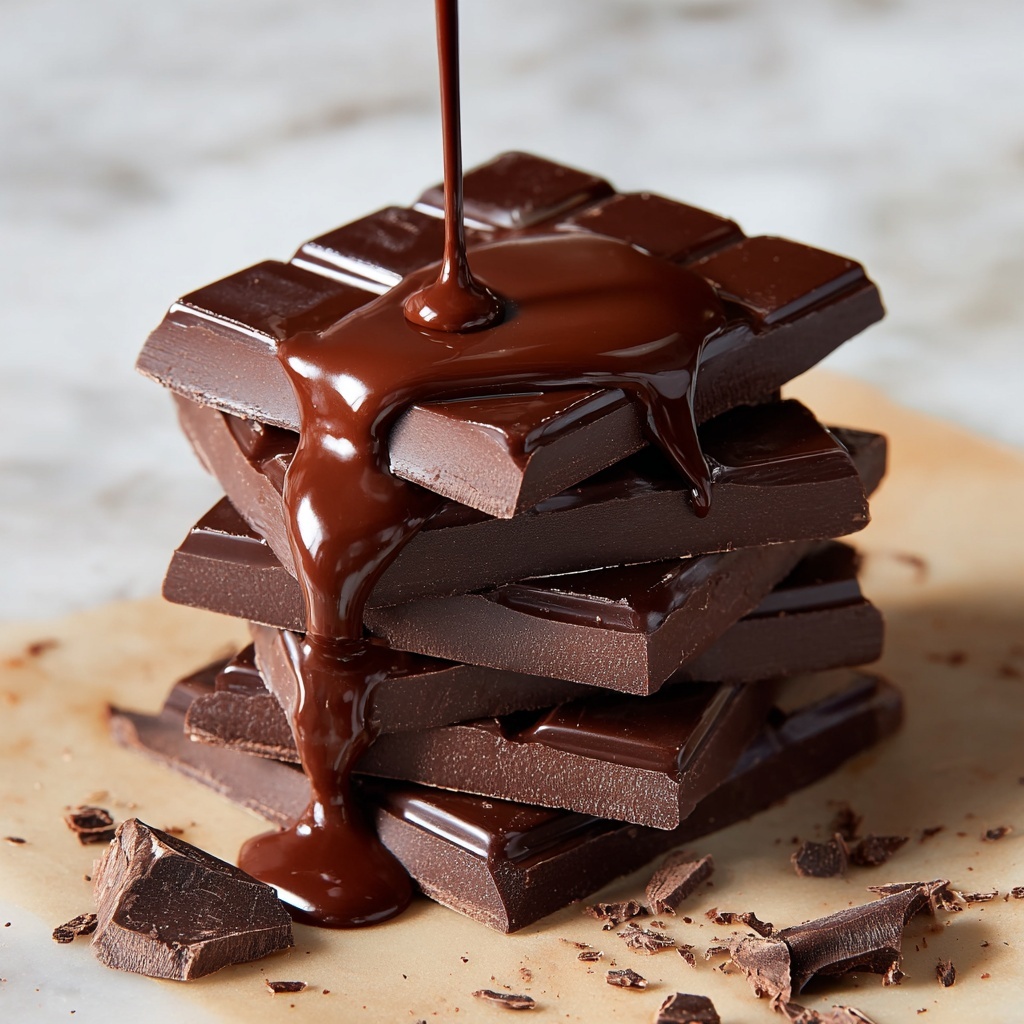
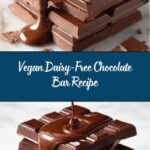
If you have a sweet tooth but want to keep things wholesome and kind, this Vegan Dairy-Free Chocolate Bar Recipe is an absolute game changer. Imagine rich, creamy chocolate that melts perfectly, yet completely free from dairy and any animal products. It’s made from simple, natural ingredients that come together in a way that will make your taste buds dance and your heart smile. Whether you’re gifting it or indulging yourself, this recipe brings a luscious, velvety chocolate experience that anyone can enjoy without compromise.
Ingredients You’ll Need
Getting the ingredients right is key to making this chocolate bar irresistibly smooth and flavorful. Each component plays a crucial role, from the deep cocoa notes to the subtle sweetness and creamy texture.
- 6.3 oz cacao liquor (cacao paste): This is the heart of the chocolate, providing the intense cacao flavor that makes the chocolate authentically rich and robust.
- 8 oz cacao butter: Essential for that creamy, melt-in-your-mouth feel, cacao butter adds smoothness and a silky texture to your bars.
- 1 cup dairy-free coconut milk powder: This lends a gentle creaminess while keeping the bar completely vegan and dairy-free.
- 1 cup powdered sugar (confectioner’s/icing sugar): It sweetens without graininess, blending perfectly into the chocolate for a velvety finish. You can substitute with finely ground coconut sugar if preferred.
- 1 vanilla pod: Adds a warm, aromatic sweetness that enhances every bite.
- ½ teaspoon Himalayan pink salt: Balances the sweetness and deepens the chocolate’s flavor complexity.
How to Make Vegan Dairy-Free Chocolate Bar Recipe
Step 1: Melt and Combine Your Bases
Start by gently melting the cacao butter and cacao liquor together over a double boiler, stirring frequently to ensure an even melt without burn spots. This blend forms the luscious base of your chocolate bars, so patience here is key for a smooth result that will set flawlessly.
Step 2: Incorporate Coconut Milk Powder and Sugar
Once melted, remove from heat and whisk in the dairy-free coconut milk powder and powdered sugar. This step is what transforms your base into the creamy, sweet heart of the bar. Make sure the powder fully dissolves to keep the texture silky and smooth—lumps are definitely not your friend here.
Step 3: Infuse with Vanilla and Salt
Slice open your vanilla pod and scrape the seeds right into the chocolate mixture. Adding the Himalayan pink salt at this stage intensifies the chocolate notes while elevating the overall depth of flavor. Whisk well so these little touches are evenly spread throughout the mixture.
Step 4: Pour and Set
Pour the mixture into bar molds or a lined tray, tapping gently to release any air bubbles that may have sneaked in. Refrigerate until fully firm, which usually takes a couple of hours. Once set, your vegan dairy-free chocolate bars are ready to be unwrapped and enjoyed!
How to Serve Vegan Dairy-Free Chocolate Bar Recipe
Garnishes
Feel free to embellish your chocolate bars with a sprinkle of toasted coconut flakes, crushed nuts, or even a dash of chili powder for an exciting twist. These simple garnishes not only add texture but can turn each bite into a mini adventure.
Side Dishes
Pair a slice of your homemade chocolate bar with fresh berries or a cup of almond milk latte for a comforting dessert or afternoon treat. The fruity brightness or creamy beverage complements the chocolate’s richness beautifully.
Creative Ways to Present
Wrap individual bars in parchment and tie with a colorful ribbon for beautiful homemade gifts. Alternatively, chop into chunks and sprinkle over dairy-free ice cream or vegan yogurt to bring an instant burst of chocolate delight.
Make Ahead and Storage
Storing Leftovers
Store your vegan dairy-free chocolate bars in an airtight container at room temperature if your kitchen stays cool, or in the fridge if it tends to get warm. Proper storage will keep them fresh for up to two weeks without losing their perfect texture.
Freezing
If you want to keep these treats even longer, freezing works like a charm. Wrap bars individually in plastic wrap and place in a freezer-safe container. When you’re ready to enjoy, just thaw at room temperature for about 20 minutes and they will melt just right on your tongue.
Reheating
Since this recipe doesn’t require cooking or baking, reheating isn’t necessary. However, if your bars become too firm in the fridge or freezer, simply allowing them to rest at room temperature will bring back that perfect softness.
FAQs
Can I substitute the cacao butter with something else?
Cacao butter is what gives vegan chocolate that creamy texture and subtle sweetness. While you could experiment with coconut oil, it might alter the flavor and cause the bars to be less stable at room temperature.
Is powdered sugar the only option for sweetening?
Powdered sugar dissolves best for a smooth texture, but finely ground coconut sugar can be a natural alternative. Just make sure it’s very finely powdered to avoid gritty spots.
Where can I find dairy-free coconut milk powder?
You’ll usually find coconut milk powder in Asian specialty stores or online. It’s a fantastic ingredient to keep on hand for vegan baking and gives richness without any dairy.
Can I add nuts or dried fruit to the chocolate bars?
Absolutely! Fold in your favorite nuts or dried fruits before pouring into molds for added flavor and texture. Just be mindful of how they mix with the chocolate’s softness and melting point.
How long does it take for the chocolate to set?
Typically, chilling your chocolate bars for at least 2 hours in the fridge ensures they harden correctly. Rushing this process might affect the final snap and texture of the bar.
Final Thoughts
Making your own Vegan Dairy-Free Chocolate Bar Recipe is such a rewarding experience—you get to enjoy a decadent treat that’s pure, clean, and made exactly to your liking. It’s perfect for sharing with friends or sneaking a little sweet bliss whenever the craving strikes. Give this recipe a whirl; I promise, your taste buds will thank you!
Print
Vegan Dairy-Free Chocolate Bar Recipe
- Prep Time: 45 minutes
- Cook Time: 0 minutes
- Total Time: 45 minutes
- Yield: 15 servings (makes 5 large bars)
- Category: Dessert
- Method: No-Cook
- Cuisine: Vegan
- Diet: Vegan
Description
Delight in this rich and creamy Dairy Free Chocolate recipe that offers a vegan-friendly twist on classic milk chocolate. Made with cacao liquor, cacao butter, and dairy-free coconut milk powder, this recipe creates smooth, luscious bars that satisfy chocolate cravings without any dairy. Ideal for those seeking a plant-based, allergen-conscious sweet treat, it produces approximately five large chocolate bars perfect for sharing or gifting.
Ingredients
Chocolate Base
- 6.3 oz cacao liquor (cacao paste) or 1 ½ cups cacao nibs (see method 2)
- 8 oz cacao butter
Milk Substitute & Sweetener
- 1 cup dairy-free coconut milk powder (available at most Asian specialty shops)
- 1 cup powdered sugar (confectioner’s/icing sugar) or alternatively finely ground coconut sugar (see recipe notes)
Flavor Enhancers
- 1 vanilla pod
- ½ teaspoon Himalayan pink salt
Instructions
- Prepare the Cacao Liquor: If using cacao nibs, first grind them finely in a food processor or spice grinder until you obtain a smooth, paste-like consistency called cacao liquor. This step is essential to transform nibs into a usable base for the chocolate.
- Melt the Cacao Butter and Incorporate Ingredients: Gently melt the cacao butter over a double boiler or low heat to avoid burning. Remove from heat, then add the cacao liquor (or prepared nib paste), dairy-free coconut milk powder, powdered sugar, scraped vanilla seeds from the pod, and Himalayan pink salt. Stir thoroughly to combine into a smooth, glossy chocolate mixture.
- Temper the Chocolate: Optionally, temper the chocolate by cooling and reheating gently to stabilize its crystalline structure, which will provide a shiny finish and snap. This step can be done by spreading the mixture thinly and cooling until partially set, then gently warming again.
- Pour into Molds and Chill: Pour the chocolate mixture into silicone or plastic chocolate bar molds. Tap the molds gently to remove air bubbles and level the surface.
- Set the Chocolate: Refrigerate the molds for at least 2 hours or until the chocolate is fully set and firm to the touch.
- Unmold and Store: Carefully remove the chocolate bars from the molds and store them in a cool, dry place or refrigerate as desired. Enjoy as a delicious dairy-free treat or share with friends and family.
Notes
- Using finely ground coconut sugar instead of powdered sugar will give a deeper caramel-like flavor but may slightly alter texture.
- If you do not have a grinder for cacao nibs, purchasing pre-made cacao liquor is recommended for ease.
- Tempering chocolate is optional but improves texture and shelf-life.
- Store the finished chocolate bars in an airtight container to prevent moisture absorption.
- The vanilla pod can be replaced with 1 teaspoon of pure vanilla extract if unavailable.


