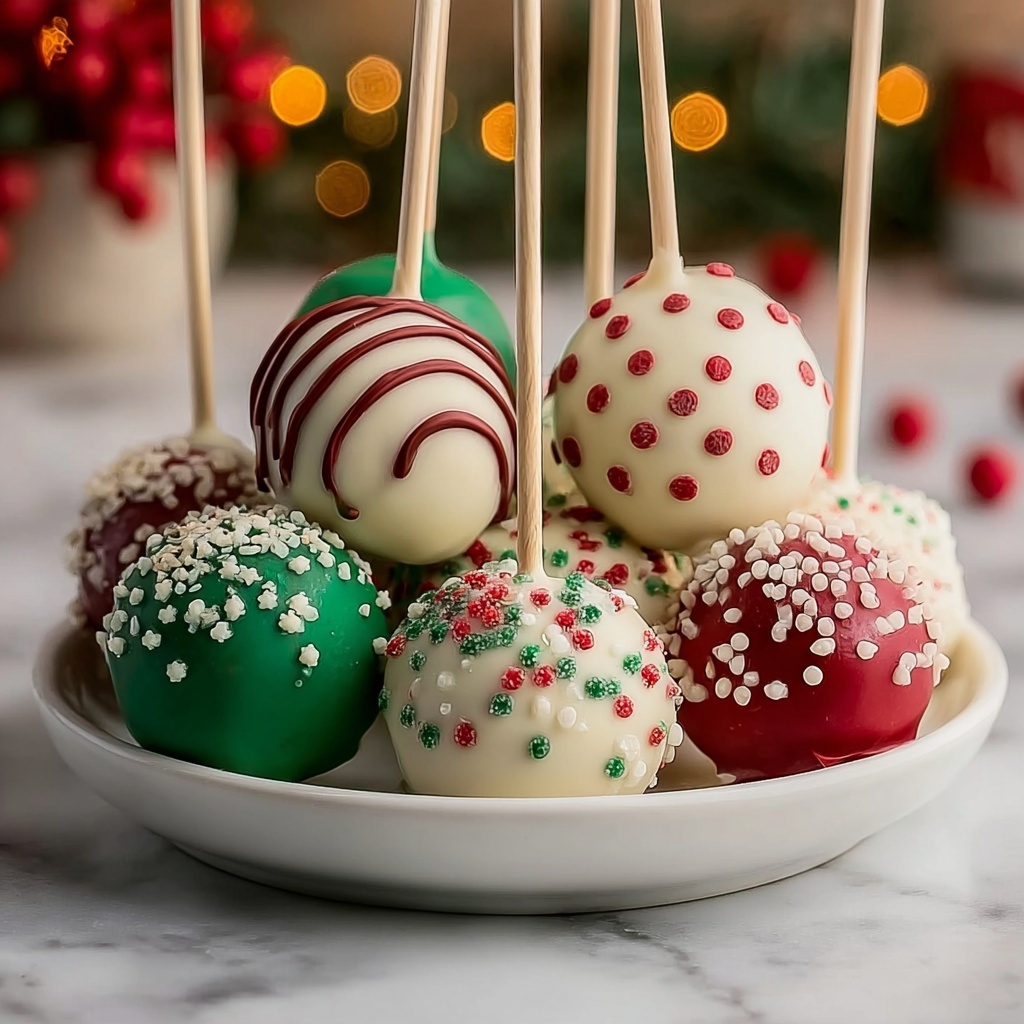
If you’re looking to bring a sprinkle of festive joy to your holiday celebrations, this Christmas Cake Pops Recipe is exactly what you need. These delightful little treats combine the best of moist, flavorful cake with the fun of bite-sized presentation, all coated in luscious melted chocolate and adorned with festive sprinkles. Whether you’re serving them at a family gathering, gifting them to friends, or just indulging your holiday sweet tooth, these cake pops offer a perfect blend of charm, flavor, and nostalgia in every bite.
Ingredients You’ll Need
The beauty of this Christmas Cake Pops Recipe is in its simplicity—the ingredients are everyday essentials, yet each one plays a crucial role in achieving the perfect flavor, texture, and appearance. From the cake base to the frosting that brings it all together, and the colorful coating to dazzle your guests, every ingredient counts.
- 1 box of vanilla or chocolate cake mix: The foundation of your cake pops, choose your favorite flavor or mix it up for a twist.
- Ingredients required for the cake mix: Usually eggs, water, and oil, these activate the mix and create that moist crumb.
- ½ cup (120g) frosting (vanilla or chocolate): Adds moisture and helps the cake crumbs bind together seamlessly.
- 12 oz (340g) white chocolate or candy melts (red, green, or white): This is your coating, and the festive colors make your pops holiday-ready!
- Assorted holiday sprinkles: The finishing touch that adds crunch and vibrant cheer.
- 20–24 lollipop sticks: Essential for turning these bites into charming cake pops.
How to Make Christmas Cake Pops Recipe
Step 1: Bake the Cake
Start by preparing the cake as directed on the box. Bake it in your chosen flavor until golden and cooked through. Once baked, allow the cake to cool completely—this is crucial because warm cake will make it tricky to form firm pops.
Step 2: Crumble the Cake
Break the cooled cake into fine crumbs using your hands or a fork. The finer the crumbs, the smoother your cake pops will be, making it easier to shape them without cracks.
Step 3: Mix in the Frosting
Add the frosting to the cake crumbs and stir until fully combined. The frosting acts like glue, turning the crumbs into a moldable dough-like mixture that holds its shape without being too sticky.
Step 4: Shape and Chill
Roll the mixture into evenly sized balls, about 1 to 1.5 inches in diameter. Place them on a baking tray lined with parchment paper and chill in the refrigerator for at least 2 hours. This chilling step helps the pops firm up so they don’t fall apart when dipped.
Step 5: Dip and Decorate
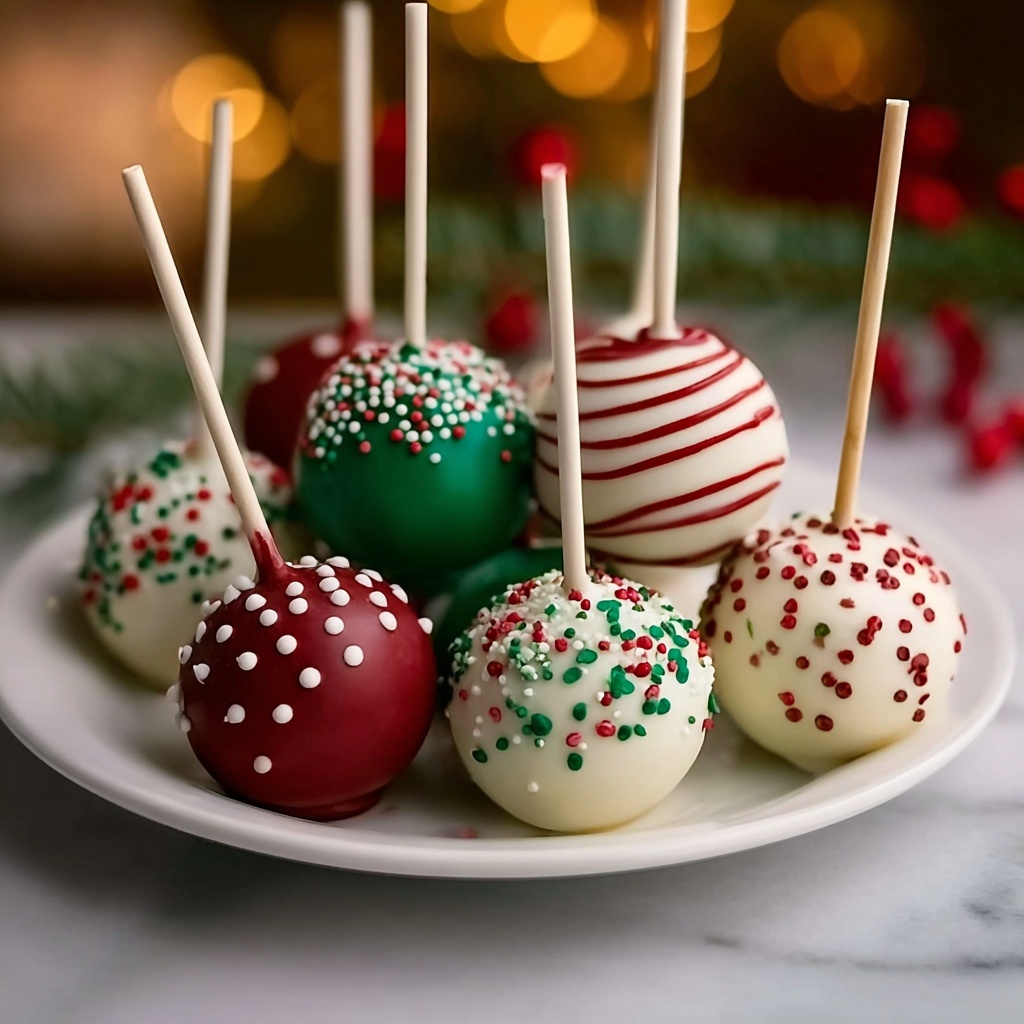
Once chilled, melt your white chocolate or candy melts in a microwave-safe bowl in 30-second intervals, stirring in between until smooth. Dip the tip of each lollipop stick into the melted coating and insert it halfway into a cake ball—this anchors the stick securely. Then, dip the entire cake pop into the melted chocolate, gently tap off any excess, and before it sets, adorn with your festive holiday sprinkles. Set them upright in a styrofoam block or a stand to dry completely.
How to Serve Christmas Cake Pops Recipe
Garnishes
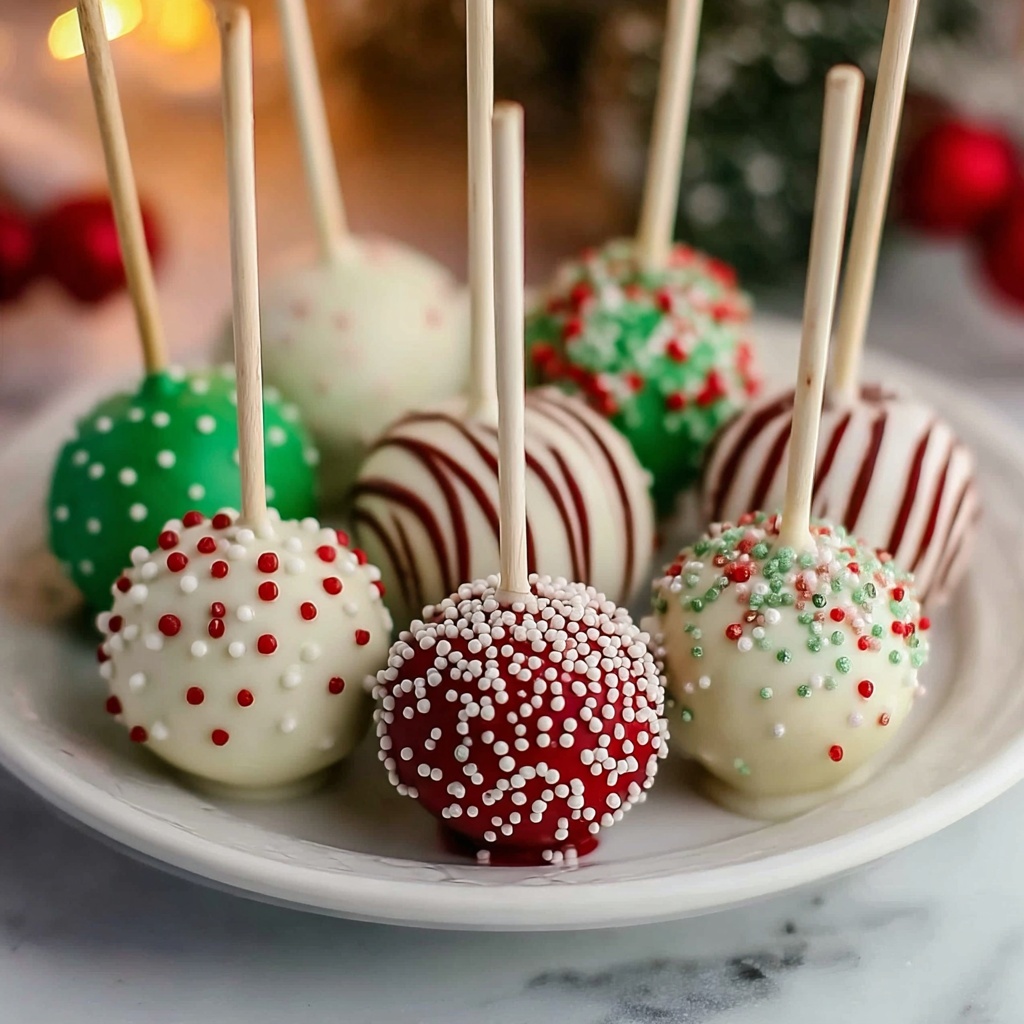
Sprinkles are the star garnish here, bringing joyful colors and a slight crunch that complements the smooth coating. You can also experiment with crushed peppermint, edible glitter, or small festive candy shapes to make each pop uniquely charming.
Side Dishes
These cake pops pair beautifully with warm drinks such as hot cocoa, mulled wine, or spiced apple cider. Serving them alongside a platter of gingerbread cookies or fruitcake can turn your holiday spread into a wonderland of seasonal flavors.
Creative Ways to Present
Display your Christmas Cake Pops Recipe creations in a decorative holiday mug or a rustic wooden box lined with festive tissue paper. You can also tie small bows on each stick or arrange them like a bouquet for a stunning centerpiece that guests will want to dig into immediately.
Make Ahead and Storage
Storing Leftovers
Once fully coated and dried, store your cake pops in an airtight container in the refrigerator. They will stay fresh for up to 4 days, making them perfect for preparing in advance of your holiday festivities.
Freezing
You can freeze cake pops to extend their shelf life. Place them on a baking sheet to freeze individually, then transfer to a freezer-safe container or bag. When sealed properly, they can last up to 3 months freezer-friendly without losing flavor or texture.
Reheating
Cake pops are best enjoyed chilled or at room temperature. If you prefer, take them out of the fridge and let them sit for 30 minutes before serving. Avoid reheating as the chocolate coating may lose its crispness and the cake inside can dry out.
FAQs
Can I use homemade cake instead of box mix?
Absolutely! Using homemade cake works wonderfully and adds a personal touch to the Christmas Cake Pops Recipe. Just make sure your cake is completely cooled and not too crumbly for shaping.
What if I don’t have lollipop sticks?
You can use sturdy straws, skewers, or even toothpicks in a pinch. Just be gentle when dipping to avoid breaking them or causing the pops to fall apart.
How do I keep the cake pops from falling off the sticks?
Dipping the tip of the stick into melted chocolate before inserting it into the cake ball creates a glue-like anchor. Also, chilling the pops well before dipping helps them stay firm.
Can I make these vegan or gluten-free?
Yes! Use a vegan or gluten-free cake mix and corresponding frosting, as well as dairy-free candy melts. Make sure all ingredients meet your dietary needs for a festive treat everyone can enjoy.
How long does it take for the chocolate coating to set?
Typically, it takes about 15 to 30 minutes at room temperature. For quicker setting, place the cake pops in the refrigerator for 10 to 15 minutes, but avoid long refrigeration which may cause condensation.
Final Thoughts
I truly hope this Christmas Cake Pops Recipe inspires you to add a little extra sparkle to your holiday celebrations. They’re easy, fun, and so much more than just a sweet treat—they’re a way to share smiles and make memories. So grab your favorite cake mix and some festive sprinkles, and start crafting these adorable bites that everyone will love!
Print
Christmas Cake Pops Recipe
- Prep Time: 20 minutes
- Cook Time: 20 minutes
- Total Time: 1 hour 40 minutes
- Yield: 20–24 cake pops
- Category: Dessert
- Method: No-Cook
- Cuisine: American
Description
These festive Christmas Cake Pops combine moist cake with creamy frosting, coated in colorful white chocolate and decorated with holiday sprinkles. Perfect bite-sized treats for your holiday parties or as fun gifts, these cake pops are easy to customize with your favorite flavors and decorations.
Ingredients
Cake and Frosting
- 1 box of vanilla or chocolate cake mix (plus ingredients required for the mix: typically eggs, oil, and water as per package instructions)
- ½ cup (120g) frosting (vanilla or chocolate, matching the cake flavor)
Coating and Decoration
- 12 oz (340g) white chocolate or candy melts (red, green, or white)
- Assorted holiday sprinkles
- 20–24 lollipop sticks
Instructions
- Prepare the Cake: Bake the cake according to the box instructions using the required ingredients such as eggs, oil, and water. Once baked, allow the cake to cool completely to room temperature.
- Crumble the Cake: Crumble the cooled cake into a large bowl using your hands or a fork until it resembles fine crumbs.
- Mix with Frosting: Add the ½ cup of frosting to the cake crumbs and mix thoroughly until the mixture is moist enough to hold its shape when rolled into balls.
- Form Cake Balls: Roll the mixture into 20–24 small, uniform balls, about 1 inch in diameter. Place the cake balls onto a baking sheet lined with parchment paper and chill in the refrigerator for at least 1 hour to firm up.
- Dip and Decorate: Melt the white chocolate or candy melts according to package instructions, usually in a microwave-safe bowl in short bursts, stirring in between. Dip one end of each lollipop stick into the melted chocolate and insert it halfway into each cake ball—this helps the stick adhere securely. Then, dip the entire cake pop into the melted chocolate, gently tapping off excess. Immediately decorate with holiday sprinkles before the coating sets. Place the completed cake pops upright in a styrofoam block or a stand to dry completely.
Notes
- Use any cake flavor and matching frosting to personalize your cake pops.
- Chilling the cake balls before dipping ensures they hold their shape better.
- If the melted chocolate seems too thick, add a teaspoon of vegetable oil or shortening to thin it.
- Store cake pops in an airtight container at room temperature for up to 2 days or refrigerate for longer freshness.
- These cake pops can be made ahead of time and frozen before decorating. Thaw before dipping and decorating.


