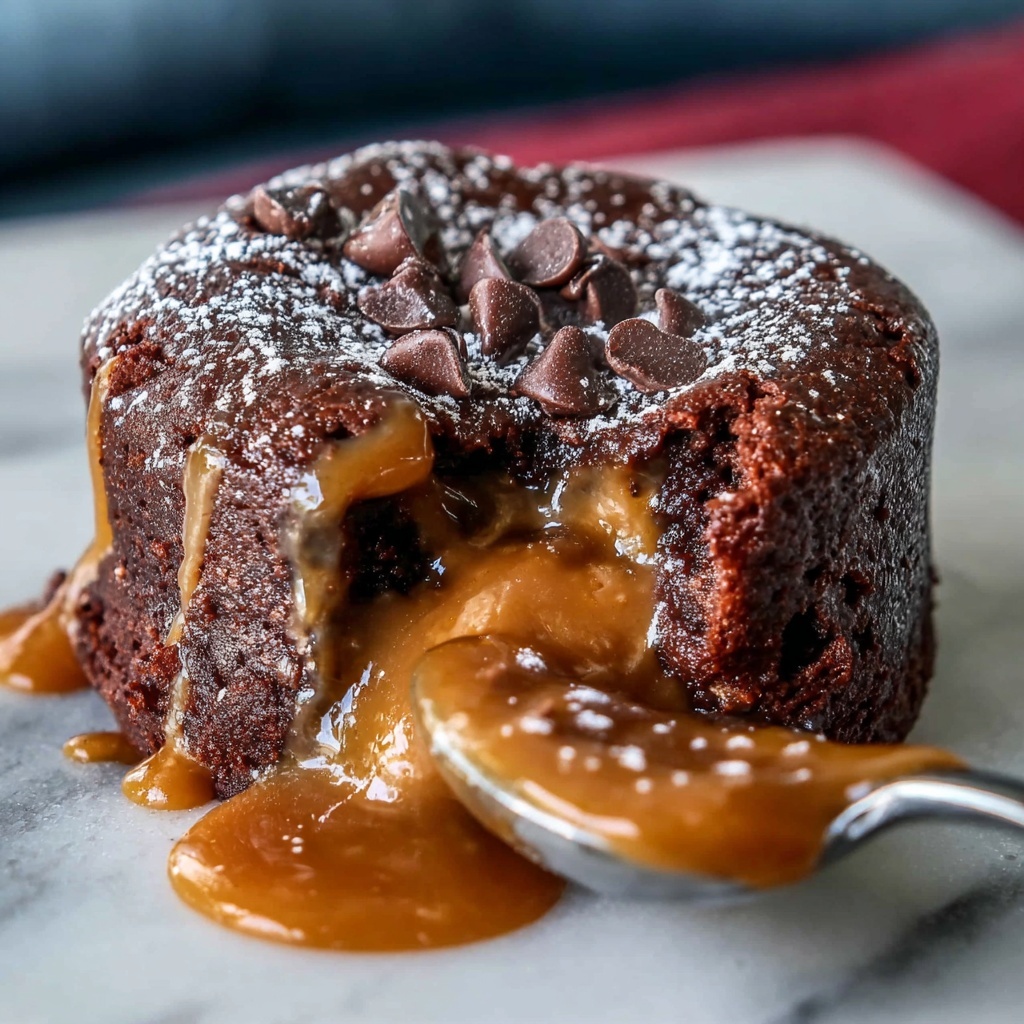
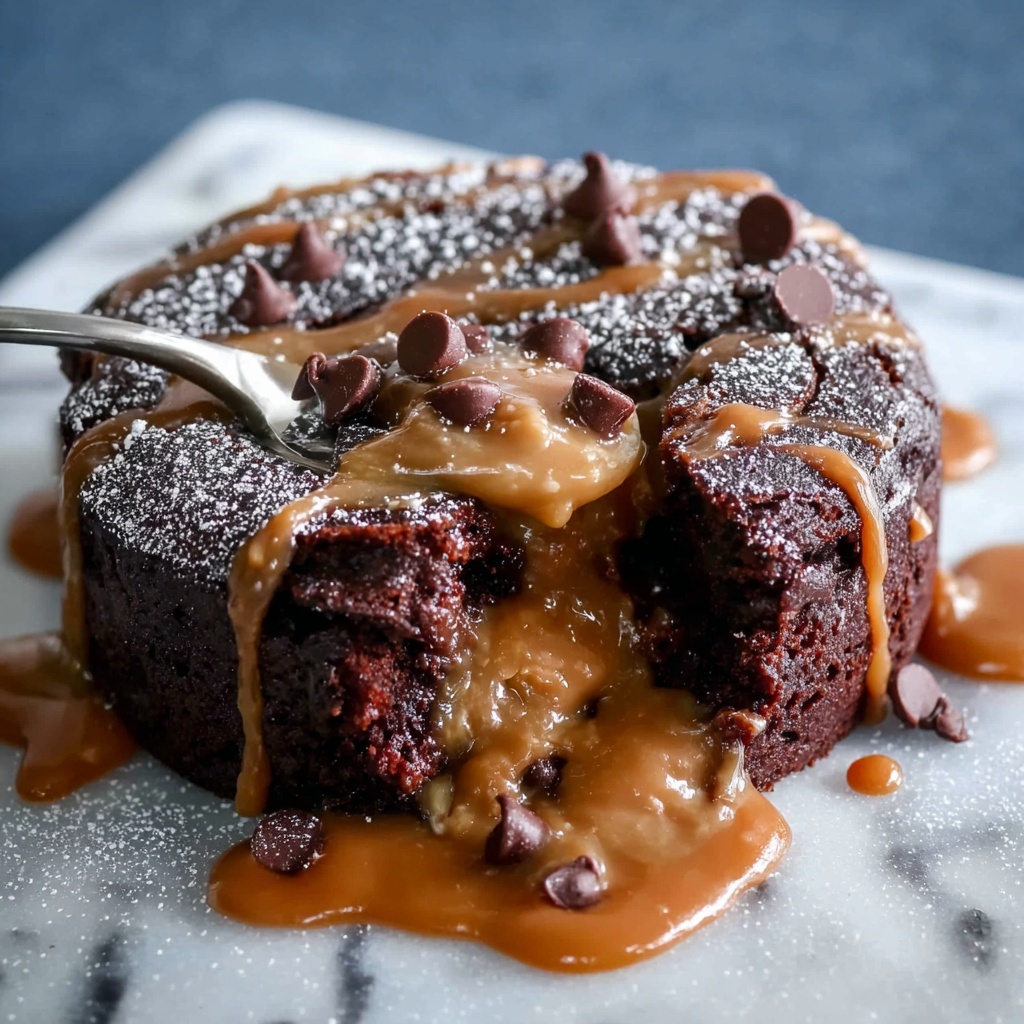
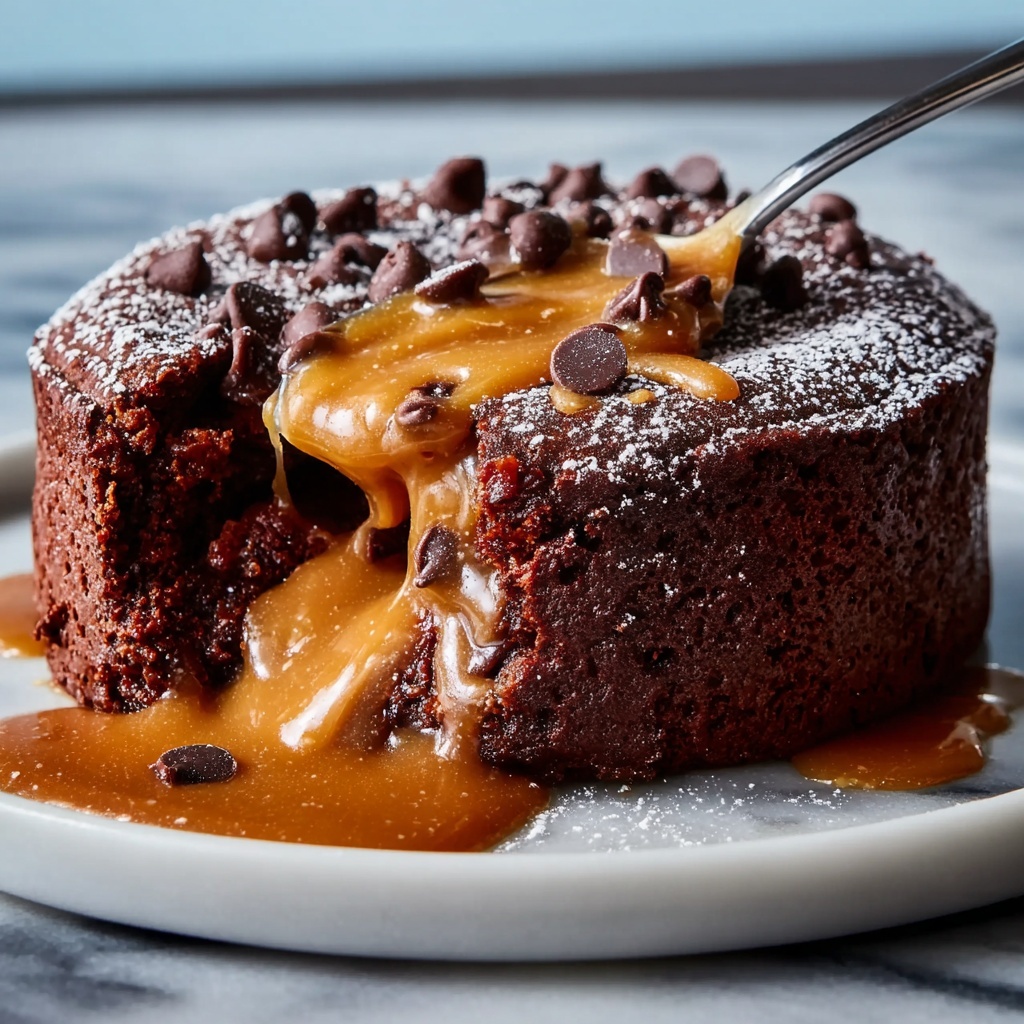
If you’re craving a quick, satisfying treat that packs a nutritional punch, the Protein Chocolate Peanut Butter Mug Cake Recipe is here to save your day. This delightful mug cake is rich, fluffy, and bursting with classic flavors that blend chocolate’s indulgence and peanut butter’s creamy goodness, all while sneaking in a good dose of protein. Perfect for those busy moments when you want something comforting but wholesome, this recipe is a guaranteed winner that you can whip up in minutes right in your own microwave.
Ingredients You’ll Need
Getting the perfect balance of taste and nutrition in this mug cake begins with a handful of simple yet powerhouse ingredients. Each component plays its part, whether it’s adding moisture, sweetness, or that much-needed protein boost to keep you energized.
- Chocolate Protein Powder: Choose your favorite type for a deep chocolate flavor plus muscle-loving protein.
- Peanut Butter: Adds creaminess and a nutty richness that complements the chocolate perfectly.
- Egg: Binds all the ingredients together, giving the cake a fluffy and moist texture.
- Almond Milk: Keeps the batter smooth and light without overpowering flavors.
- Baking Powder: Ensures the mug cake rises beautifully for that perfect tender crumb.
- Sweetener (honey, maple syrup, or your choice): Balances the bitterness of cocoa and enhances sweetness naturally.
- Cocoa Powder (optional): For extra chocolate intensity if you’re a serious chocoholic.
- Vanilla Extract: Brings warmth and depth to the flavor profile.
How to Make Protein Chocolate Peanut Butter Mug Cake Recipe
Step 1: Mix Your Dry Ingredients
Start by combining the chocolate protein powder, baking powder, and cocoa powder in your favorite microwave-safe mug. Mixing these dry ingredients first ensures that your mug cake will have an even rise and consistent chocolaty flavor throughout.
Step 2: Add the Wet Ingredients
Next, crack in the egg followed by the peanut butter, almond milk, sweetener, and vanilla extract. Stir everything thoroughly until you get a smooth, thick batter without lumps. The peanut butter adds moisture and richness, making the texture just right for a mug cake.
Step 3: Microwave to Perfection
Place your mug in the microwave and cook on high for about 60 to 90 seconds. Keep an eye on it; microwaves vary, so the cake should rise and set but remain soft and moist inside. Avoid overcooking to keep that luscious fudgy texture.
Step 4: Let It Cool Slightly
After microwaving, give your mug cake a minute or two to cool. This resting time lets the flavors meld and the texture to firm up just enough for the ultimate spoon-to-mouth experience.
How to Serve Protein Chocolate Peanut Butter Mug Cake Recipe
Garnishes
To elevate your mug cake, add a dollop of Greek yogurt or a swirl of whipped cream on top. Sprinkle with chopped peanuts or mini chocolate chips for delightful texture contrasts that make each bite exciting.
Side Dishes
Pair the mug cake with a fresh fruit salad or a handful of berries. The natural sweetness and tang from fruits create a balanced dessert plate that feels indulgent yet fresh.
Creative Ways to Present
Transform your mug cake into a dessert masterpiece by serving it in a small glass cup layered with yogurt and crushed nuts for a parfait feel. Or drizzle warm caramel or chocolate sauce creatively over the top for visual appeal and extra decadence.
Make Ahead and Storage
Storing Leftovers
This Protein Chocolate Peanut Butter Mug Cake Recipe is best enjoyed fresh, but if you have any leftovers, you can store them in an airtight container in the refrigerator for up to two days. The texture will change slightly, becoming denser, so consider reheating gently.
Freezing
Freezing mug cakes isn’t ideal due to their size and moisture content, but if you want to prepare batter in advance, store it in a sealed container in the fridge rather than freezing. Fresh batter ensures that rise and texture remain intact when microwaved.
Reheating
To reheat your mug cake, microwave it for about 20 seconds, checking carefully to avoid drying it out. A brief reheating brings back that warm, gooey feeling that makes this mug cake so comforting and satisfying.
FAQs
Can I use other nut butters instead of peanut butter?
Absolutely! Almond butter or cashew butter works beautifully and will give your mug cake a unique twist while keeping it just as creamy and nutty.
Is it possible to make this recipe vegan?
Yes! Substitute the egg with a flax or chia seed egg and use a plant-based protein powder, ensuring all ingredients align with your dietary preferences. The texture may vary slightly but remains delicious.
What protein powder is best for this recipe?
Whey or plant-based chocolate protein powders are both great options. Choose one that you enjoy in flavor and texture for the best results.
Can I bake this mug cake instead of microwaving it?
You can bake it in a small ramekin at 350°F (175°C) for about 15 minutes, but microwaving is the quickest and most convenient method for this recipe.
How can I make this recipe lower in sugar?
Use a low-calorie sweetener or omit the sweetener entirely if your protein powder is already sweetened. You can also add natural sweetness with mashed banana or applesauce.
Final Thoughts
This Protein Chocolate Peanut Butter Mug Cake Recipe is a game-changer when it comes to satisfying a chocolate craving in a healthy, protein-packed way. It’s quick, utterly delicious, and flexible enough to adapt to your pantry and taste preferences. So next time you want a treat that feels indulgent but fuels your body, give this mug cake a try — your taste buds and muscles will thank you!
Print
Protein Chocolate Peanut Butter Mug Cake Recipe
- Prep Time: 10 minutes
- Cook Time: 25 minutes
- Total Time: 35 minutes
- Yield: 4 servings
- Category: Soup
- Method: Stovetop
- Cuisine: American
- Diet: Vegetarian
Description
A hearty and healthy vegetable soup featuring a blend of fresh carrots, celery, onion, garlic, spinach, and a medley of herbs simmered in flavorful vegetable broth and diced tomatoes. Perfect as a comforting meal packed with nutrients and easy to prepare on the stovetop.
Ingredients
Vegetables
- 2 cups carrots, chopped
- 1 cup celery, chopped
- 1 onion, chopped
- 2 cloves garlic, minced
- 1 cup spinach leaves
Liquids & Canned Goods
- 4 cups vegetable broth
- 1 can diced tomatoes (about 14.5 oz)
Seasonings & Oil
- 1 tsp salt
- 1/2 tsp pepper
- 1/2 tsp thyme
- 1/4 tsp basil
- 1 tbsp olive oil
Instructions
- Heat oil: Heat 1 tablespoon of olive oil in a large pot over medium heat to prepare the base for sautéing the vegetables.
- Sauté vegetables: Add the chopped carrots, celery, onion, and minced garlic to the pot. Cook for about 5 minutes, stirring occasionally, until the vegetables begin to soften and become fragrant.
- Add broth and seasonings: Pour in 4 cups of vegetable broth and add the can of diced tomatoes along with salt, pepper, thyme, and basil. Stir everything together and bring the mixture to a boil.
- Simmer soup: Once boiling, reduce the heat to low and let the soup simmer for 20 minutes. This allows the vegetables to cook thoroughly and the flavors to meld beautifully.
- Incorporate spinach: Add 1 cup of fresh spinach leaves to the pot and cook for an additional 5 minutes until the spinach wilts and is fully incorporated into the soup.
- Serve: Ladle the hot vegetable soup into bowls and enjoy immediately as a nutritious and warming meal.
Notes
- For a creamier texture, you can blend part of the soup with an immersion blender before adding the spinach.
- Feel free to customize the herbs according to your preference, such as adding rosemary or parsley.
- This soup can be stored in the refrigerator for up to 4 days or frozen for up to 3 months.
- Add a squeeze of lemon juice or a sprinkle of grated Parmesan cheese before serving for extra flavor.
- Use low-sodium vegetable broth to control the salt content.


