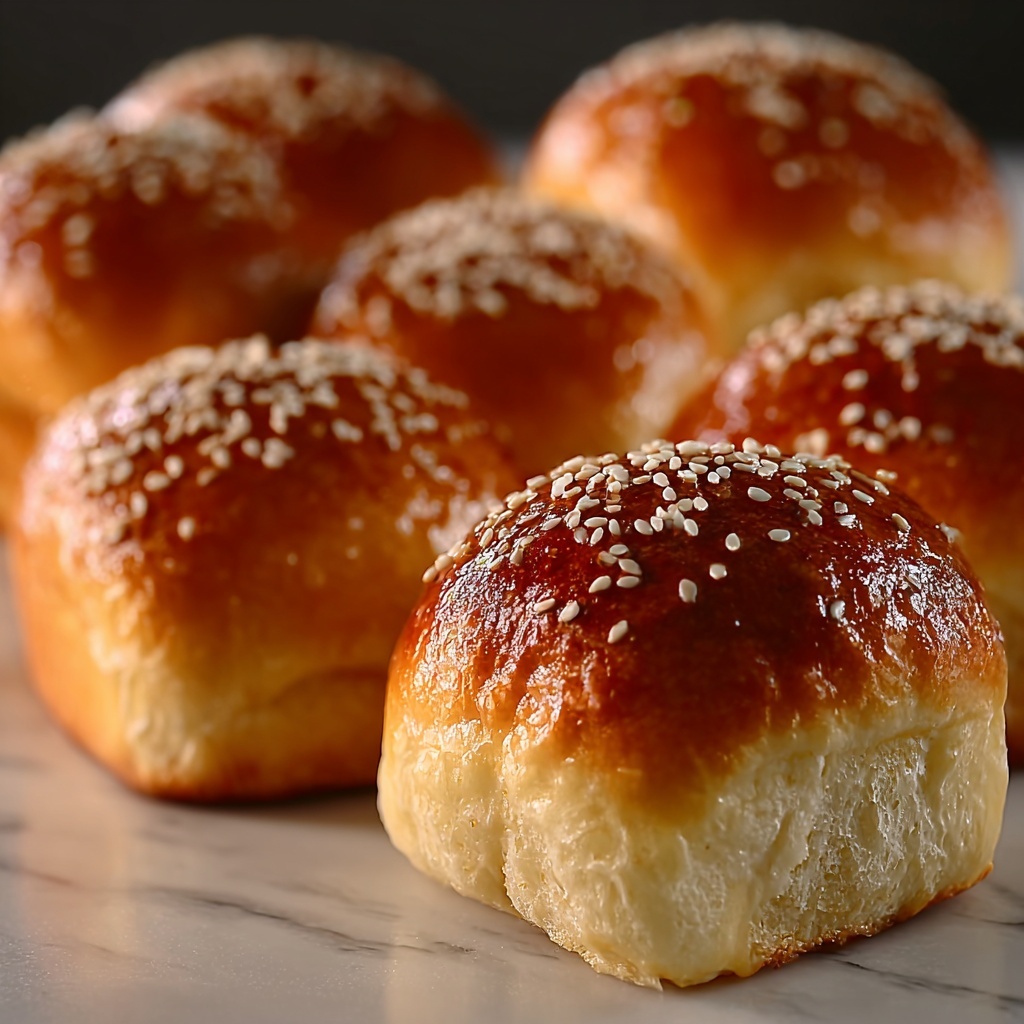
There is nothing quite as comforting and delightful as sinking your teeth into a fluffy, sweet treat fresh from the oven, and that is exactly what this Italian Cream Buns Recipe delivers. These light, pillowy buns filled with luscious whipped cream have a tender crumb and a subtle vanilla sweetness that will instantly make you feel like you are indulging in a true Italian bakery classic. Whether you want a decadent breakfast, an afternoon pick-me-up, or a charming dessert, this recipe is an absolute joy to make and share with friends and family.
Ingredients You’ll Need
With just a handful of simple pantry staples, this Italian Cream Buns Recipe comes together beautifully. Each ingredient has a crucial role, balancing flavor and texture to create soft, golden buns paired with rich, creamy filling.
- 3 cups all-purpose flour: Provides structure and softness to the buns, perfect for a tender crumb.
- 1/4 cup sugar: Adds just enough sweetness to complement the creamy filling without overpowering.
- 1 packet (2 1/4 tsp) active dry yeast: Essential for the dough to rise and become airy and light.
- 1/2 tsp salt: Balances the sweetness and enhances the overall flavor of the buns.
- 3/4 cup warm milk: Activates the yeast and hydrates the dough for softness.
- 1/4 cup unsalted butter, softened: Adds richness and helps create a tender texture in the bread.
- 1 egg: Binds ingredients together and provides a lovely golden color to the buns.
- 1 cup heavy cream: Whipped to make the heavenly filling that brings the buns to life.
- 2 tbsp powdered sugar: Sweetens the whipped cream filling gently and evenly.
- 1 tsp vanilla extract: Infuses the cream with warm, aromatic flavor.
- Extra powdered sugar, for dusting: Gives a delicate, elegant finish to your buns before serving.
How to Make Italian Cream Buns Recipe
Step 1: Activate the Yeast
Start by combining the warm milk, sugar, and yeast in a bowl. This step is like waking up the yeast to get it ready to work its magic. Set it aside for 5 to 10 minutes until the surface bubbles up and looks foamy – this is your sign that the yeast is active and ready to make your buns rise beautifully.
Step 2: Prepare the Dough
Next, stir in softened butter, egg, and salt into your yeast mixture. Gradually add the flour, mixing everything until it forms a soft dough that’s slightly sticky but manageable. Then, knead by hand or with a mixer for 8 to 10 minutes until the dough becomes smooth and elastic, which helps develop that perfect texture for your buns.
Step 3: First Rise
Place the dough in a clean, greased bowl, cover it with a kitchen towel or plastic wrap, and let it rise in a warm spot until it doubles in size – usually about an hour. This rising time is critical for developing flavor and creating light, airy buns.
Step 4: Shape the Buns
After the dough has risen, gently punch it down to release the air. Divide the dough into 8 equal portions and shape each into a round bun. Arrange them on a baking sheet lined with parchment or a lightly greased surface, giving each enough room to expand.
Step 5: Second Rise
Cover the buns again and allow them to rise for another 30 minutes. This second proofing ensures that the buns will bake up soft and fluffy with a beautiful golden crust.
Step 6: Bake to Perfection
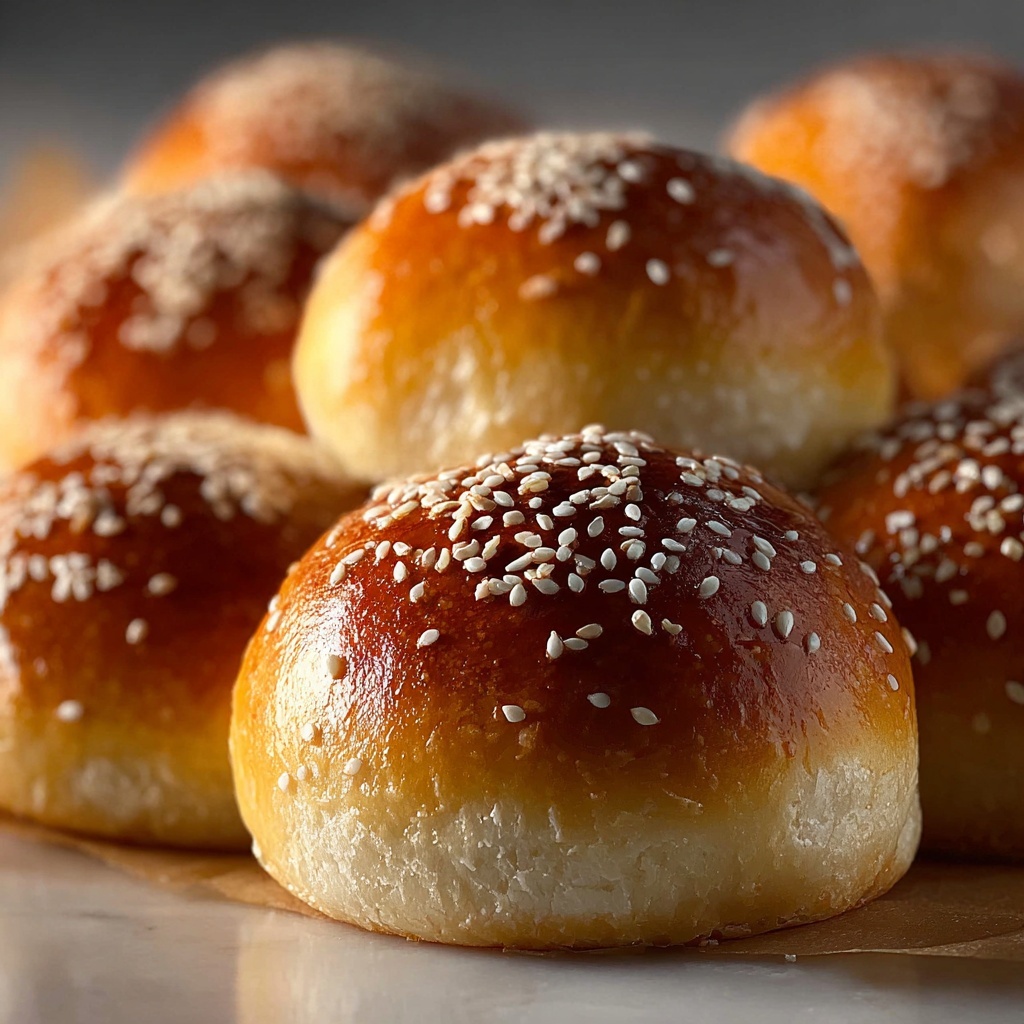
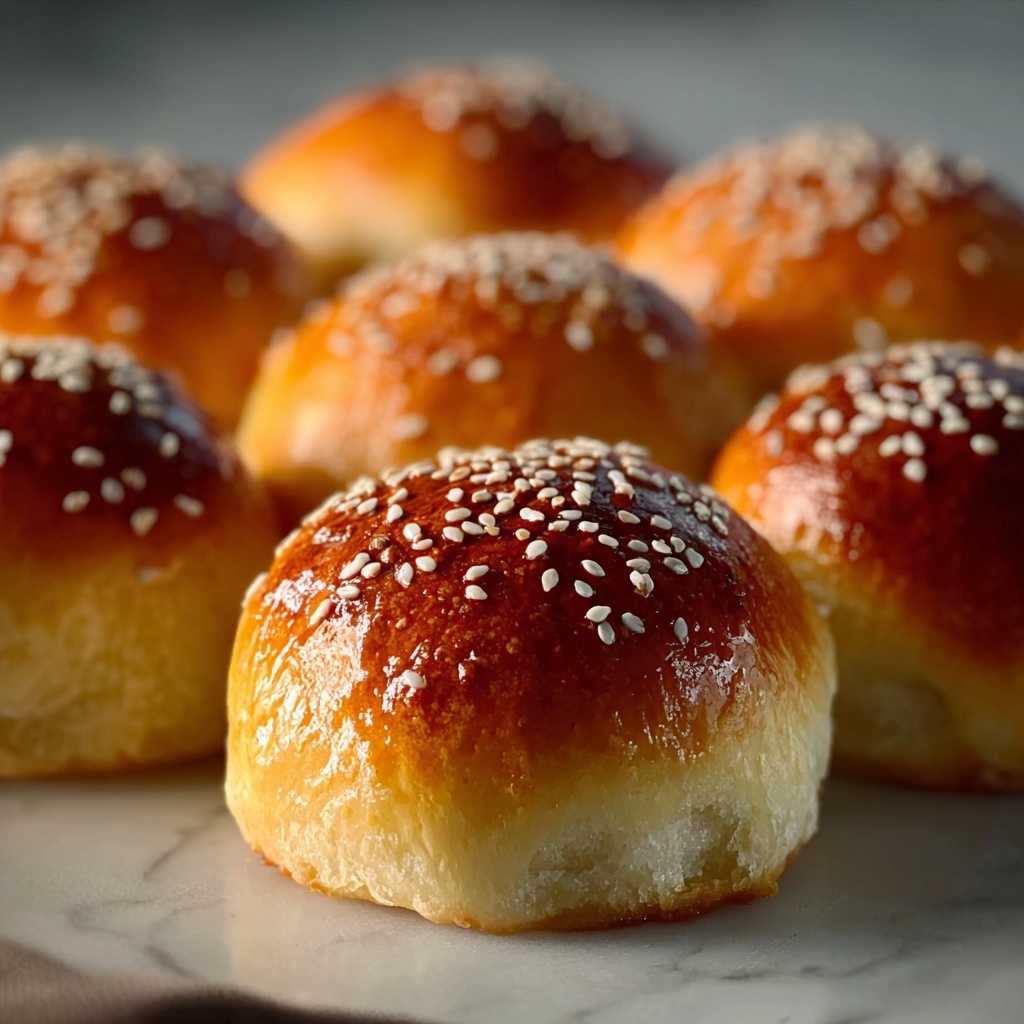
Preheat your oven to 350°F (175°C). Bake the buns for 18 to 20 minutes until they turn a gorgeous golden color on top. Once done, transfer them to a wire rack to cool completely before moving on to the filling step.
Step 7: Whip the Cream and Assemble
While the buns cool, whip the heavy cream with powdered sugar and vanilla extract until stiff peaks form – this luscious mixture is what transforms these buns into a heavenly treat. Slice each bun horizontally and generously spread or pipe the whipped cream inside. Finish by dusting the tops with extra powdered sugar for that picture-perfect touch.
How to Serve Italian Cream Buns Recipe
Garnishes
To elevate your Italian Cream Buns Recipe to the next level, consider garnishing with fresh berries, like raspberries or blueberries, that add a burst of color and a subtle tartness. A sprinkle of finely chopped toasted almonds or a drizzle of chocolate sauce can also add texture and flair.
Side Dishes
These creamy buns pair brilliantly with a hot cup of espresso or a smooth cappuccino for a classic Italian-inspired afternoon indulgence. Fresh fruit salad or a light green tea can also balance the richness, creating a well-rounded treat.
Creative Ways to Present
For a fun twist, serve the buns cut into smaller sliders for a party platter, letting guests add their own toppings like fresh mint or edible flowers. You could also put the whipped cream in a piping bag and swirl it on top before serving, making them almost too beautiful to eat.
Make Ahead and Storage
Storing Leftovers
If you have any leftovers (though that’s rare!), store the buns in an airtight container in the refrigerator for up to two days. This keeps the whipped cream fresh and the buns soft, though best enjoyed within the first day for peak fluffiness.
Freezing
You can freeze the baked buns before adding the cream filling. Wrap each bun tightly in plastic wrap, then place them in a freezer bag for up to a month. When ready to enjoy, thaw at room temperature and whip fresh cream to fill immediately for the best experience.
Reheating
To reheat buns, warm them gently in a low oven or toaster oven for 5 minutes just before filling. This brings back the fresh-baked softness without melting the whipped cream if you’ve already added it. Avoid the microwave as it can make buns rubbery or soggy.
FAQs
Can I use milk alternatives for this Italian Cream Buns Recipe?
Yes, almond milk or oat milk can be used instead of cow’s milk for a dairy-free twist. Just make sure the milk is warmed to activate the yeast properly, and the buns will still turn out soft and delicious.
How do I know when the yeast is active?
After mixing the yeast with warm milk and sugar, the mixture should become foamy and frothy within 5 to 10 minutes. If it doesn’t, your yeast might be expired or the liquid was too hot or cold, so consider starting over to ensure proper rising.
Can I make the cream filling ahead of time?
It’s best to whip the cream filling fresh just before assembling for the fluffiest texture. However, you can prepare it a few hours in advance and keep it refrigerated in an airtight container. Give it a quick whip before spreading if it starts to separate.
What if my buns are too dense?
Buns can turn dense if the dough wasn’t kneaded enough or didn’t rise sufficiently. Be patient with the rising times and knead until the dough feels smooth and elastic. Proper yeast activation is also key, so don’t skip that foamy phase.
Is there a way to make these buns dairy-free?
For a dairy-free version, swap milk with a plant-based alternative and replace butter with coconut oil or a vegan butter substitute. Use coconut cream or a non-dairy whipping cream for the filling to keep it rich and creamy.
Final Thoughts
Making this Italian Cream Buns Recipe is truly a rewarding experience that fills your kitchen with inviting aromas and your heart with joy. The delicate balance of soft buns and sweet, velvety cream transforms an ordinary day into something special. Trust me, once you try these, they will quickly become a cherished favorite you’ll want to bake again and again for yourself and those you love.
Print
Italian Cream Buns Recipe
- Prep Time: 20 minutes
- Cook Time: 20 minutes
- Total Time: 2 hours
- Yield: 8 servings
- Category: Baking
- Method: Baking
- Cuisine: Italian
Description
Delight in these fluffy Italian Cream Buns that are soft, lightly sweetened, and filled with luscious homemade whipped cream. Perfect as a sweet treat for breakfast or an indulgent dessert, these buns boast a tender crumb and a rich, creamy filling dusted with powdered sugar for a classic Italian bakery experience.
Ingredients
Dough Ingredients
- 3 cups all-purpose flour
- 1/4 cup sugar
- 1 packet (2 1/4 tsp) active dry yeast
- 1/2 tsp salt
- 3/4 cup warm milk
- 1/4 cup unsalted butter, softened
- 1 egg
Filling Ingredients
- 1 cup heavy cream
- 2 tbsp powdered sugar
- 1 tsp vanilla extract
Finishing
- Extra powdered sugar, for dusting
Instructions
- Activate Yeast: In a bowl, combine warm milk, sugar, and yeast. Let the mixture sit undisturbed for 5–10 minutes until it becomes foamy, indicating the yeast is active and ready to use.
- Make Dough: Stir in the softened butter, egg, salt, and gradually add the flour to the yeast mixture. Mix until a soft dough forms, then knead the dough on a lightly floured surface for 8–10 minutes until it becomes smooth and elastic.
- First Rise: Place the dough in a greased bowl, cover it with a clean towel or plastic wrap, and let it rise in a warm spot until it doubles in size, about 1 hour.
- Shape Buns: Punch down the risen dough to release air. Divide the dough into 8 equal portions, shape each into a round bun, and arrange them on a baking sheet. Cover and let them rise again for 30 minutes to puff up.
- Bake: Preheat the oven to 350°F (175°C). Bake the buns for 18–20 minutes or until they turn golden brown on top. Remove them and allow them to cool completely on a wire rack.
- Prepare Filling: Whip the heavy cream with powdered sugar and vanilla extract using a mixer until stiff peaks form, indicating a thick and stable whipped cream.
- Assemble: Once buns have cooled, slice each bun horizontally and generously fill with the whipped cream. Replace the tops and dust the filled buns with additional powdered sugar before serving.
Notes
- Make sure the milk is warm but not hot to avoid killing the yeast.
- Kneading time is important for gluten development, which gives the buns their soft texture.
- Allow the buns to cool completely before filling to prevent the cream from melting.
- For best flavor, use freshly whipped cream and high-quality vanilla extract.
- You can store the baked buns in an airtight container for up to 2 days; add the cream filling just before serving.


