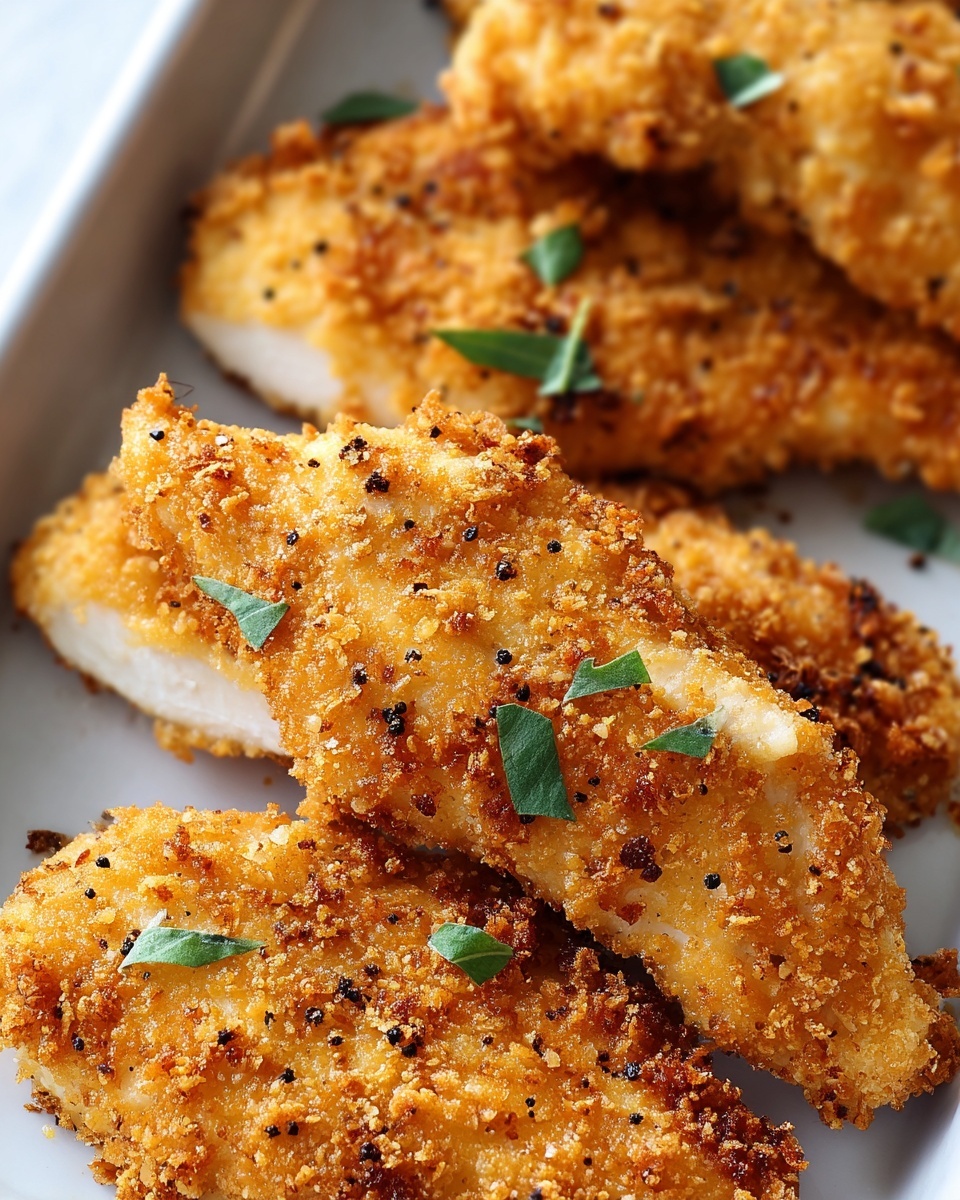
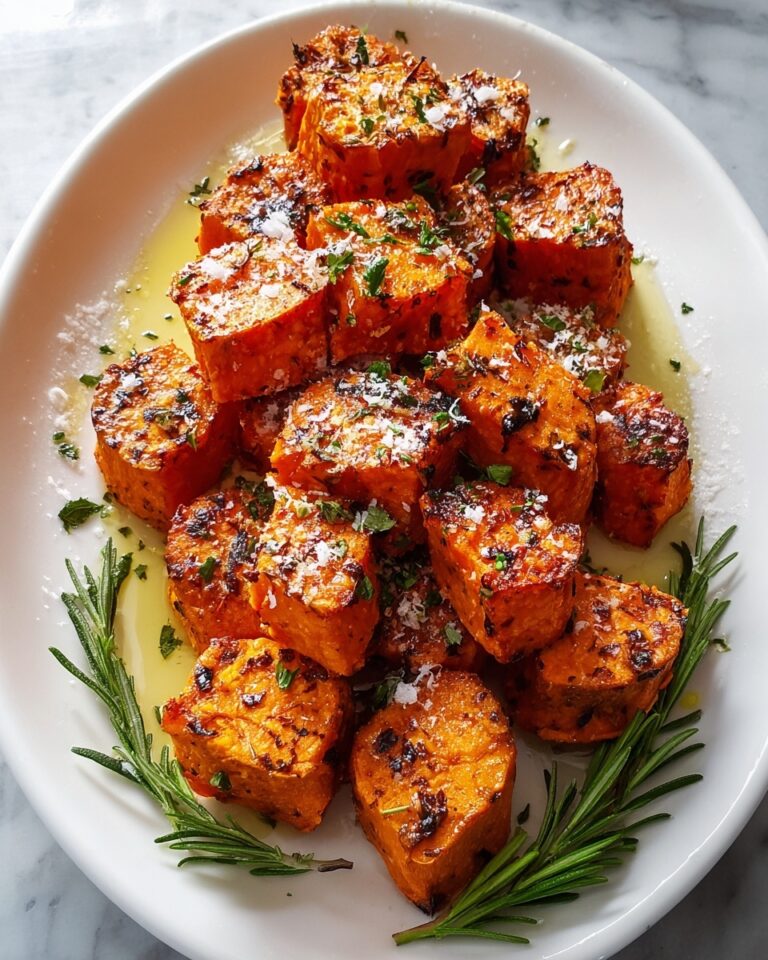
If you’re craving a snack or meal that’s irresistibly crunchy on the outside and tender on the inside, let me introduce you to the Crispy Baked Chicken Tenders Recipe. This dish combines the perfect balance of crispy panko and savory Parmesan with a blend of spices that elevate simple chicken strips into a mouthwatering delight. The best part is that it’s baked, not fried, offering all the comfort and crunch with less oil and fuss. Whether you’re cooking for family, friends, or just yourself, this recipe will quickly become a go-to favorite.
Ingredients You’ll Need
The beauty of this Crispy Baked Chicken Tenders Recipe lies in its straightforward ingredients. Each component plays a vital role, whether it’s the crunchy panko breadcrumbs providing an unbeatable texture or the smoked paprika adding a subtle, smoky depth. With just a handful of pantry staples, you’ll have everything you need to create a spectacular meal.
- 1 lb chicken tenders or chicken breast, cut into strips: Choose fresh, high-quality chicken for the best flavor and tenderness.
- 1 cup panko breadcrumbs: These create that signature crispy coating that stays crunchy even after baking.
- 1/2 cup grated Parmesan cheese: Adds a nutty, salty kick that makes the breading extra savory.
- 1 tsp smoked paprika: Introduces a warm, smoky flavor without any heat, perfect for everyone.
- 1/2 tsp garlic powder: Provides subtle garlicky undertones that enhance the overall taste.
- 1/2 tsp onion powder: Adds a hint of sweetness and depth to the seasoning mix.
- Salt and pepper to taste: Essential for balancing the flavors perfectly.
- 1/2 cup all-purpose flour: Helps the breading stick to the chicken, forming a sturdy base for the coating.
- 2 large eggs, beaten: Acts as a glue, ensuring the crunchy mixture adheres beautifully during baking.
- Olive oil spray: A light mist adds just enough fat to help the tenders brown nicely in the oven.
How to Make Crispy Baked Chicken Tenders Recipe
Step 1: Prepare Your Oven and Baking Sheet
The first step is all about setting the stage for a perfectly cooked tender. Preheat your oven to 400°F (200°C), which is the ideal temperature to get a nice golden crust without drying out the chicken. Line a baking sheet with parchment paper and give it a light spraying of olive oil to keep everything from sticking and aid in crisping the tenders.
Step 2: Set Up Your Breading Station
Organizing your breading station makes this process smooth and fun. Place the flour in one shallow dish, beaten eggs in another, and in a third combine the panko breadcrumbs, Parmesan, smoked paprika, garlic powder, onion powder, salt, and pepper. This assembly line approach helps each chicken strip to be fully coated and packed with flavor.
Step 3: Coat the Chicken Strips
Start by patting the chicken dry to help the coatings stick better. Dip each strip first into the flour, making sure it’s lightly coated, then dip into the egg, and finally press firmly into the breadcrumb mixture. Each step adds a new layer of flavor and texture, ensuring that every bite bursts with crispiness and seasoning.
Step 4: Bake to Perfection
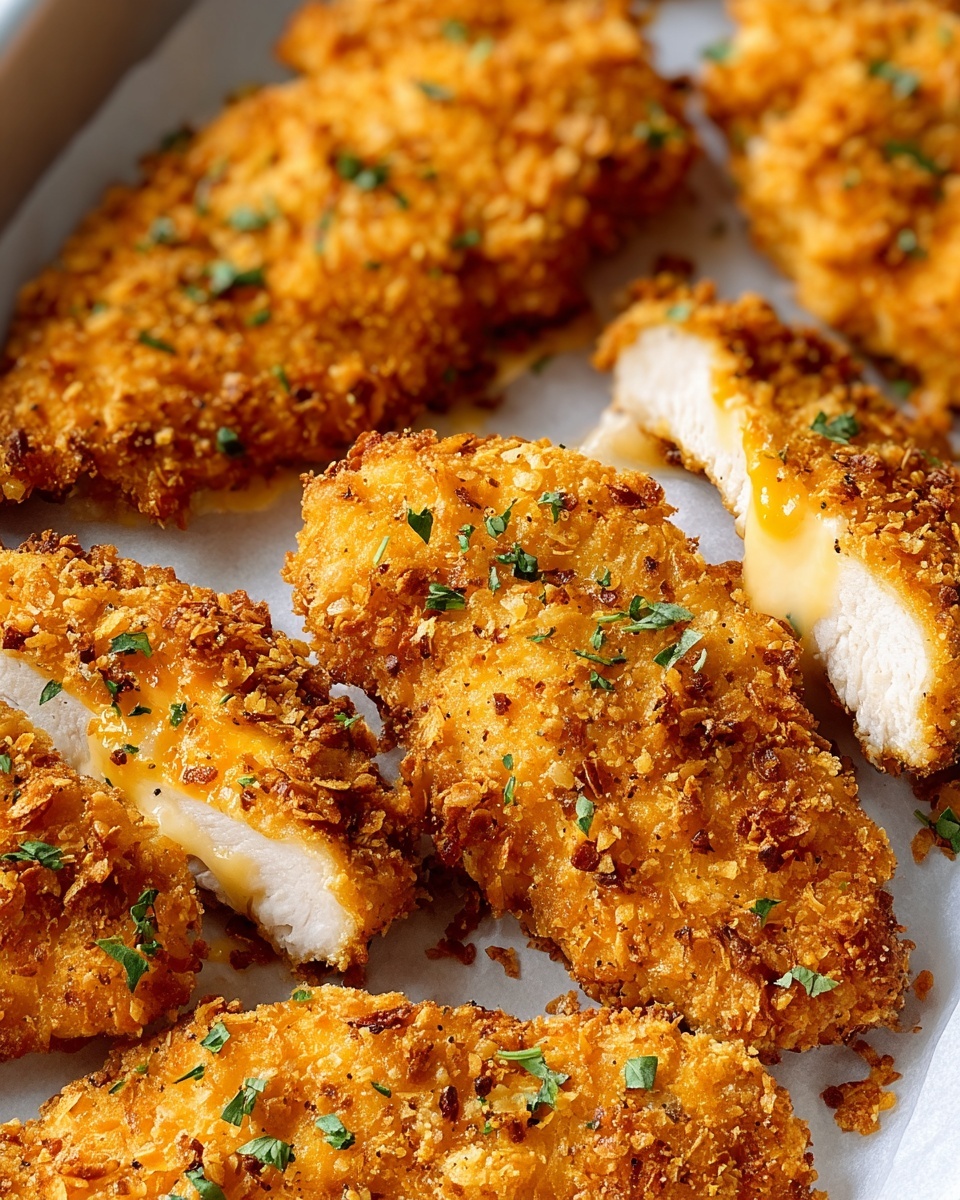
Arrange the coated chicken tenders in a single layer on your prepared baking sheet. Lightly spray the tops with olive oil spray to promote even browning. Bake for 18 to 20 minutes, flipping halfway through, until they’re golden brown and cooked through. The internal temperature should reach 165°F (74°C) for safe eating and juicy results.
Step 5: Serve Immediately
These tenders are best enjoyed hot and fresh, straight from the oven. Serving them right away maximizes that coveted crunch and tender interior. Pair with your favorite dipping sauces for an irresistible appetizer or main dish.
How to Serve Crispy Baked Chicken Tenders Recipe

Garnishes
Simple garnishes can elevate your presentation and add fresh pops of flavor. A sprinkle of freshly chopped parsley or chives adds a bright, herbal note and inviting color. For a bit of tang, a squeeze of lemon over the top complements the smoky paprika beautifully and cuts through the richness.
Side Dishes
Chicken tenders are incredibly versatile, so pair them with sides you love. Classic choices like crisp garden salad, roasted vegetables, or creamy mashed potatoes keep the meal balanced and satisfying. For a fun twist, try sweet potato fries or a zesty coleslaw that add texture contrast and flavor bursts.
Creative Ways to Present
If you want to jazz things up, try serving your Crispy Baked Chicken Tenders Recipe as part of a shareable platter with an array of dips like honey mustard, ranch, and BBQ sauce. Wrapping them in warm tortillas with fresh slaw creates delicious chicken wraps, perfect for lunch or a casual dinner that feels special.
Make Ahead and Storage
Storing Leftovers
Allow any leftover chicken tenders to cool completely before storing. Place them in an airtight container and refrigerate for up to 3 days. This keeps them fresh and lets you enjoy their crispy goodness even after cooking day.
Freezing
If you want to keep them longer, freezing is a great option. Lay the tenders on a baking sheet in a single layer and freeze until solid. Transfer them to a freezer-safe bag or container and store for up to 2 months. This way, you can have a quick snack or meal ready anytime.
Reheating
To revive the crispy texture, reheat frozen or refrigerated chicken tenders in the oven at 375°F (190°C) for about 10 minutes or until heated through. Avoid microwaving as it can make the breading soggy. Using the oven keeps them crunchy and delicious.
FAQs
Can I use regular breadcrumbs instead of panko?
Yes, you can, but panko breadcrumbs are preferred in this Crispy Baked Chicken Tenders Recipe because they create a lighter, crunchier coating. Regular breadcrumbs tend to be denser and may not crisp up as well.
Is it possible to make this recipe gluten-free?
Absolutely! Substitute the all-purpose flour with a gluten-free flour blend and use gluten-free panko breadcrumbs. The dish will retain its delicious texture and flavor, so no one misses the gluten.
Can I prepare the tenders ahead of time before baking?
Yes, you can bread the chicken tenders and place them on the baking sheet, covered tightly, in the fridge for several hours before baking. This can save you time on serving day while maintaining that fresh, crispy finish.
What dipping sauces pair best with this recipe?
Classic favorites like honey mustard, ranch, and BBQ sauce are perfect companions. For a twist, try spicy sriracha mayo or tangy blue cheese dressing to keep things exciting.
How can I make the tenders crispier?
Lightly spraying the tenders with olive oil before baking ensures they brown nicely. Also, flipping them halfway through cooking helps both sides get evenly crisp. Using panko breadcrumbs instead of regular ones is crucial for extra crunch.
Final Thoughts
If you’re looking for a simple yet impressive recipe, the Crispy Baked Chicken Tenders Recipe is a winner. It’s easy to make, packed with flavor, and hits that nostalgic comfort food spot with a healthier twist. So grab your ingredients, get baking, and enjoy every crunchy, tender bite—your taste buds will thank you!
Print
Crispy Baked Chicken Tenders Recipe
- Prep Time: 10 minutes
- Cook Time: 20 minutes
- Total Time: 30 minutes
- Yield: 4 servings
- Category: Main Course
- Method: Baking
- Cuisine: American
Description
This recipe for Crispy Baked Chicken Tenders offers a healthier alternative to fried chicken without sacrificing crunch or flavor. Coated in a seasoned mix of panko breadcrumbs and Parmesan cheese, these tenders bake to a golden perfection with a satisfyingly crispy texture. Perfect for a family dinner or a game day snack, they’re quick to prepare and pair wonderfully with your favorite dipping sauces.
Ingredients
Chicken
- 1 lb (450g) chicken tenders or chicken breast, cut into strips
Breading
- 1 cup panko breadcrumbs
- 1/2 cup grated Parmesan cheese
- 1 tsp smoked paprika
- 1/2 tsp garlic powder
- 1/2 tsp onion powder
- Salt and pepper to taste
- 1/2 cup all-purpose flour
- 2 large eggs, beaten
Finishing
- Olive oil spray
Instructions
- Preheat and Prepare: Preheat your oven to 400°F (200°C) and line a baking sheet with parchment paper. Lightly spray the parchment with olive oil to prevent sticking and promote crispiness.
- Set Up Breading Station: Prepare three separate dishes: one with flour, one with beaten eggs, and one with a seasoned breadcrumb mixture made by combining panko breadcrumbs, grated Parmesan, smoked paprika, garlic powder, onion powder, salt, and pepper.
- Coat the Chicken: Pat the chicken strips dry with paper towels to ensure the coating adheres well. Dredge each piece first in flour, then dip into the beaten eggs, and finally press into the breadcrumb mixture until evenly coated.
- Arrange on Baking Sheet: Place the breaded chicken strips on the prepared baking sheet in a single layer. Lightly spray the tops with olive oil to achieve a golden, crispy finish.
- Bake and Flip: Bake the chicken tenders for 18-20 minutes, flipping them halfway through to brown both sides evenly. Bake until the coating is golden and the chicken reaches an internal temperature of 165°F (74°C).
- Serve: Remove from the oven and serve immediately with your favorite dipping sauces like honey mustard, ranch, or BBQ sauce for a delicious meal or snack.
Notes
- For extra crispiness, make sure to spray olive oil liberally on the tenders before baking.
- Use a meat thermometer to ensure chicken is cooked to a safe temperature of 165°F (74°C).
- Chicken breasts can be used instead of tenders but cut into strips to maintain cooking consistency.
- Leftover chicken tenders can be reheated in the oven to retain crispiness, avoiding microwave reheating.
- Feel free to customize the seasoning in the breadcrumb mix to suit your taste preferences.


