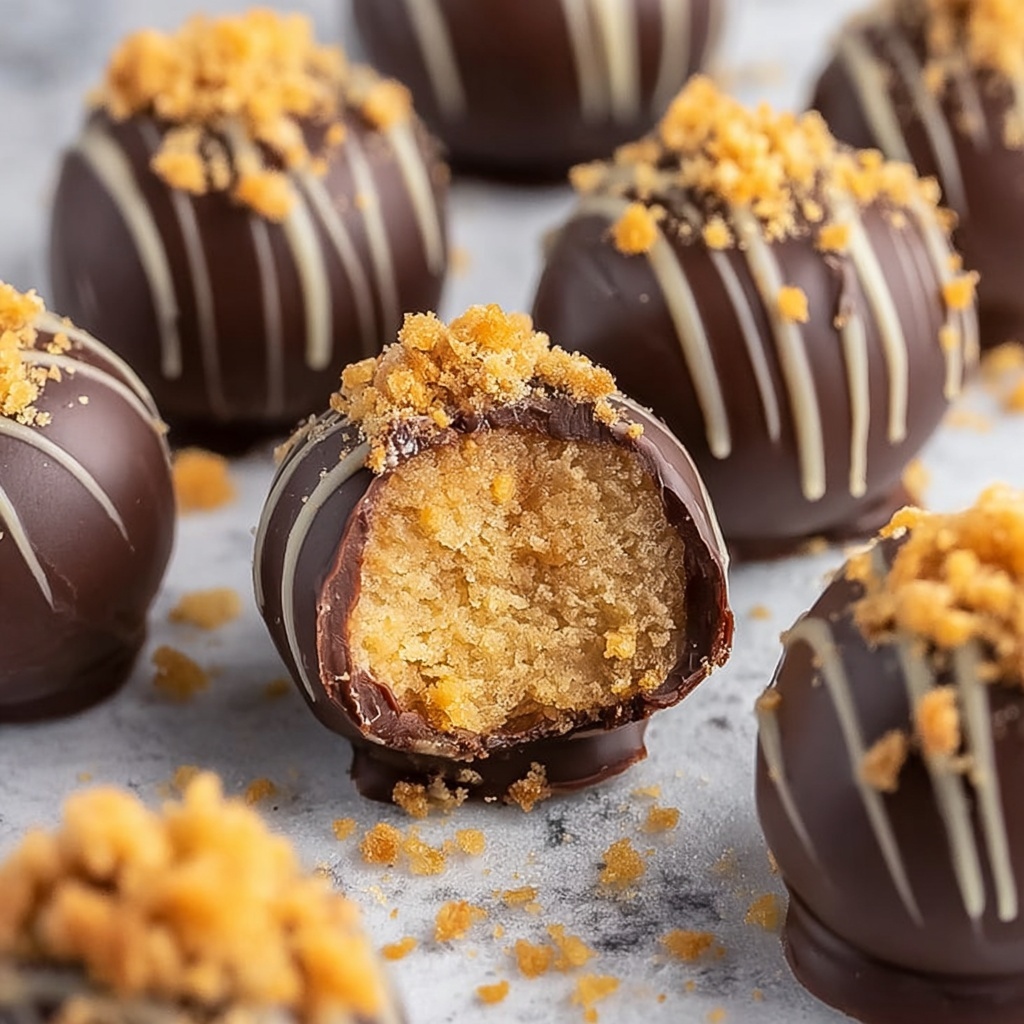
If you have a sweet tooth and love a treat that’s both crunchy and creamy, you are absolutely going to adore this Butterfinger Balls Recipe. These delightful little bites combine the perfect crunch of crushed Butterfinger bars with the rich, creamy goodness of peanut butter and a smooth chocolate coating. It’s a wonderfully simple yet indulgent dessert that’s perfect for parties, holidays, or anytime you want a sweet pick-me-up that feels special but comes together with ease.
Ingredients You’ll Need
The magic of this Butterfinger Balls Recipe is in its straightforward ingredients, each playing a vital role in creating that perfect texture and taste. From the sweet and silky powdered sugar to the irresistible crunch of Butterfinger bars, every item brings something special to the mix.
- Powdered sugar: Adds sweetness and helps bind the mixture for smooth, no-grainy balls.
- Graham cracker crumbs: Provide a subtle crunch and a touch of buttery flavor that complements the peanut butter perfectly.
- Butterfinger bars: Crushed for that distinctive, crunchy candy flavor that defines the treat.
- Butter (melted): Brings moisture and richness, helping everything come together smoothly.
- Crunchy peanut butter: Delivers creamy, nutty depth and an extra layer of texture for every bite.
- Chocolate almond bark or candy coating: Ensures a glossy, firm chocolate shell that seals in the flavors beautifully.
How to Make Butterfinger Balls Recipe
Step 1: Mix Ingredients
Start off by combining the powdered sugar, graham cracker crumbs, crushed Butterfinger bars, melted butter, and crunchy peanut butter in a large bowl. Take your time mixing to make sure every bit of the mixture is well blended. It’s important for the texture that everything sticks together, yet keeps that inviting crumbly crunch from the crushed candy bars.
Step 2: Form Balls
Once your mixture looks evenly combined, roll it into bite-sized balls about 1 inch in diameter. Don’t worry if they aren’t perfectly round—these homemade treats have character! Placing them on a baking sheet lined with parchment paper makes cleanup a breeze and prevents sticking.
Step 3: Chill
Pop those formed balls into the refrigerator for about 30 minutes. This brief chilling session helps them firm up, making the next step of dipping into chocolate way easier and neater. Trust me, the chill time is absolutely worth it.
Step 4: Melt Chocolate
While your Butterfinger balls get cold, gently melt your chocolate almond bark or preferred candy coating according to the package instructions. Smooth, runny chocolate will coat your treats evenly and give that lovely shiny finish everyone loves.
Step 5: Dip Balls
Use a fork or dipping tool to coat each ball fully in the melted chocolate, then place it back on parchment paper to catch any drips. This is the satisfying part where your Butterfinger Balls Recipe really starts looking like the irresistible treat you anticipated!
Step 6: Set Chocolate
Let the chocolate set completely by leaving the coated balls at room temperature or placing them in the fridge. Once the chocolate is firm, your delicious Butterfinger balls are ready to enjoy or share with friends and family.
How to Serve Butterfinger Balls Recipe
Garnishes
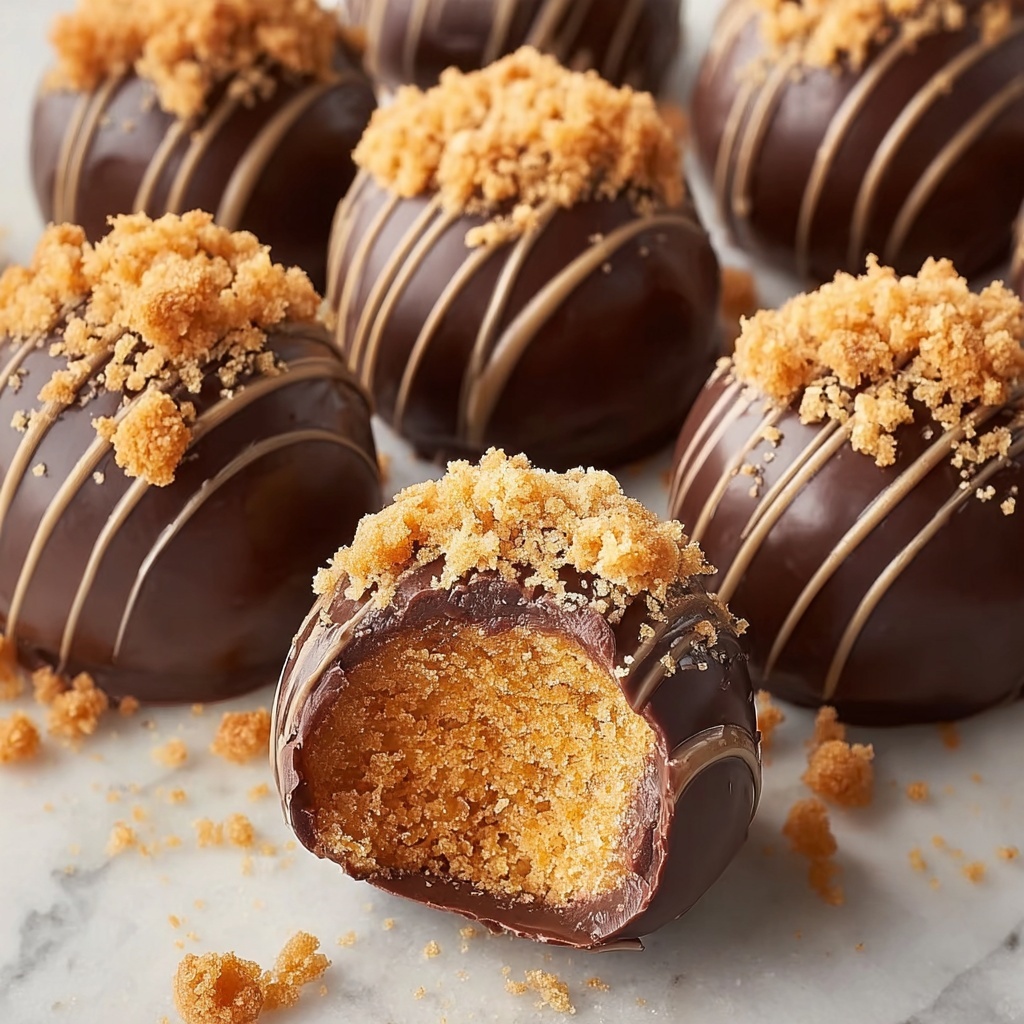
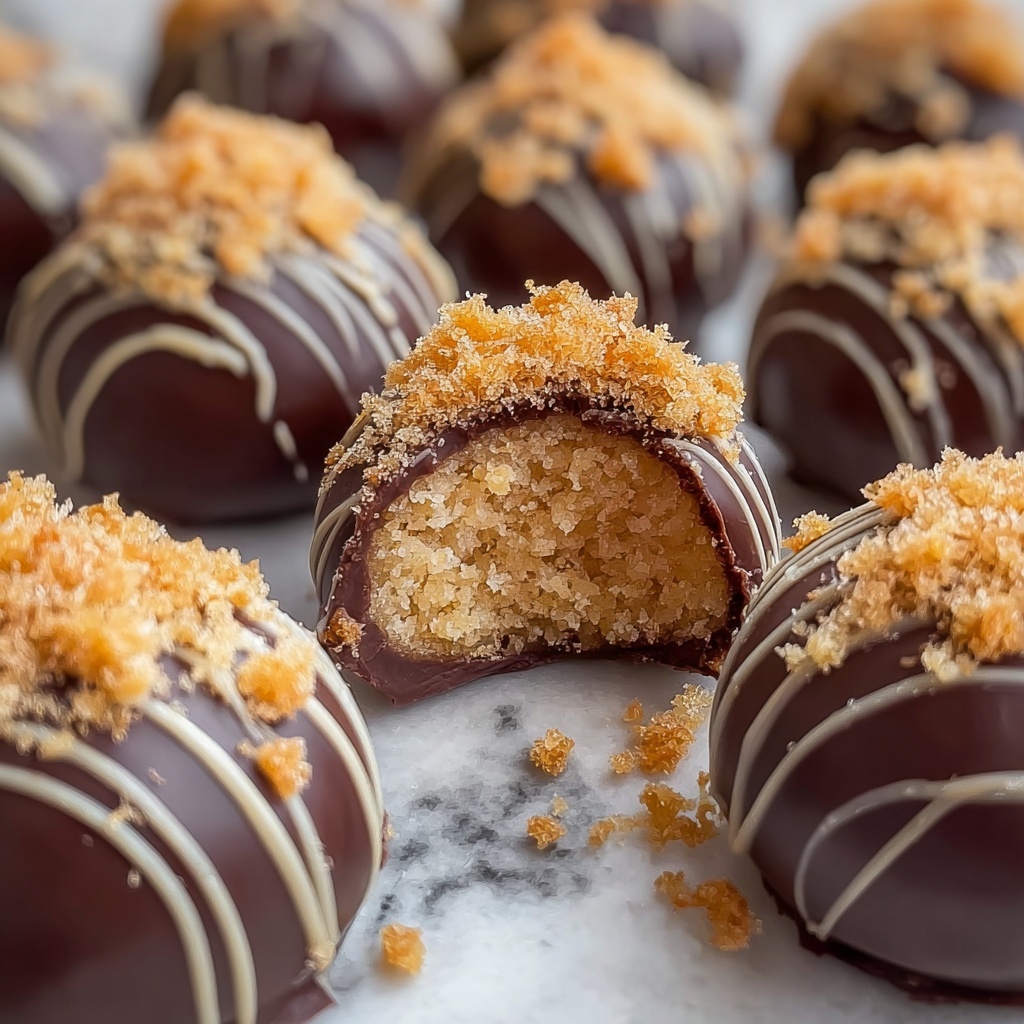
For an extra touch of fun and flavor, sprinkle a little crushed Butterfinger bar bits or chopped peanuts on top of the chocolate before it sets. This gives a crunchy, inviting look and highlights the key flavors inside. If you want to add a pop of color, a light dusting of edible gold powder or colorful sprinkles can make these treats even more festive.
Side Dishes
Butterfinger Balls make a fantastic dessert after any meal, but they also pair beautifully with a simple glass of cold milk or a cup of rich coffee. If you’re feeling adventurous, try serving them alongside vanilla ice cream for a decadent double dessert experience.
Creative Ways to Present
Consider arranging your Butterfinger Balls Recipe treats on a decorative platter with candy wrappers or small paper cups to make individual servings elegant and easy. You can also stack them in clear jars as a gift idea, or place them on skewers with alternating pieces of fruit and chocolate drizzle for a playful party presentation.
Make Ahead and Storage
Storing Leftovers
Once made, Butterfinger balls keep well in an airtight container in the refrigerator for up to a week. Keeping them cold not only preserves their freshness but also maintains that perfect firm texture you want when biting in.
Freezing
If you want to enjoy these treats later, freeze them in a single layer on a baking sheet first, then transfer to a freezer-safe container or bag. This prevents them from sticking together. They can stay fresh frozen for up to 3 months without losing flavor or texture.
Reheating
Butterfinger Balls don’t need reheating, but if the chocolate coating feels too hard after freezing, simply let them thaw at room temperature for 15-20 minutes before serving. Avoid microwaving, which can cause the chocolate to melt unevenly.
FAQs
Can I use smooth peanut butter instead of crunchy?
Absolutely! While crunchy peanut butter adds some extra texture, smooth peanut butter will still work wonderfully and create a creamy consistency in your Butterfinger Balls Recipe.
What if I can’t find chocolate almond bark?
No worries. You can substitute any good-quality chocolate candy coating or even melt chocolate chips with a little vegetable oil to achieve a silky coating. Just make sure it sets firmly for the best presentation.
How long do Butterfinger Balls last?
Stored properly in the fridge, these treats stay fresh for up to one week. For longer storage, freezing is a great option without sacrificing taste or texture.
Is it possible to make these gluten-free?
Yes! Simply swap out the graham cracker crumbs for a gluten-free alternative. Many gluten-free cracker crumbs or even crushed nuts can provide a similar texture and taste.
Can I double this recipe?
Definitely! This Butterfinger Balls Recipe scales beautifully. Just be sure you have a large enough mixing bowl and enough parchment paper-lined trays for chilling and dipping.
Final Thoughts
If you’ve been searching for an easy-to-make, crowd-pleasing dessert that’s packed with delicious flavors and delightful crunch, the Butterfinger Balls Recipe is your new best friend. They come together quickly, look effortlessly impressive, and will have everyone asking for the recipe. So grab those Butterfinger bars and gather your ingredients—your next favorite treat is just minutes away!
Print
Butterfinger Balls Recipe
- Prep Time: 15 minutes
- Cook Time: 0 minutes
- Total Time: 50 minutes
- Yield: 40 servings
- Category: Dessert
- Method: No-Cook
- Cuisine: American
Description
These Butterfinger Balls are a delightful no-bake treat combining crushed Butterfinger bars, creamy peanut butter, and a sweet graham cracker base, all coated in smooth melted chocolate. Perfect for parties or an indulgent snack, they are easy to make and yield about 40 bite-sized pieces.
Ingredients
Dry Ingredients
- 1 (16-oz) box powdered sugar
- 2½ cups graham cracker crumbs
- 5 (1.9-oz) Butterfinger bars, crushed
Wet Ingredients
- 1¼ cups butter, melted
- 1½ cups crunchy peanut butter
Coating
- 1 (24-oz) package chocolate almond bark or preferred chocolate candy coating
Instructions
- Mix Ingredients: In a large bowl, combine the powdered sugar, graham cracker crumbs, crushed Butterfinger bars, melted butter, and crunchy peanut butter. Use a sturdy spoon or your hands to mix everything together until fully combined and a thick mixture forms.
- Form Balls: Scoop and roll the mixture into 1-inch diameter balls. Place each formed ball onto a baking sheet lined with parchment paper to prevent sticking.
- Chill: Refrigerate the formed balls for 30 minutes. This chilling step firms up the mixture, making them easier to dip in chocolate without breaking apart.
- Melt Chocolate: Following the package instructions, melt the chocolate almond bark or your preferred chocolate candy coating until smooth and glossy. This can usually be done using a microwave in short bursts or a double boiler.
- Dip Balls: Using a fork or dipping tool, dip each chilled ball into the melted chocolate, fully coating it. Allow excess chocolate to drip off before placing the coated balls back on parchment paper.
- Set Chocolate: Let the dipped Butterfinger balls sit at room temperature or in the refrigerator until the chocolate coating is completely set and firm to the touch. Once set, they are ready to serve and enjoy.
Notes
- You can substitute the chocolate almond bark with any preferred chocolate candy coating or melting chocolate.
- Store the Butterfinger balls in an airtight container in the refrigerator for up to one week.
- For easier rolling and dipping, lightly wet your hands or use a small cookie scoop when forming balls.
- Adding a pinch of salt can balance the sweetness if desired.
- These treats are perfect for holiday parties, potlucks, or gifting.


