
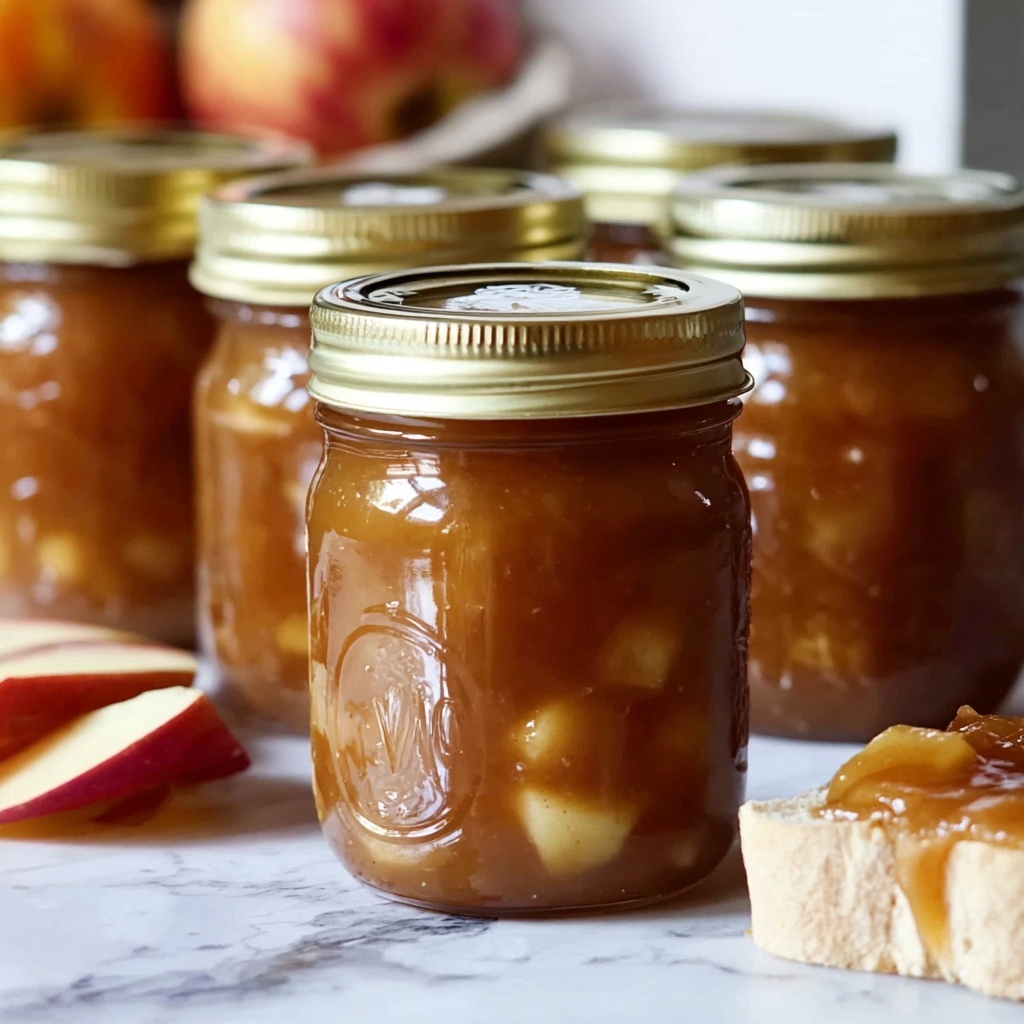
If you’ve ever dreamed of capturing the warm, spiced essence of autumn in a jar, this Canning Apple Butter Recipe is your new best friend. Bursting with the natural sweetness of Fuji, Gala, or Honeycrisp apples and kissed by cinnamon, nutmeg, and cloves, it’s like a cozy hug for your taste buds. This recipe takes a little patience but rewards you handsomely with a silky, deeply flavored spread that you can enjoy year-round. Whether slathered on toast, swirled into yogurt, or gifted to friends, this homemade apple butter is a rustic treasure worth savoring.
Ingredients You’ll Need
Gathering your ingredients for the Canning Apple Butter Recipe is refreshingly simple. Each one plays a crucial role in building the perfect balance of sweetness, spice, and rich texture that defines this spread.
- 6 lbs apples (Fuji, Gala, or Honeycrisp): These varieties bring a natural sweetness and firm texture that stands up beautifully to slow cooking.
- 2 cups granulated sugar: Adds pure sweetness that rounds out the tartness of the apples.
- 1 cup brown sugar, packed: Imparts depth and a hint of caramel flavor for a luscious finish.
- 1 tablespoon ground cinnamon: The star spice that warms every bite with familiar autumnal goodness.
- ½ teaspoon ground nutmeg: Adds complexity with its slightly nutty, sweet aroma.
- ½ teaspoon ground cloves: Just a whisper enhances the spice profile without overpowering.
- ¼ teaspoon salt: Balances sweetness and amplifies all the rich flavors.
- 1 tablespoon vanilla extract: Infuses a creamy sweetness that rounds out the spices perfectly.
- ½ cup apple cider (optional): Introduces a subtle tang and intensifies the pure apple flavor.
How to Make Canning Apple Butter Recipe
Step 1: Prepare the Apple Butter
Start by placing your peeled, cored, and chopped apples directly into a large slow cooker. Add both sugars, cinnamon, nutmeg, cloves, salt, and the optional apple cider if you’re using it. Stir everything so that the spices and sugars evenly coat the apples. Cover the slow cooker and let the magic happen by cooking on low for 10 to 12 hours. The slow cooking process allows the apples to break down gently, developing that signature dark brown color and rich flavor. Be sure to stir occasionally to prevent sticking and ensure even cooking.
Step 2: Blend the Apple Mixture
Once the apples are ultra-soft and richly colored, grab an immersion blender and puree the mixture right in the slow cooker, transforming chunks into a velvety smooth butter. If you find the apple butter a bit on the thin side, no worries—leave the lid off and let it cook for another hour or two. This slow reduction step thickens it beautifully. After it reaches your desired consistency, stir in the vanilla extract for that final, comforting note.
Step 3: Prepare for Canning
Sanitation is key when canning, so start by sterilizing your jars and lids. Boil them in water for about 10 minutes to ensure they’re completely clean and safe. Keep those jars warm – filling them while hot helps prevent breakage and ensures a safe seal later.
Step 4: Fill and Process Jars
Carefully ladle the hot apple butter into your warm, sterilized jars, leaving about ¼ inch of headspace at the top. Wipe the rims clean with a damp cloth to ensure a tight seal, then place the lids on and screw the rings finger-tight. Next, it’s time for the water bath. Submerge the jars fully with at least an inch of boiling water covering them and process for 10 minutes. If you live at a high altitude, adjust your processing time accordingly to keep your apple butter safe and shelf-stable.
Step 5: Cool and Store
Remove your jars carefully and set them on a towel to cool undisturbed. You should hear the satisfying pop of the seals as they set. Once cooled, check that each lid is sealed properly before storing them in a cool, dark place. Properly canned, your apple butter can last beautifully for up to a year, ready to be enjoyed whenever you crave a taste of autumn.
How to Serve Canning Apple Butter Recipe
Garnishes
Bring your apple butter to life with simple garnishes that enhance its warm flavors. A sprinkle of extra cinnamon or a light dusting of chopped toasted pecans adds delightful aroma and texture. For a little festive flair, try a swirl of whipped cream or a drizzle of honey right on top.
Side Dishes
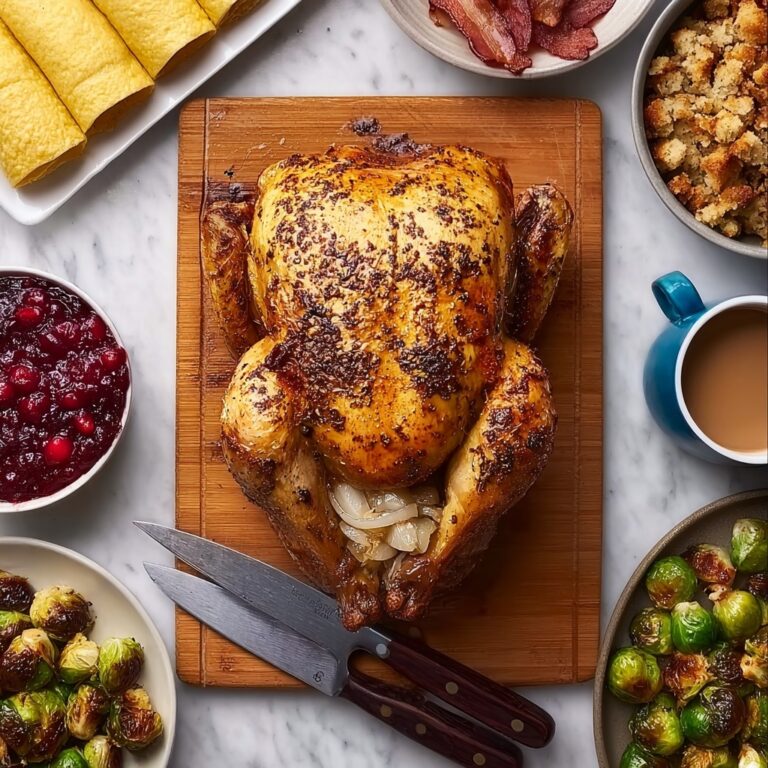
The magic of this Canning Apple Butter Recipe is that it pairs wonderfully with so many dishes. Spread it over warm biscuits or crusty bread for breakfast, or serve it alongside roasted pork or grilled chicken as a luscious condiment. It also makes a heavenly addition to cheese boards, complementing sharp cheddar or creamy brie perfectly.
Creative Ways to Present
Don’t be afraid to get inventive! Use apple butter as a filling for thumbprint cookies, swirl it into oatmeal or yogurt bowls for an extra punch of flavor, or even brush it over pancakes or waffles instead of syrup. For a party, serve it in mini jars tied with ribbon—your guests will love taking a jar home as a sweet souvenir.
Make Ahead and Storage
Storing Leftovers
Once opened, store your apple butter in the refrigerator where it will stay fresh for about 2 to 3 weeks. Keep it in a clean jar with a tight lid to preserve that luscious flavor and smooth texture.
Freezing
If you want to stash away apple butter for longer than the refrigerator allows, freezing is an excellent option. Transfer your apple butter into freezer-safe containers, leaving some room for expansion. Frozen apple butter maintains its flavor and texture well for up to 6 months, making it perfect for future use or gift giving.
Reheating
Bring your apple butter back to life by gently reheating it in a saucepan over low heat, stirring often to prevent it from sticking or burning. Reheated apple butter can be served warm as a cozy spread or sauce, perfect for chilly mornings or dessert toppings.
FAQs
Can I use different apple varieties for this recipe?
Absolutely! While Fuji, Gala, and Honeycrisp give a great balance of sweetness and texture, you can experiment with other apples like Granny Smith for more tartness or Braeburn for a spiced flavor. Just keep an eye on cooking times as some varieties break down faster.
Do I need apple cider for this recipe?
Apple cider is optional but highly recommended. It deepens the apple flavor and adds complexity, enriching the overall taste. If you don’t have cider, you can skip it or substitute a bit of water, but the flavor won’t be quite as vibrant.
How long does the sealed apple butter last?
Properly canned and stored in a cool, dark place, sealed jars of apple butter can last up to one year. Always check the seal before use, and if any sign of spoilage appears, discard immediately.
Can I use a stovetop method instead of a slow cooker?
Yes, you can simmer the apples on the stove at low heat, stirring often, but the slow cooker method is more hands-off and allows for more even cooking and deeper flavor development. Just be prepared to stir frequently to prevent burning.
What if my apple butter is too thick or too thin?
If it’s too thick, stir in a little apple cider or water and warm gently to reach your desired consistency. If too thin, cook it uncovered on low heat, stirring occasionally until it thickens up enough to spread easily.
Final Thoughts
There’s something truly special about making your own apple butter and preserving it with care. This Canning Apple Butter Recipe invites you to slow down, embrace the comforting smells and flavors of the season, and create a pantry staple that delivers pure joy in every spoonful. I promise, once you try it, you’ll want to make it part of your yearly tradition—and share it with everyone you love.
Print
Canning Apple Butter Recipe
- Prep Time: 30 minutes
- Cook Time: 12 hours
- Total Time: 12 hours 30 minutes
- Yield: 4 cups (approximately 4 half-pint jars)
- Category: Condiment
- Method: Slow Cooking
- Cuisine: American
- Diet: Vegetarian
Description
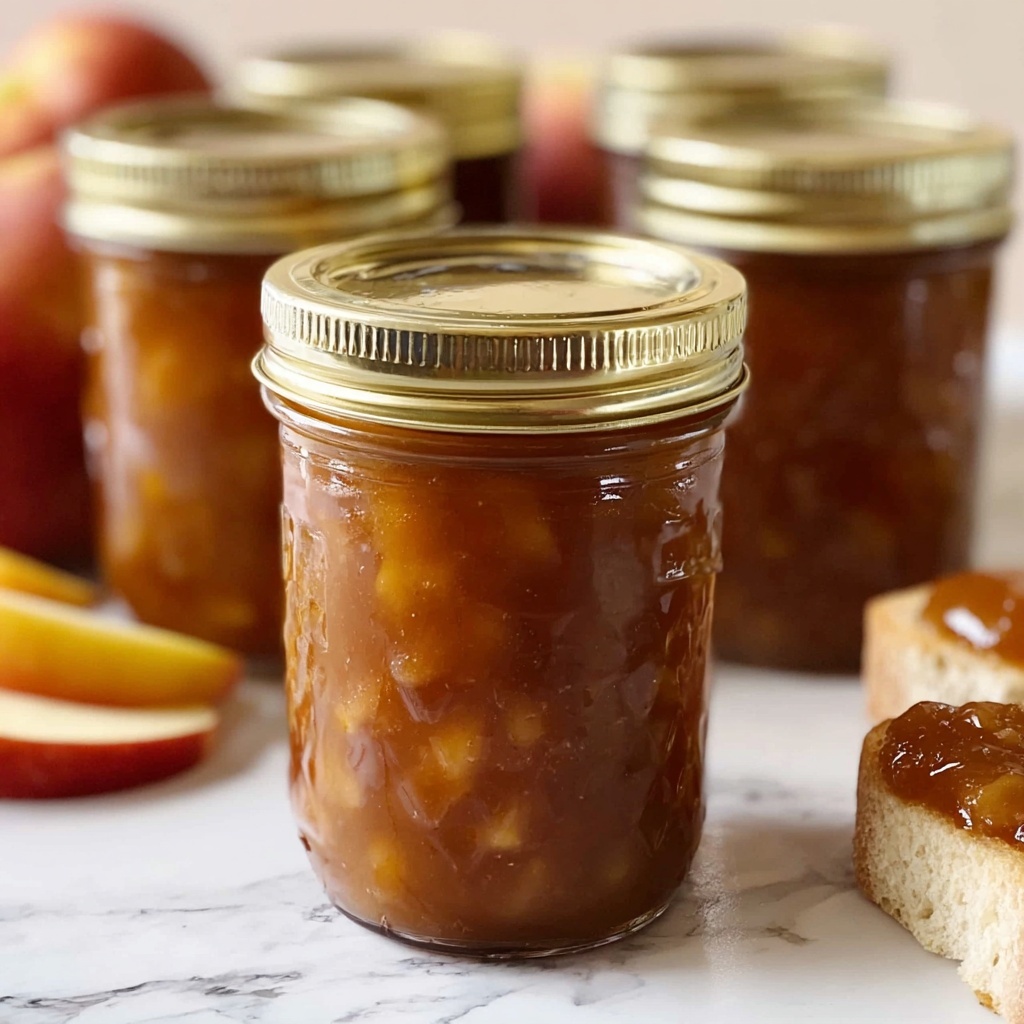
This homemade canning apple butter recipe transforms fresh apples into a rich, spiced spread perfect for toast, baking, or gifting. Slow-cooked to deepen the flavors, blended to a smooth texture, and preserved via traditional water bath canning, this apple butter combines sweet and warming spices for an irresistible fall treat.
Ingredients
Apple Butter Ingredients
- 6 lbs apples (Fuji, Gala, or Honeycrisp), peeled, cored, and chopped
- 2 cups granulated sugar
- 1 cup brown sugar, packed
- 1 tablespoon ground cinnamon
- ½ teaspoon ground nutmeg
- ½ teaspoon ground cloves
- ¼ teaspoon salt
- 1 tablespoon vanilla extract
- ½ cup apple cider (optional for flavor depth)
Instructions
- Prepare the Apple Butter: Place the peeled, cored, and chopped apples into a large slow cooker. Add granulated sugar, brown sugar, cinnamon, nutmeg, cloves, salt, and apple cider if using. Stir well to combine all ingredients.
- Cook the Apple Blend: Cover the slow cooker and cook on low heat for 10 to 12 hours. Stir occasionally to prevent sticking and to evenly cook the apples until they are very soft and the mixture turns a dark brown color.
- Blend the Apple Mixture: Use an immersion blender directly in the slow cooker to puree the mixture until smooth. If the texture is too thin, cook uncovered for an additional 1 to 2 hours to thicken the apple butter further.
- Add Vanilla Extract: Stir in the vanilla extract into the thickened apple butter to enhance the flavor and aroma.
- Sterilize Jars and Lids: Boil canning jars and lids in water for 10 minutes to sterilize them. Keep jars warm until ready to fill to prevent cracking when filled with hot apple butter.
- Fill the Jars: Carefully ladle the hot apple butter into the sterilized jars, leaving a ¼ inch headspace at the top. Wipe rims clean with a damp cloth, place the lids on, and screw the rings until fingertip-tight.
- Process in Water Bath: Submerge the filled jars fully in a boiling water bath, ensuring at least 1 inch of water covers the tops. Boil for 10 minutes to properly seal the jars. Adjust processing time if you are at higher elevations.
- Cool and Store: Remove jars from water bath and let cool on a towel or rack without disturbing. Check seals once cooled. Store sealed jars in a cool, dark place for up to one year.
Notes
- Use a slow cooker for hands-off, even cooking and flavor development.
- Apple cider is optional but adds depth and complexity to the flavor.
- Adjust processing time for altitude: add 1 minute for every 1000 feet above 1000 feet elevation.
- Ensure jars are properly sealed before storing; refrigerated for immediate use if any jars do not seal correctly.
- This recipe yields a thick, sweet apple butter perfect for spreading on bread or using in recipes requiring apple flavor.
