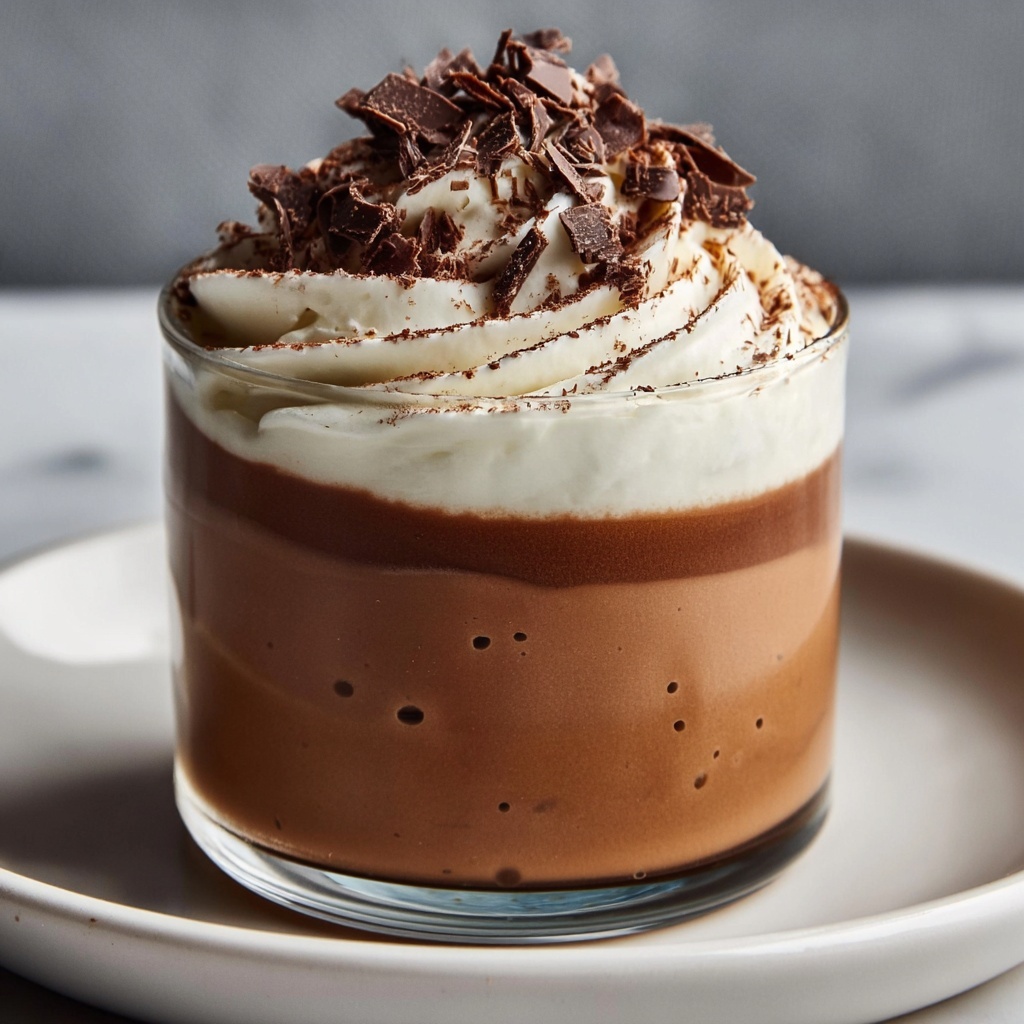
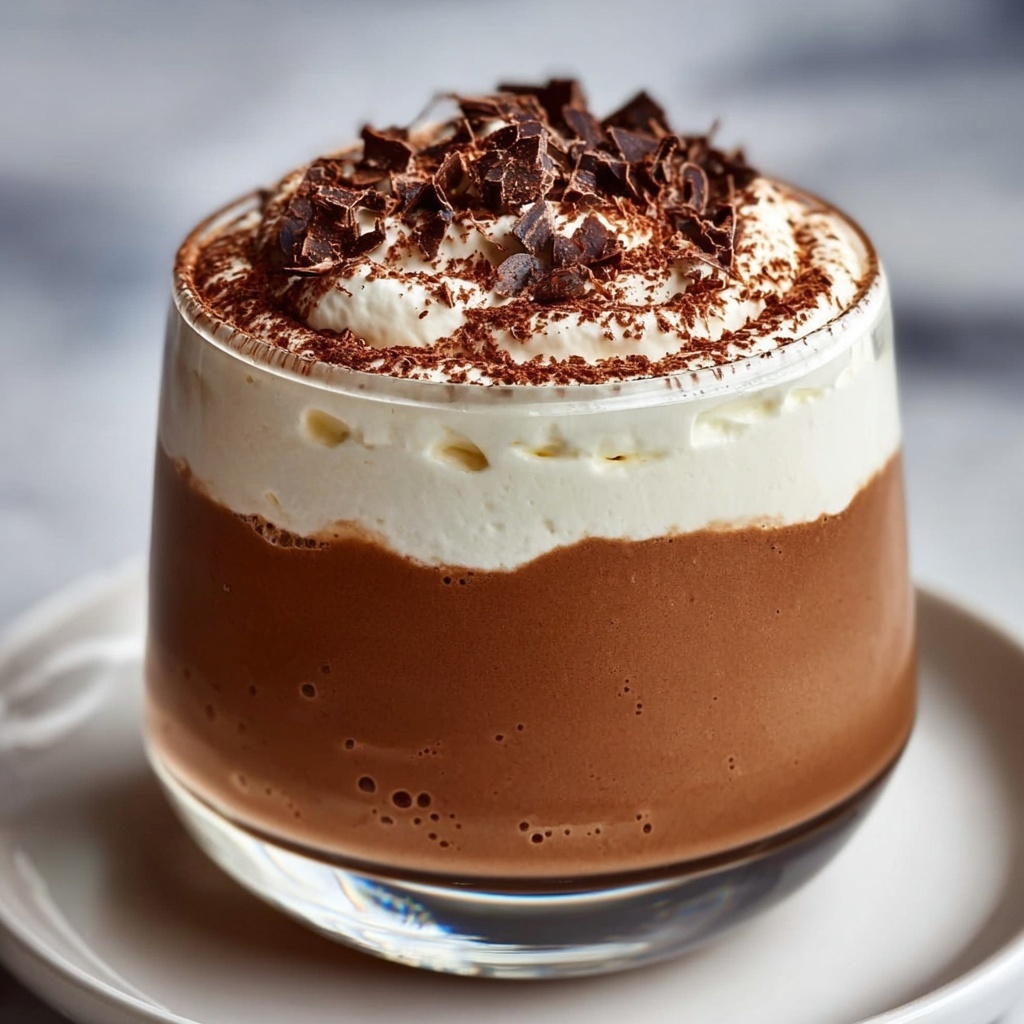
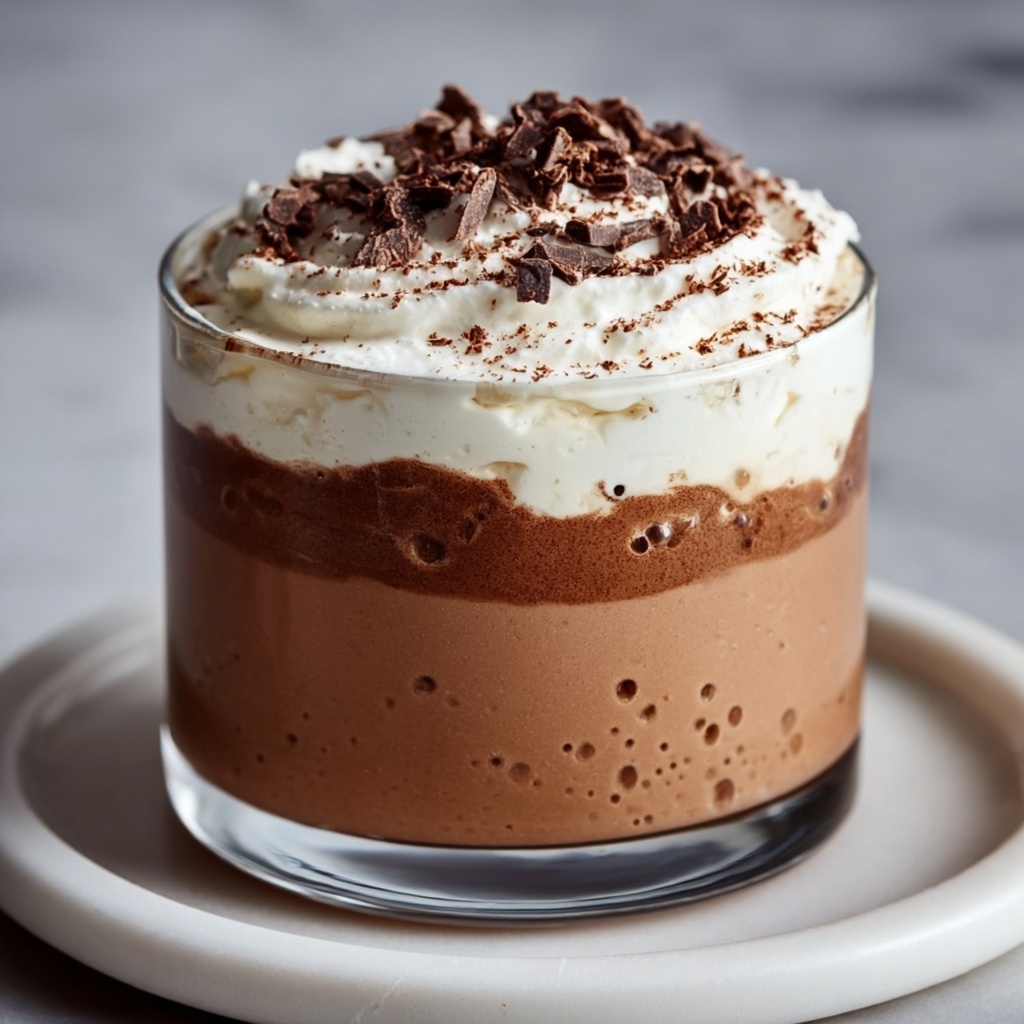
If you have a soft spot for desserts that are both elegant and indulgent, then this Coffee Mousse Recipe will quickly become one of your absolute favorites. It’s a luscious treat that marries the rich, velvety texture of whipped cream with the deep, robust flavor of coffee and dark chocolate. Each spoonful is a perfect little moment of bliss, ideal for impressing guests or simply treating yourself after a long day. What’s truly wonderful about this coffee mousse is how surprisingly easy it is to make, yet it delivers a sophisticated flavor profile that feels like a true celebration in your mouth.
Ingredients You’ll Need
These ingredients are simple, yet each plays an essential role in crafting the perfect coffee mousse. From the creaminess of heavy cream to the intoxicating depth of espresso and dark chocolate, every item improves the texture, flavor, or appearance of the final dish.
- 1 cup heavy cream: This is the heart of the mousse, providing the smooth, airy texture you expect from a mousse.
- 1/2 cup milk: Adds the right touch of creaminess without overwhelming the coffee flavor.
- 1/4 cup espresso or strong coffee, cooled: The star flavor that gives this mousse its bold, irresistible coffee kick.
- 1/4 cup confectioners sugar: A gentle sweetness that balances the bitterness of the coffee and dark chocolate.
- 4 ounces dark chocolate, melted and cooled: Adds depth and richness for a perfectly balanced dessert.
How to Make Coffee Mousse Recipe
Step 1: Whip the Cream
Begin by whipping the heavy cream until stiff peaks form. This is crucial because those peaks give your mousse the light, airy quality that makes it so delightful to eat.
Step 2: Combine the Coffee Mixture
In a separate bowl, mix together the milk, cooled espresso or strong coffee, confectioners sugar, and melted dark chocolate. The mixture should be smooth and well combined, with the sugar fully dissolved to ensure the perfect sweetness throughout.
Step 3: Fold in the Whipped Cream
Gently fold the whipped cream into the coffee-chocolate mixture. Take your time with this step to preserve the airiness of the whipped cream, which will give the mousse its signature fluffy texture.
Step 4: Chill Until Set
Divide your mousse into individual serving glasses or bowls, then refrigerate for at least two hours. The chilling helps the flavors meld beautifully and allows the mousse to firm up to the ideal consistency.
Step 5: Enjoy Your Coffee Mousse
Once chilled, your Coffee Mousse Recipe is ready to delight. Serve cold and prepare for endless compliments on this luscious, coffee-infused masterpiece.
How to Serve Coffee Mousse Recipe
Garnishes
A simple garnish can elevate your Coffee Mousse Recipe from lovely to spectacular. Consider a dusting of cocoa powder or a few finely shaved chocolate curls on top. Whipped cream dollops or a sprinkle of espresso beans can also add a charming finishing touch.
Side Dishes
While the mousse stands perfectly on its own, pairing it with fresh berries or a buttery biscotti can create a dynamic balance of flavors and textures. The tartness of the berries or the crunch of the cookie offers a delightful contrast to the creamy mousse.
Creative Ways to Present
Try serving your coffee mousse layered with crushed cookies or a caramel drizzle for a little extra flair. Using elegant glasses, mason jars, or even chocolate cups will make the presentation feel fancy and festive, perfect for dinner parties or special occasions.
Make Ahead and Storage
Storing Leftovers
Leftover coffee mousse should be stored in an airtight container in the refrigerator. It will stay fresh and creamy for up to 2 days, making it easy to prepare in advance and enjoy later without losing any quality.
Freezing
Freezing is generally not recommended for this Coffee Mousse Recipe because the delicate texture can be affected, turning icy or grainy. It’s best enjoyed fresh or refrigerated.
Reheating
This mousse is designed to be served cold, so reheating is not advised. Instead, simply let refrigerated leftovers sit at room temperature for a few minutes before serving, to allow the flavors to shine through beautifully.
FAQs
Can I use instant coffee instead of espresso?
Absolutely! Instant coffee dissolved in a little hot water works perfectly if you don’t have espresso on hand. Just be sure it’s cooled before mixing in to maintain the mousse’s texture.
Is it possible to make this recipe dairy-free?
You can substitute heavy cream and milk with coconut cream and almond milk, respectively. The texture might be slightly different, but you’ll still get a delicious coffee-flavored mousse.
How long does it take to set properly?
At least two hours of chilling in the refrigerator is required for the mousse to set firm enough to serve. For best results, chill it longer if you have time, as the flavors improve with patience.
Can I prepare this mousse ahead of time for a party?
Definitely! The Coffee Mousse Recipe is great for make-ahead desserts. Prepare it a day ahead and keep it covered in the fridge so you can focus on your guests and enjoy stress-free entertaining.
What if I want a stronger coffee flavor?
Simply increase the amount of espresso or strong coffee slightly, but do this carefully to avoid overpowering the balance of flavors. A little more coffee adds a lovely, intense note.
Final Thoughts
There’s something undeniably special about the way a well-made Coffee Mousse Recipe can end a meal—luxurious, smooth, and bursting with rich coffee flavor. I encourage you to give this recipe a try, whether for a quiet night in or your next gathering. It’s one of those desserts that feels like a personal reward, and sharing it only makes it sweeter.
Print
Coffee Mousse Recipe
- Prep Time: 15 minutes
- Cook Time: 2 hours (chilling time)
- Total Time: 2 hours 15 minutes
- Yield: 4 servings
- Category: Dessert
- Method: No-Cook
- Cuisine: French
Description
This Coffee Mousse is a luscious and creamy dessert combining the rich flavors of espresso and dark chocolate. Lightly sweetened with confectioners sugar and whipped to airy perfection, it offers a delightful texture and an indulgent finish perfect for coffee lovers seeking a sophisticated treat.
Ingredients
Ingredients
- 1 cup heavy cream
- 1/2 cup milk
- 1/4 cup espresso or strong coffee, cooled
- 1/4 cup confectioners sugar
- 4 ounces dark chocolate, melted and cooled
Instructions
- Whip Cream: Whip the heavy cream in a chilled bowl until stiff peaks form, ensuring the cream is light and airy to create the perfect mousse base.
- Combine Ingredients: In a separate bowl, mix together the milk, cooled espresso or strong coffee, confectioners sugar, and the melted dark chocolate, blending until smooth and well combined.
- Fold: Gently fold the whipped cream into the coffee-chocolate mixture using a spatula, being careful to maintain the airiness of the whipped cream while fully incorporating the ingredients.
- Chill: Divide the mousse evenly into serving glasses or bowls and refrigerate for at least two hours, allowing the mousse to set and develop richer flavors.
- Serve: Serve the coffee mousse chilled and enjoy this decadent, creamy dessert that perfectly balances coffee and chocolate flavors.
Notes
- Use freshly brewed espresso or very strong coffee for the best flavor impact.
- Ensure the melted chocolate is cool before mixing to prevent deflating the whipped cream.
- For a sweeter mousse, adjust the confectioners sugar to taste.
- Chilling time can be extended up to 4 hours or overnight for a firmer texture.
- This dessert pairs beautifully with a sprinkle of cocoa powder or a few coffee beans as garnish.


