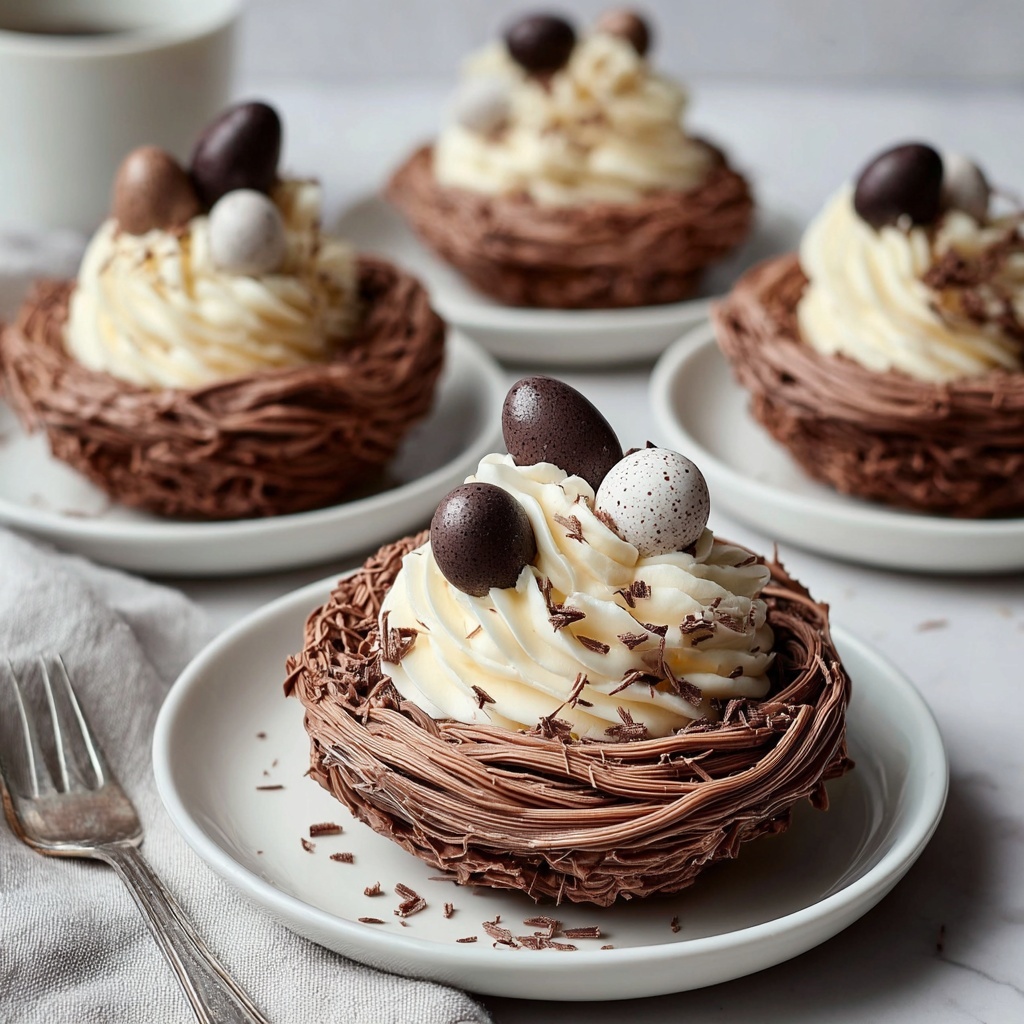
If you’re looking for a charming and crowd-pleasing dessert, you absolutely must try this Delightful Chocolate Meringue Easter Nests Recipe. These airy, crisp-on-the-outside, and slightly soft-on-the-inside nests combine the rich flavor of cocoa with the light, sweet crunch of meringue, all crowned with melted dark chocolate and colorful mini eggs that make them perfect for any festive occasion. They are not only visually stunning but a total joy to make and share, perfect for bringing smiles and a little bit of magic to your Easter table or any celebration.
Ingredients You’ll Need
The beauty of these nests lies in their simplicity. Each ingredient plays a critical role in building that perfect balance of texture and taste, turning humble pantry staples into something truly special.
- 4 large egg whites: The base of the meringue, whipped until fluffy and stable for that light and airy texture.
- 1 cup granulated sugar: Sweetens and stabilizes the meringue, helping it hold its shape during baking.
- 2 tablespoons cocoa powder: Adds a rich chocolate flavor and a lovely deep color to the meringue mixture.
- 4 oz dark chocolate (melted): For drizzling on top, providing a luscious, slightly bitter contrast to the sweet meringue.
- Mini eggs or colorful candies for filling: These delightful toppings bring the nests to life with fun colors and festive spirit.
How to Make Delightful Chocolate Meringue Easter Nests Recipe
Step 1: Preparing Your Oven and Tools
Start by preheating your oven to 225°F (110°C), which is low enough to dry the meringue slowly without browning, ensuring a tender inside. Line a baking sheet with parchment paper to prevent sticking and make cleanup a breeze.
Step 2: Whipping the Egg Whites
In a perfectly clean bowl (no grease allowed), whip your egg whites until frothy using an electric mixer. Gradually add the granulated sugar a little at a time while continuing to beat until you reach stiff, glossy peaks. This phase takes around 5 to 7 minutes and it’s crucial for that signature meringue structure.
Step 3: Incorporating Cocoa Powder
Gently fold in the cocoa powder to avoid deflating your beautiful meringue. The cocoa instantly transforms the meringue into a chocolatey wonder, changing the color and adding a layer of indulgent flavor that’s soft but unmistakably chocolatey.
Step 4: Shaping the Nests
Spoon the chocolate meringue onto your prepared baking sheet, creating small circular mounds about 2 inches high. Use the back of a spoon to create an indent in the center of each mound, forming the ‘nest’ that will hold the mini eggs or candies later.
Step 5: Baking to Perfection
Bake the nests in your preheated oven for 1 hour. The slow bake dries them out so they’re crisp on the outside but still have a soft, almost marshmallow-like center. After baking, leave them to cool completely on the baking sheet before removing them carefully—this cool-down step helps maintain their delicate structure.
Step 6: Decorating and Filling
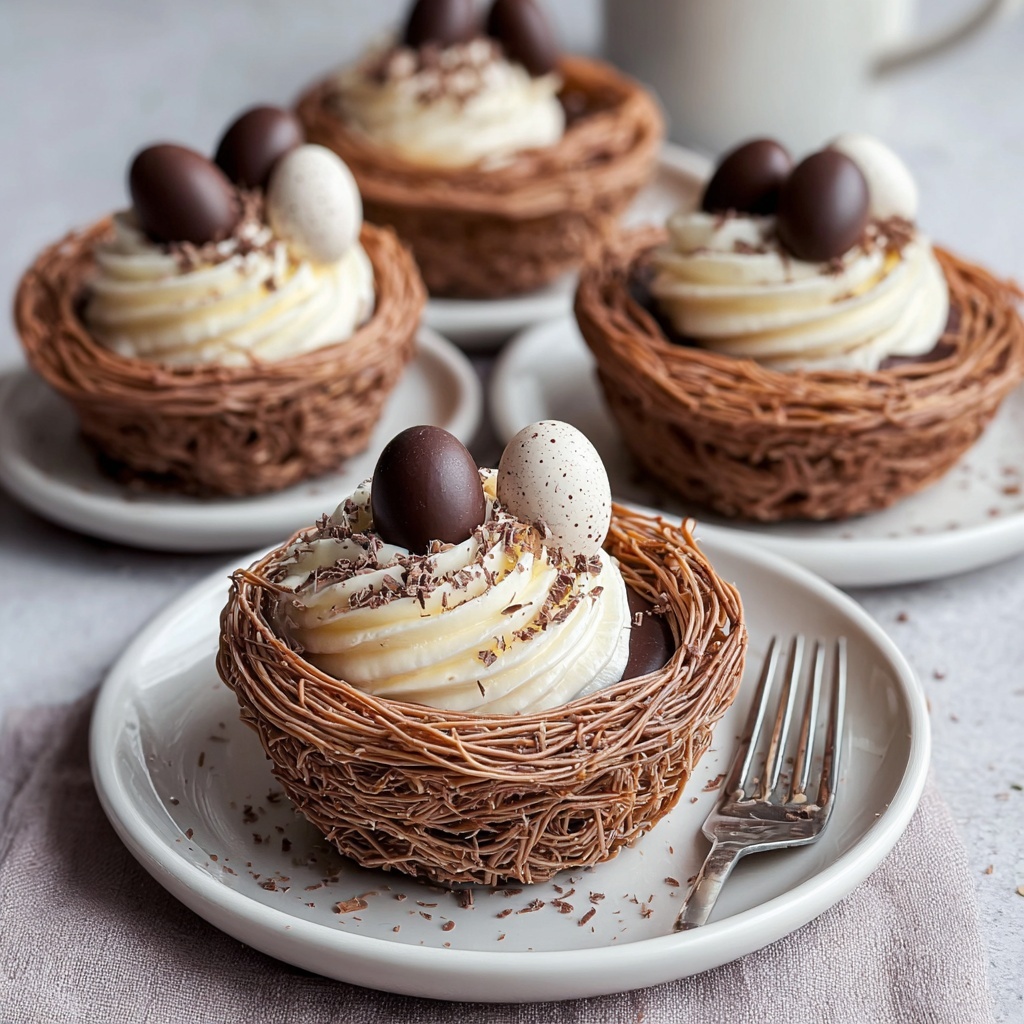
Once completely cool, drizzle the melted dark chocolate over each nest. This adds a glossy finish and a rich bitterness that offsets the sweet meringue perfectly. Finally, fill each nest center with mini eggs or colorful candies for that festive, whimsical touch that instantly makes these desserts so special and fun.
How to Serve Delightful Chocolate Meringue Easter Nests Recipe
Garnishes
Beyond the classic mini eggs, try sprinkling some edible glitter, finely chopped nuts, or even a light dusting of cocoa powder for extra flair. Fresh mint leaves or edible flowers can add a fresh, springtime vibe that pairs beautifully with the chocolate tones.
Side Dishes
Pair these nests with a simple cup of espresso or a creamy hot chocolate for a delightful contrast of temperatures and flavors. A light, fruity salad or fresh berries on the side can also complement the sweetness of the meringue and add balance to your dessert spread.
Creative Ways to Present
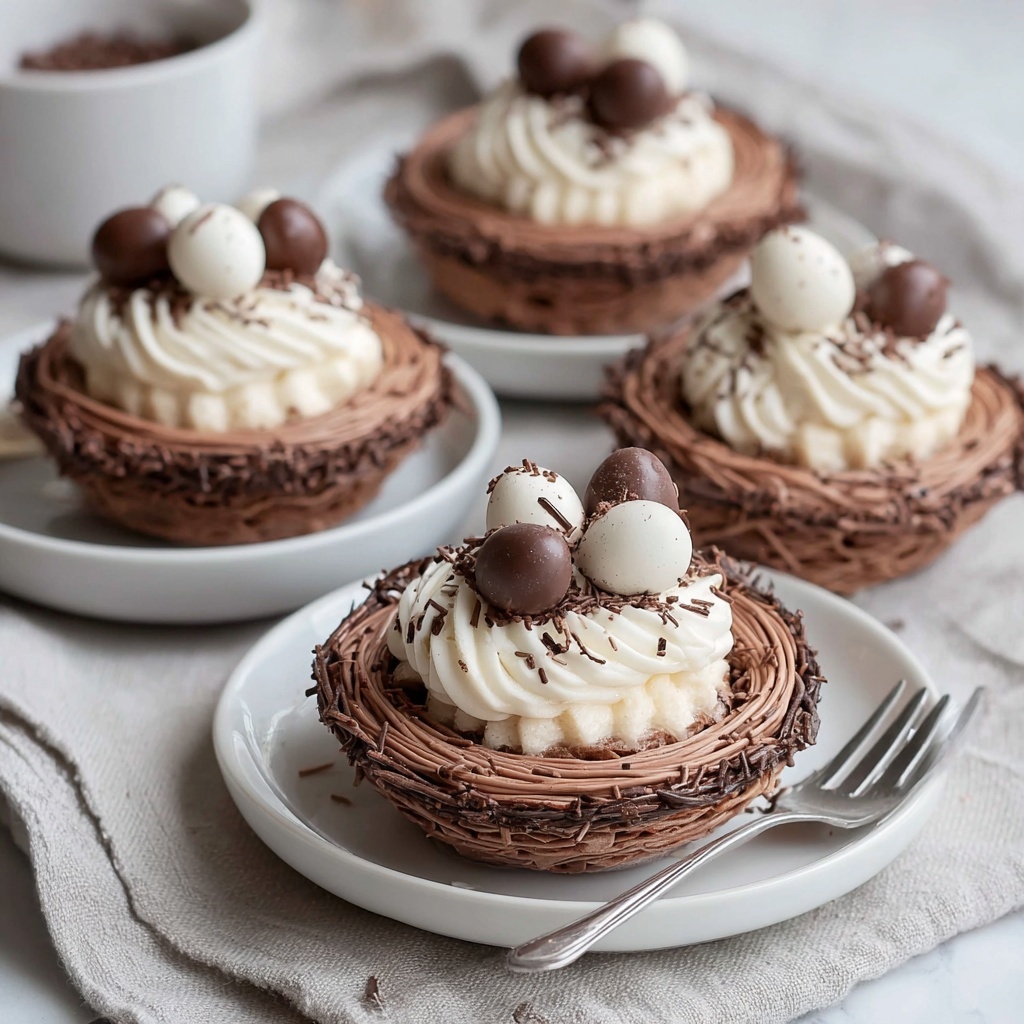
Serve your Delightful Chocolate Meringue Easter Nests Recipe on a rustic wooden board, scatter pastel-colored confetti or petals for a festive look, or place each nest inside a decorative cupcake liner for a tidy, gift-ready finish. These small touches turn your dessert into an enchanting centerpiece.
Make Ahead and Storage
Storing Leftovers
Keep any leftover nests in an airtight container at room temperature. Because meringues absorb moisture, avoid refrigeration as it can make them soggy. They’ll stay fresh and crisp for up to 3 days, perfect if you want to make them in advance.
Freezing
You can freeze these meringue nests if you want to prepare them way ahead of time. Place them in a single layer on a baking sheet to flash freeze, then transfer to a ziplock bag or container. Freeze for up to 2 weeks, and thaw at room temperature when ready to enjoy.
Reheating
Meringues don’t really reheat well since their texture relies on the delicate balance of moisture. If they have softened, you can briefly crisp them in a low oven at 200°F (90°C) for about 5 minutes, but be careful not to brown or melt the chocolate topping.
FAQs
Can I use milk chocolate instead of dark chocolate?
Absolutely! Milk chocolate will give a sweeter, creamier finish compared to dark chocolate. Just be mindful it may be less rich, but it still pairs wonderfully with the chocolate meringue nests.
What if I don’t have a stand mixer? Can I whip egg whites by hand?
While it’s possible to whip egg whites by hand with a whisk, it’s quite labor-intensive and may take longer. An electric hand mixer really helps reach stiff peaks faster and with less effort, ensuring the perfect texture for your meringue.
Why is it important to use room temperature egg whites?
Room temperature egg whites whip more easily and to a greater volume than cold ones. This means you get better stability and fluffiness in your meringue, which is essential for these delightful nests.
Can I make these nests without cocoa powder?
You can, yes! Leaving out the cocoa powder will give you classic white meringue nests. They’ll still be delicious and perfect for decorating with colorful candies, but you’ll miss that lovely chocolate flavor and color.
How do I prevent the meringue from cracking after baking?
Slow baking at a low temperature and gentle cooling on the baking sheet helps prevent cracks. Avoid opening the oven door too often during baking to keep even heat. If some cracks appear, don’t worry—they add rustic charm to your Easter nests.
Final Thoughts
This Delightful Chocolate Meringue Easter Nests Recipe is an absolute joy to make and even more fun to share. With just a handful of simple ingredients and some gentle patience, you’ll create a show-stopping dessert that’s light, chocolatey, and full of festive sweetness. Give it a try and watch how these whimsical nests become a holiday favorite for everyone lucky enough to taste them!
Print
Delightful Chocolate Meringue Easter Nests Recipe
- Prep Time: 20 minutes
- Cook Time: 1 hour
- Total Time: 1 hour 20 minutes
- Yield: 12 servings
- Category: Desserts
- Method: Baking
- Cuisine: American
- Diet: Gluten Free
Description
Delightful Chocolate Meringue Easter Nests are light and airy treats perfect for celebrating the holiday. These delicate nests combine whipped egg whites, sugar, and cocoa powder to create a crisp exterior with a soft inside, topped with melted dark chocolate and filled with colorful mini eggs or candies for a festive touch.
Ingredients
Meringue
- 4 large egg whites
- 1 cup granulated sugar
- 2 tablespoons cocoa powder
Topping and Filling
- 4 oz dark chocolate (melted)
- Mini eggs or colorful candies for filling
Instructions
- Preheat oven: Preheat your oven to 225°F (110°C) and line a baking sheet with parchment paper to prevent sticking and ensure even baking.
- Whip egg whites: In a clean bowl, whip the egg whites until frothy. Gradually add the sugar while continuing to beat the mixture until stiff peaks form, which should take about 5-7 minutes. This step is crucial for achieving the meringue’s light texture.
- Fold in cocoa powder: Gently fold the cocoa powder into the whipped egg whites to avoid deflating the mixture, resulting in a smooth chocolate flavor evenly distributed.
- Shape nests: Spoon the meringue mixture onto the prepared baking sheet, shaping into circular nests approximately 2 inches high. Create a small indent in the center of each nest to hold the filling later.
- Bake: Bake the meringue nests for 1 hour at the preheated temperature until they are dry on the outside but remain soft inside. This slow baking helps maintain their delicate texture.
- Cool: Allow the nests to cool completely on the baking sheet to prevent cracking or breaking upon removal.
- Add chocolate and filling: Drizzle the melted dark chocolate over the cooled meringue nests and fill the centers with mini eggs or colorful candies for a festive finish.
Notes
- Ensure the mixing bowl and beaters are completely clean and free of fat for best egg white whipping results.
- Egg whites should be at room temperature for optimal volume when whipped.
- Be gentle when folding in cocoa powder to avoid losing air from the meringue.
- Allow nests to cool fully before drizzling chocolate to prevent melting.
- Store nests in an airtight container to keep them crisp.


