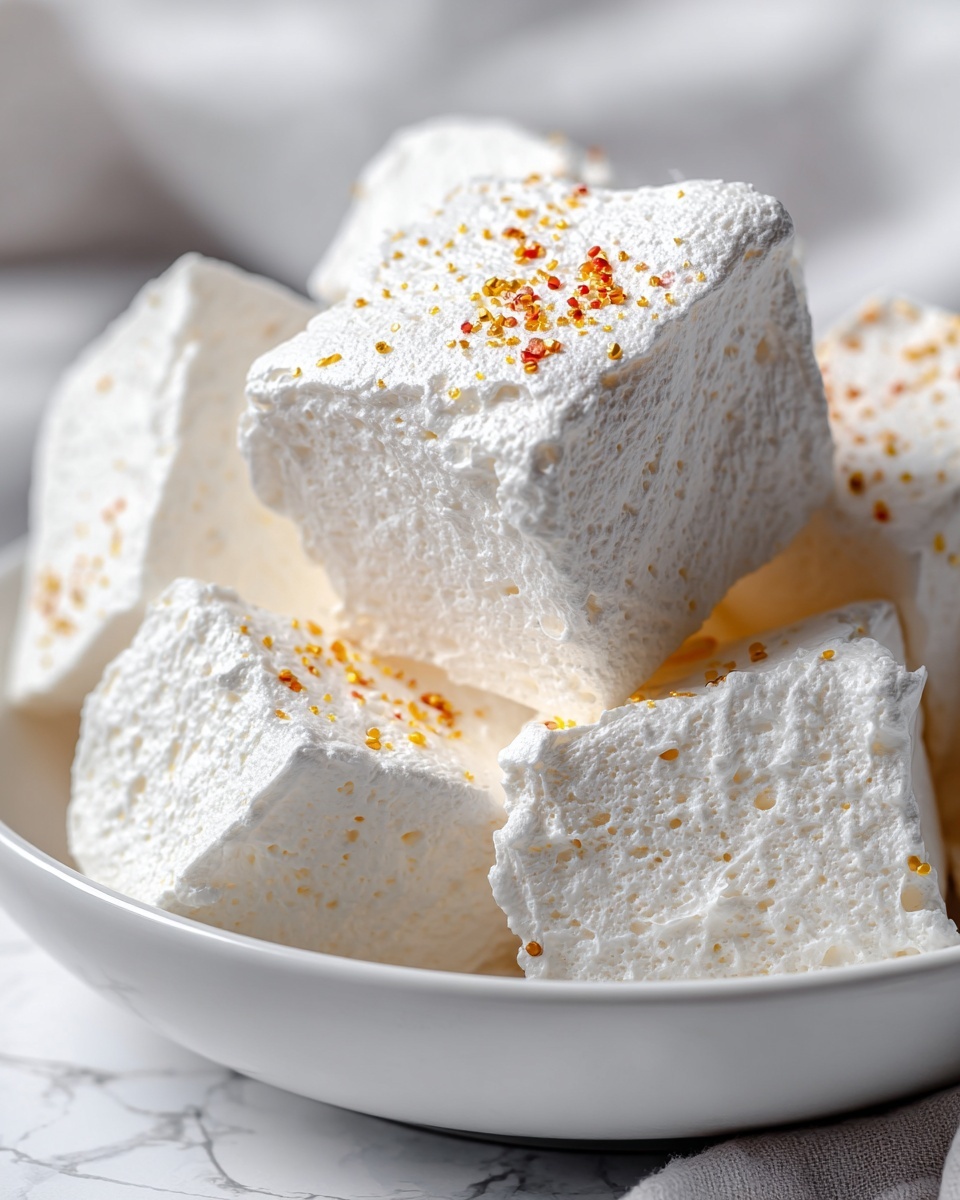
If you’re searching for a fun, delicious, and utterly simple treat to whip up for your next gathering or cozy night in, you’re going to fall head over heels for this Easy Cool Whip Candy Recipe. It combines just a few pantry staples into little bites of creamy, dreamy sweetness that feel like a special indulgence but come together in a snap. Whether you’re new to candy making or just want a fuss-free way to impress, this recipe will quickly become one of your favorites to share and savor.
Ingredients You’ll Need
The beauty of this Easy Cool Whip Candy Recipe lies in its simplicity. Each ingredient plays a vital role: the Cool Whip delivers that irresistibly light texture, instant pudding mix brings flavor and structure, powdered sugar adds the perfect sweetness, and vanilla extract rounding everything out with a fragrant warmth. You can also get creative with food coloring and sprinkles to make your candy truly pop.
- Cool Whip (8 ounces, thawed): The foundation, providing a smooth and airy base for the candy.
- Instant pudding mix (3.4 ounces): Pick any flavor you love; it thickens the mixture and packs in delicious taste.
- Powdered sugar (1 cup): Adds sweetness and helps firm up the candy texture.
- Vanilla extract (1 teaspoon): Enhances overall flavor with a subtle, warm note.
- Food coloring (optional): For a festive look that’s sure to wow your guests.
- Sprinkles or colored sugar (optional): The final flourish to add texture and a pop of color.
How to Make Easy Cool Whip Candy Recipe
Step 1: Mix the Ingredients
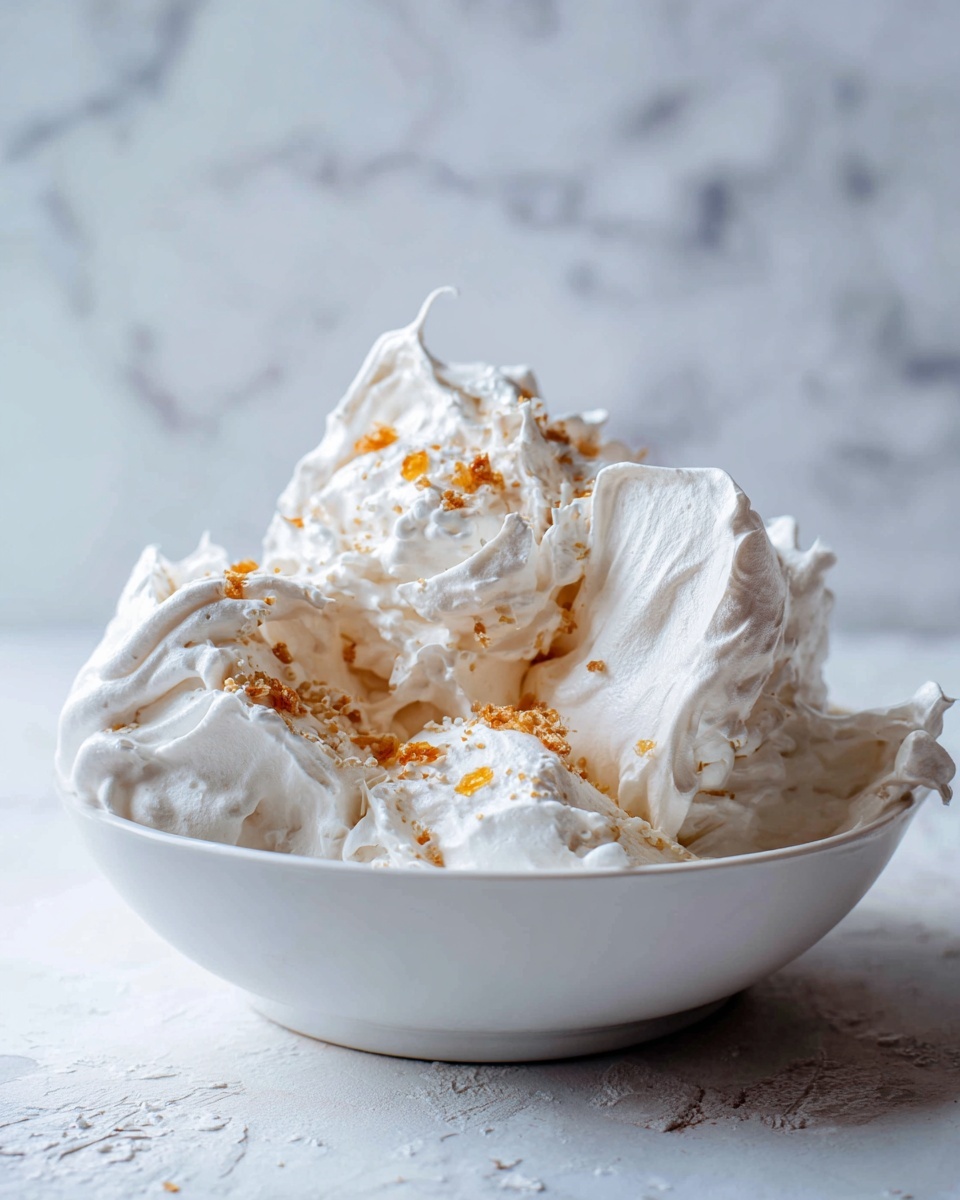
Start by placing your thawed Cool Whip, instant pudding mix, powdered sugar, and vanilla extract into a mixing bowl. Use a hand mixer or sturdy spoon to blend everything together until the mixture becomes thick, creamy, and perfectly combined. This step is where the magic begins as all these simple ingredients transform into your candy batter.
Step 2: Add Optional Coloring
If you’re feeling playful or want to match a theme, now is the time to stir in a few drops of your favorite food coloring. Mix gently but thoroughly until the color is evenly infused, turning your candy into little works of edible art.
Step 3: Prepare Your Tray
Line a baking sheet or suitable tray with parchment or wax paper to prevent sticking. This makes removing your candies a breeze after they’re frozen, ensuring they keep their lovely shapes.
Step 4: Shape the Candies
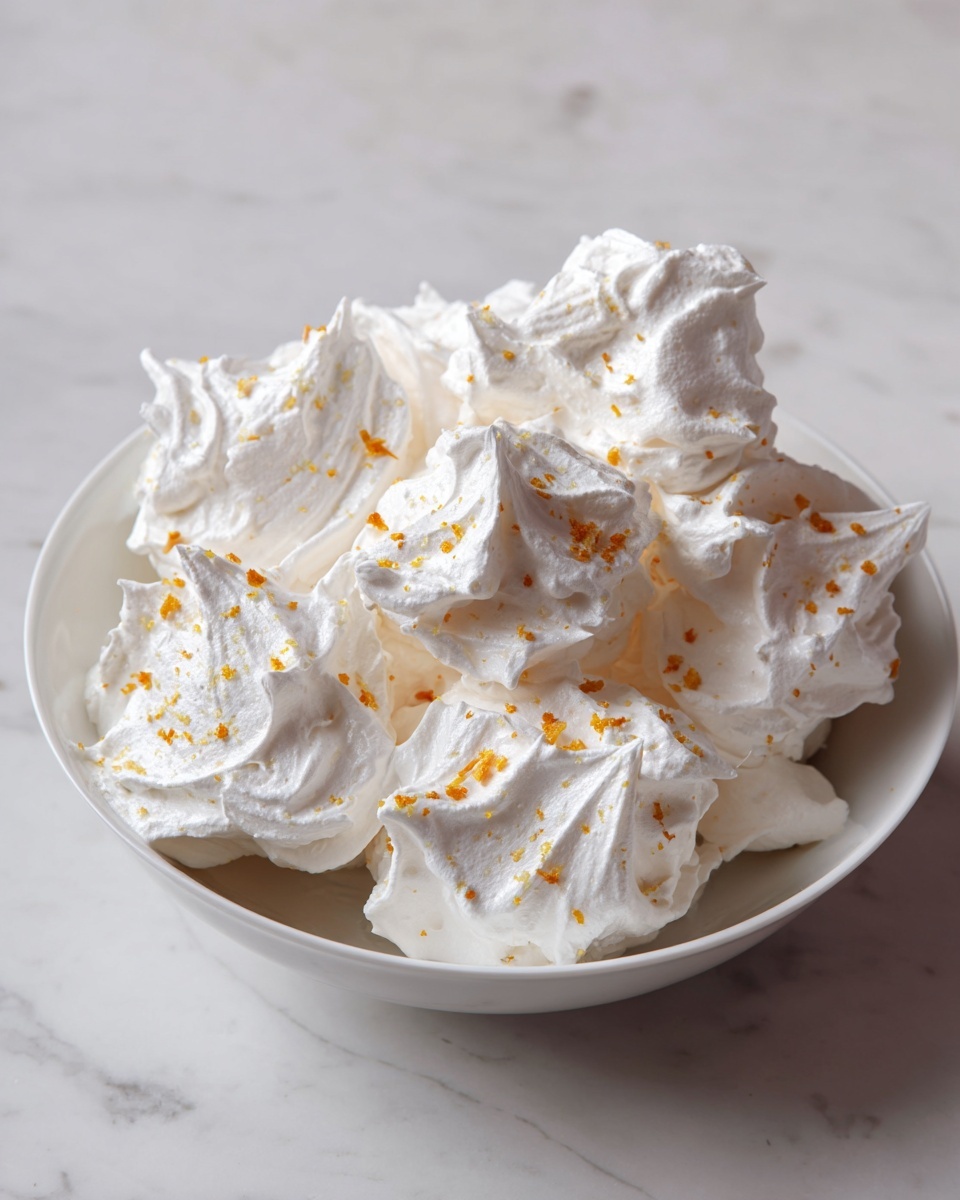
Using a spoon or cookie scoop, drop small portions of the Cool Whip mixture onto your lined tray. Feel free to shape or smooth them slightly if you prefer a particular style. These bite-size portions set the stage for your delicious candies.
Step 5: Decorate
Sprinkle on some colorful sugar or sprinkles if you want to add extra texture and festive flair. It’s a quick step that boosts both visual appeal and fun factor.
Step 6: Freeze Until Firm
Pop your tray into the freezer for 2 to 3 hours. This chill time is essential for turning your creamy treats into candy with a delightful firm exterior and a soft, luscious center.
Step 7: Enjoy Your Homemade Candy
Once frozen through, your Easy Cool Whip Candy Recipe is ready to be enjoyed. Bite into the cool, creamy center encased in a firm shell and savor every moment of sweet satisfaction.
How to Serve Easy Cool Whip Candy Recipe
Garnishes
Adding garnishes to your Easy Cool Whip Candy Recipe can elevate it from simple to stunning. Light dustings of cocoa powder, shredded coconut, or chopped nuts give a beautiful contrast in texture and a flavor twist that guests will love. Even a drizzle of melted chocolate creates a decadent touch.
Side Dishes
This candy pairs wonderfully with a hot cup of coffee, tea, or even a cold glass of milk. If you’re serving a dessert platter, consider fresh berries or a scoop of vanilla ice cream alongside to balance the richness and add freshness to your spread.
Creative Ways to Present
Presentation turns taste into an experience. Arrange your candy on a pretty plate lined with doilies, or serve them in mini cupcake liners for a charming and portable treat. You can create a colorful candy assortment by making batches with different pudding flavors and colors for a conversation-starting display.
Make Ahead and Storage
Storing Leftovers
To keep your Easy Cool Whip Candy Recipe fresh and creamy, store any leftovers in an airtight container in the freezer. This protects them from freezer burn and preserves their signature texture for several weeks. When you want a quick treat, just pop a few out.
Freezing
If you’re making these treats ahead of time, freezing is your best friend. The candies hold up beautifully in the freezer, making them ideal for planning parties or holidays. Just keep them well-covered and separated by parchment to prevent sticking or clumping together.
Reheating
The great news? These candies don’t require reheating. They’re best enjoyed straight from the freezer, so you get that perfect contrast of firm outside and creamy inside. If they seem too hard, just let them soften for a couple of minutes at room temperature before serving.
FAQs
Can I use any flavor of instant pudding mix?
Absolutely! The fun part of this Easy Cool Whip Candy Recipe is its versatility. Chocolate, vanilla, butterscotch, or even seasonal flavors all work wonderfully and offer different taste profiles to suit your mood.
Is it possible to make this candy without powdered sugar?
Powdered sugar helps to sweeten and firm the candy, but you could experiment with alternatives like confectioners’ erythritol for a lower sugar option. Keep in mind the texture might vary slightly, so testing is key.
How long do these candies last in the freezer?
Properly stored in an airtight container, your Easy Cool Whip Candy Recipe treats will stay fresh for up to 3 weeks. Beyond that, they might lose some texture and flavor, but should still be safe to eat.
Can I add nuts or dried fruit to the candy mixture?
You sure can! Adding chopped nuts or dried fruit will bring extra flavor and texture. Just fold them gently into the mixture during the initial mixing step for even distribution.
What if I don’t have Cool Whip? Can I use whipped cream instead?
While whipped cream might seem like a good substitute, Cool Whip tends to have more stability and firmness, which is important for the candy’s structure. If you use whipped cream, consider mixing it with a stabilizer like gelatin for best results.
Final Thoughts
This Easy Cool Whip Candy Recipe is such a delightful surprise: simple, customizable, and utterly delicious. It’s the kind of treat that feels both homemade and special without spending hours in the kitchen. Whether you’re making it to share or just to enjoy yourself, I can’t recommend it enough—go ahead, whip up a batch and let that creamy sweetness brighten your day!
Print
Easy Cool Whip Candy Recipe
- Prep Time: 10 minutes
- Cook Time: 0 minutes
- Total Time: 2 hours 10 minutes
- Yield: 24 servings
- Category: Candy
- Method: No-Cook
- Cuisine: American
- Diet: Vegetarian
Description
This Easy Cool Whip Candy Recipe is a sweet, creamy treat that combines whipped topping with instant pudding and powdered sugar, creating a delightful no-bake candy. Perfectly creamy with a frozen exterior, this candy is easy to prepare and customizable with your favorite pudding flavors and optional colorings or sprinkles for decoration.
Ingredients
Base Ingredients
- 1 (8-ounce) container of Cool Whip (thawed)
- 1 package (3.4 ounces) of instant pudding mix (any flavor)
- 1 cup of powdered sugar
- 1 teaspoon of vanilla extract
Optional Ingredients
- Food coloring (optional)
- Sprinkles or colored sugar (optional, for decoration)
Instructions
- Mix the Ingredients: In a mixing bowl, combine the thawed Cool Whip, instant pudding mix, powdered sugar, and vanilla extract. Use a hand mixer or mix by hand until the mixture is well combined, thick, and creamy.
- Optional Coloring: If desired, add a few drops of food coloring to the mixture and stir until the color is evenly distributed.
- Prepare the Tray: Line a baking sheet or tray with parchment or wax paper to prevent sticking when placing the candies.
- Shape the Candies: Using a spoon or cookie scoop, drop small portions of the Cool Whip mixture onto the prepared tray, shaping them to your preferred size and shape.
- Decorate: Optionally, sprinkle the candy portions with sprinkles or colored sugar for a festive look.
- Freeze: Place the tray in the freezer and let the candy set for 2-3 hours or until firm to achieve the ideal texture.
- Enjoy: Once frozen, remove the candies from the freezer and enjoy their creamy, soft centers with a frozen exterior.
- Store: Keep any leftover candies in an airtight container in the freezer to maintain their freshness and texture.
Notes
- The candy is best served frozen for a refreshing and creamy texture.
- Use any flavor of instant pudding to customize the taste to your preference.
- Food coloring is optional and can be used to match festive themes or occasions.
- Sprinkles or colored sugar add a decorative touch and a bit of texture.
- Store candies only in the freezer, as they will lose their texture if thawed completely.


