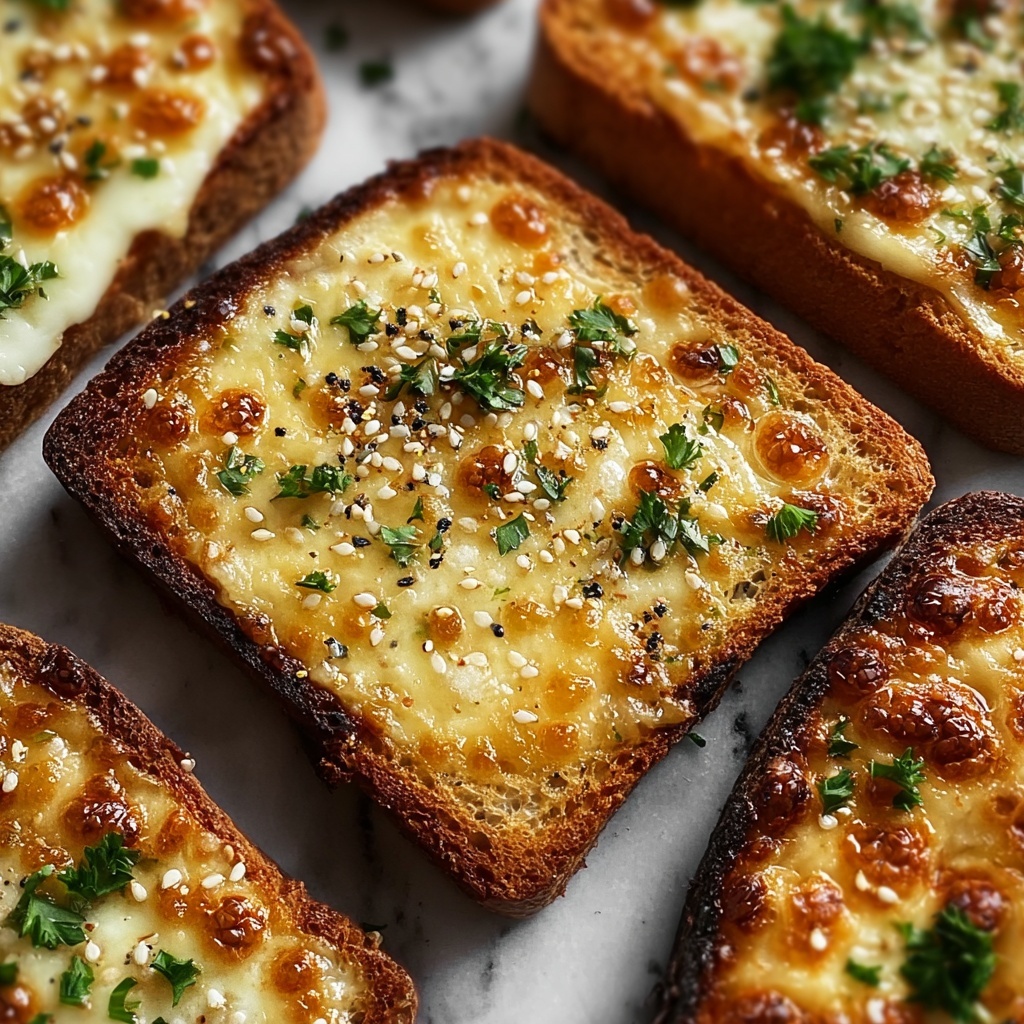
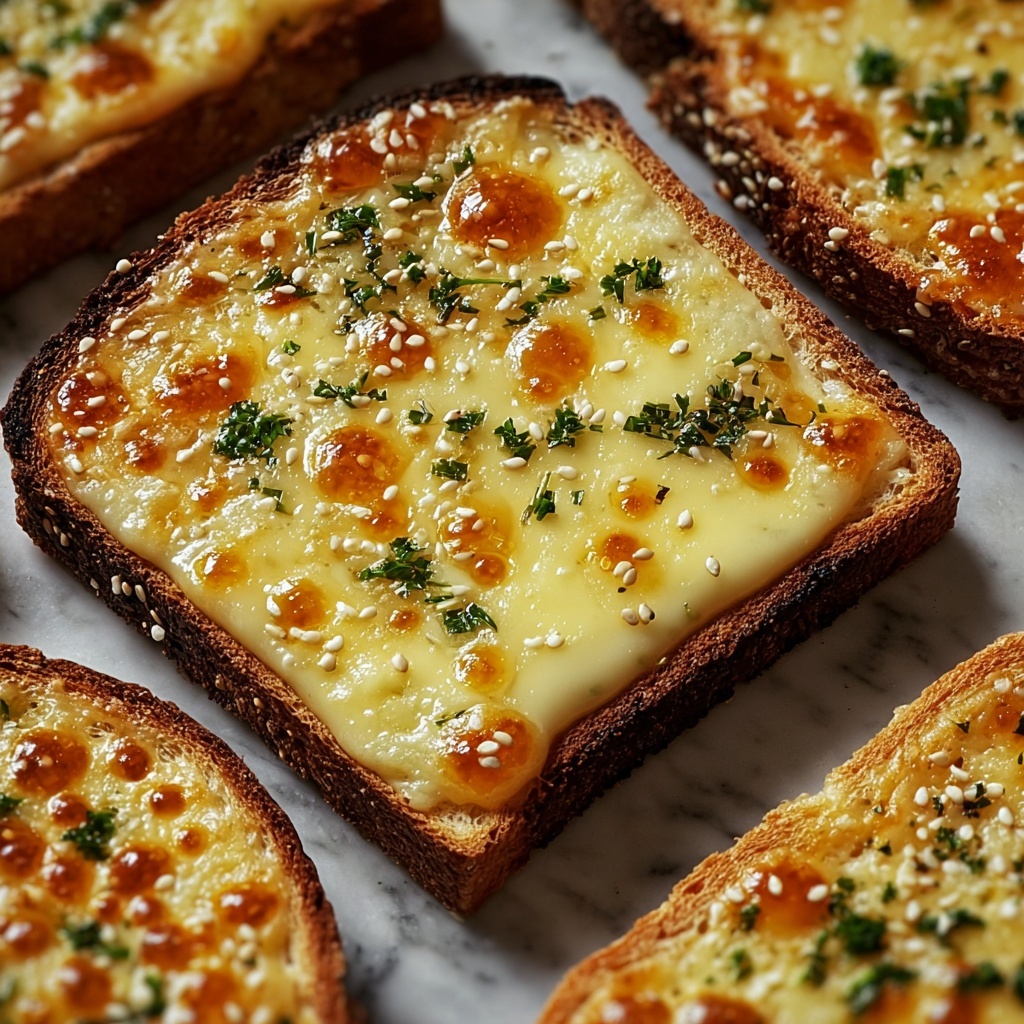
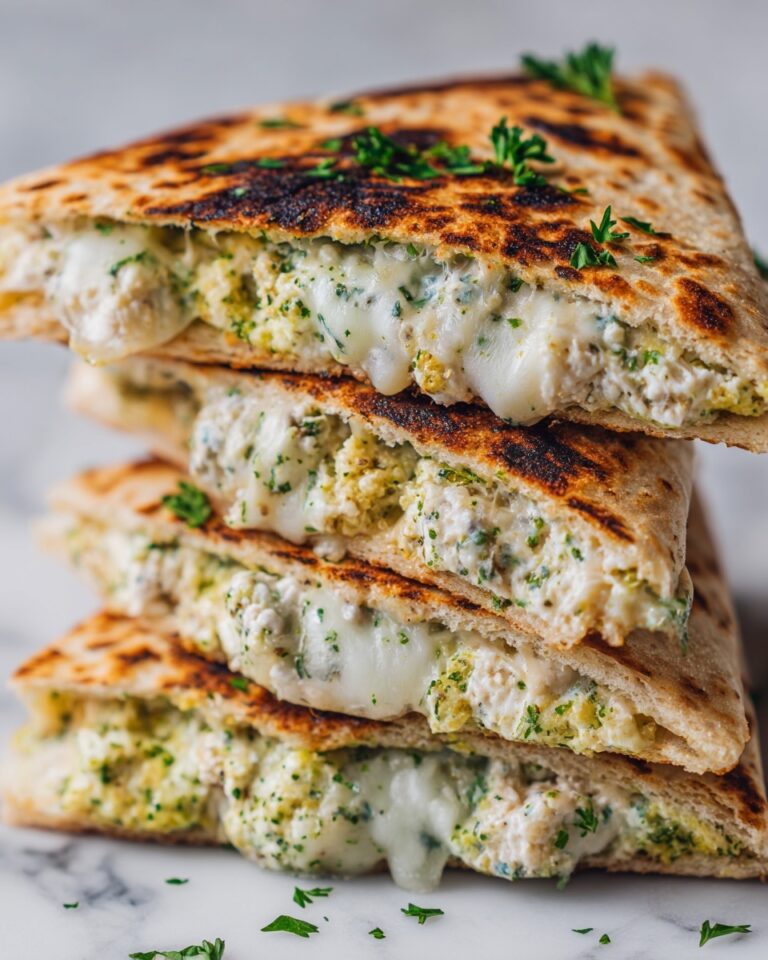
If you’ve ever wished for a snack that perfectly combines the buttery crunch of garlic bread with the melty, cheesy goodness of pizza, then you are absolutely going to love this Garlic Toast Pizzas Recipe. This easy-to-make dish takes simple garlic toast and transforms it into bite-sized mini pizzas bursting with flavor. Whether you need a quick lunch, a fun party appetizer, or a cozy comfort food fix, these garlic toast pizzas hit all the right notes between crispy, savory, and cheesy. Trust me, once you try this recipe, you’ll wonder how you ever lived without it in your cooking arsenal!
Ingredients You’ll Need
These ingredients are straightforward but essential — each one plays a unique role in creating that irresistible garlic toast pizza experience. From the crisp garlic bread base to the rich melted cheese and vibrant toppings, this list brings everything together in perfect harmony.
- 4 slices garlic bread: The crispy, buttery foundation packed with garlic flavor, perfect for holding all your toppings.
- 1/2 cup pizza sauce: Brings a tangy, herby richness that complements the garlic toast beautifully.
- 1 cup shredded mozzarella cheese: The star of melted, gooey, cheesy goodness that every pizza needs.
- 1/4 cup sliced pepperoni: Adds a savory, slightly spicy punch; feel free to swap in your favorite toppings.
- 1/4 cup sliced black olives (optional): Introduces a salty, briny contrast that elevates the flavors.
- 1/4 cup bell peppers, diced (optional): Offers fresh, sweet crunch and a pop of color.
- 1 tsp Italian seasoning: A fragrant blend of herbs to tie all the flavors together.
- 1 tbsp grated Parmesan cheese: Adds a sharp, nutty finish sprinkled on top.
- Fresh basil leaves (optional): For a fresh, aromatic garnish that brightens the whole dish.
How to Make Garlic Toast Pizzas Recipe
Step 1: Preheat the Oven
Begin by heating your oven to 375°F (190°C). This temperature is just right to get your garlic bread crispy without overcooking your toppings. If you’re working with store-bought garlic bread, feel free to follow any package instructions for best results, but this temperature works perfectly for homemade as well.
Step 2: Toast the Garlic Bread
If your garlic bread is homemade, give it a quick toast in the oven or on a skillet for 2-3 minutes until it’s golden and crispy. This extra step ensures the bread holds up well once you add sauce and toppings, so your pizzas don’t get soggy but stay delightfully crisp.
Step 3: Add the Pizza Sauce
Spread about a tablespoon of your pizza sauce evenly over each slice of garlic bread. This layer adds moisture and that signature pizza tang which perfectly offsets the richness of the garlic butter.
Step 4: Sprinkle the Mozzarella Cheese
Generously layer shredded mozzarella cheese over the sauce. The cheese is what melts into that wonderfully gooey blanket that makes these garlic toast pizzas irresistible. Don’t be shy here — the more cheese, the merrier!
Step 5: Top with Your Favorite Ingredients
Now comes the fun part! Scatter slices of pepperoni, black olives, and diced bell peppers evenly across each slice. Sprinkle the whole thing with the Italian seasoning and a dusting of Parmesan cheese to add a burst of flavor complexity.
Step 6: Bake to Perfection
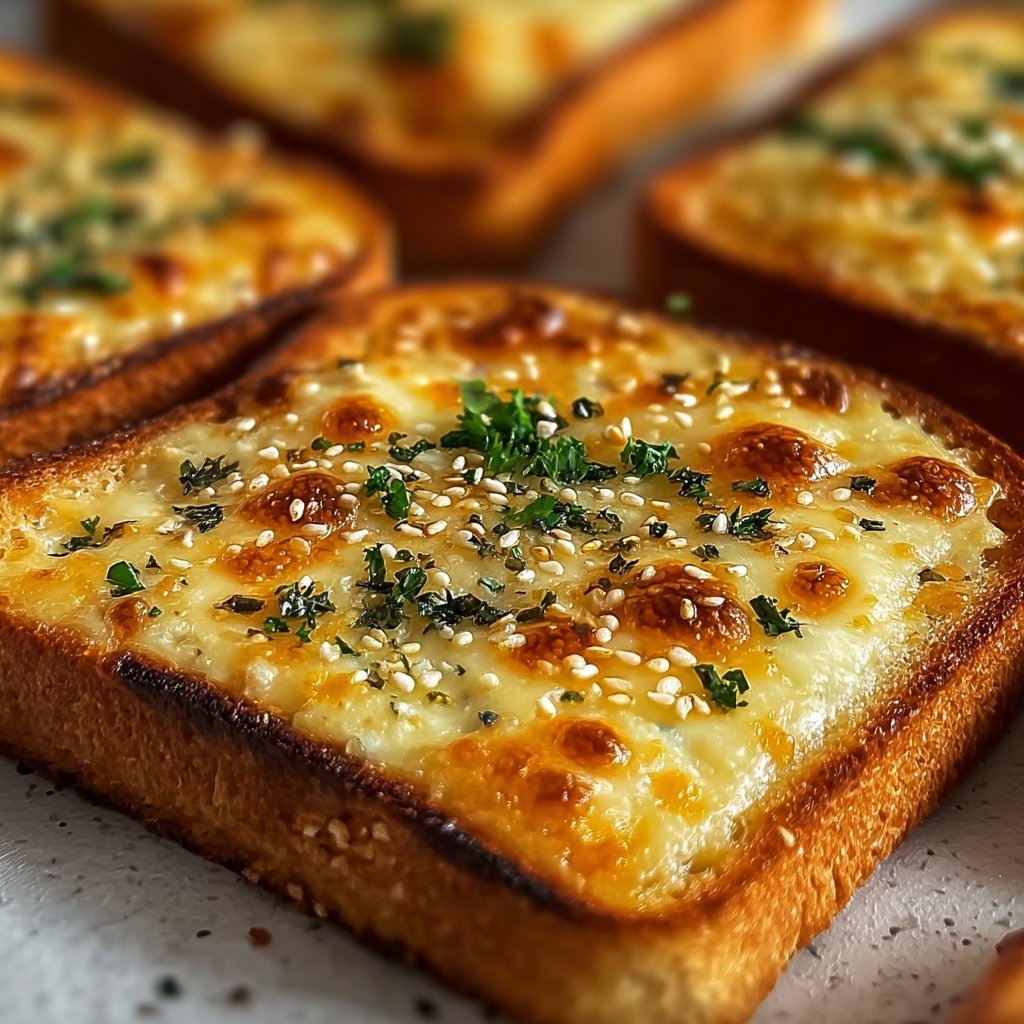
Arrange your loaded garlic toast pizzas on a baking sheet and pop them into the oven for 5-8 minutes. Keep an eye on them as the cheese melts and bubbles, and the edges of the garlic bread become perfectly crispy and golden.
Step 7: Garnish and Serve
Once baked, remove the pizzas from the oven and add a few fresh basil leaves on top for a fragrant, colorful finish. Serve these straight away to enjoy the perfect harmony of crunchy garlic toast, melted cheese, and zesty toppings.
How to Serve Garlic Toast Pizzas Recipe
Garnishes
Fresh basil leaves are a classic topping that add a burst of herbal brightness and a sense of freshness to these warm, hearty bites. You can also consider a light drizzle of extra virgin olive oil or a pinch of crushed red pepper flakes if you crave a bit of heat and finesse.
Side Dishes
Garlic toast pizzas pair wonderfully with crisp, fresh salads like a simple arugula salad tossed in lemon vinaigrette, or perhaps some roasted vegetables to round out the meal. If serving as an appetizer, a tangy marinara dipping sauce can complement the garlic-pizza combo beautifully.
Creative Ways to Present
For a party, present these mini pizzas on a rustic wooden platter, garnished with scattered basil leaves and some colorful bell pepper slices around the edges for visual appeal. You can also cut each slice diagonally to turn them into bite-sized finger foods, perfect for mingling guests!
Make Ahead and Storage
Storing Leftovers
If you happen to have any leftovers (though they rarely stick around long!), wrap them tightly in plastic wrap or store in an airtight container. Refrigerate and enjoy within 1-2 days to keep the toppings fresh and the bread crisp.
Freezing
You can freeze garlic toast pizzas by placing them on a baking sheet to flash freeze individually first. Then transfer them to a freezer-safe container or ziplock bag. When ready, thaw overnight in the fridge for best texture before reheating.
Reheating
Bring leftovers back to life by reheating in a skillet over medium-low heat or in a toaster oven for a few minutes until the cheese is melty again and the bread regains its crispness. Microwave reheating is possible but can make the bread soggy, so use it as a last resort.
FAQs
Can I use a different type of bread for this recipe?
Absolutely! While garlic bread is perfect for that distinct flavor, you can experiment with French bread or ciabatta slices. Just be sure to toast them first so they hold up well with the toppings.
What toppings work best on Garlic Toast Pizzas?
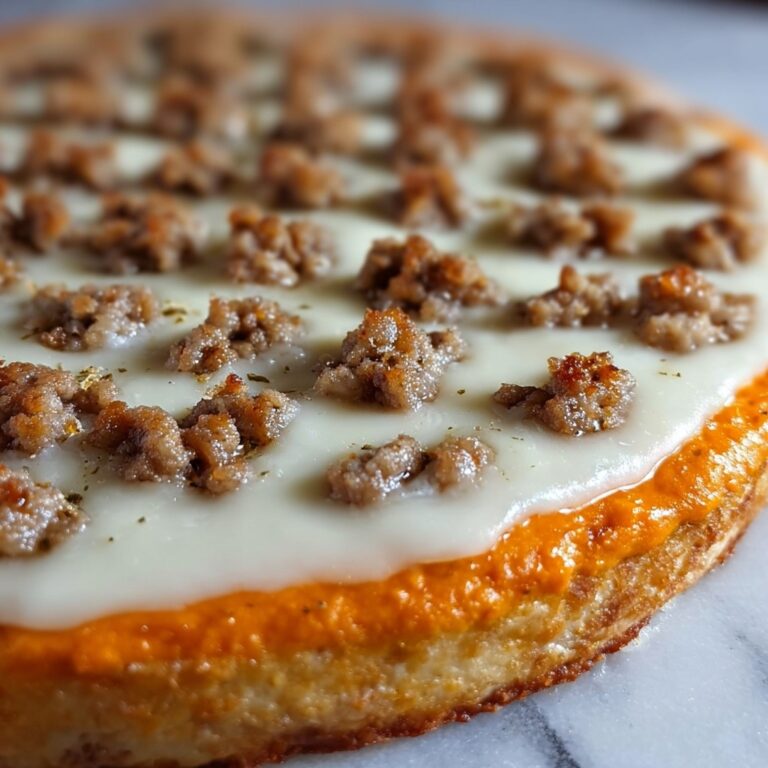
The options are endless! Classic pepperoni, olives, bell peppers, mushrooms, or even cooked sausage bits all work wonderfully. Pick your favorites or whatever you have on hand for a fun, customized twist.
Is this recipe suitable for kids?
Definitely! These mini pizzas are kid-friendly and can be adjusted to suit picky eaters by simply leaving off any toppings they don’t like. It’s a great way to sneak in some veggies too.
How crispy does the garlic bread stay after baking?
Thanks to the pre-toasting step, the garlic bread stays nicely crispy on the edges even after baking with toppings. This recipe balances a crunchy base with melty toppings perfectly.
Can I make this recipe gluten-free?
Yes, just swap out the garlic bread for a gluten-free version, which many grocery stores offer. The rest of the ingredients are naturally gluten-free, making this easy to adapt.
Final Thoughts
I can’t recommend this Garlic Toast Pizzas Recipe enough for anyone craving a quick, irresistible combo of crunchy garlic bread and gooey pizza. It’s simple to whip up, endlessly customizable, and always a crowd-pleaser. Next time you want a snack or light meal that feels just a little special, you know what to do. Happy cooking and even happier eating!
Print
Garlic Toast Pizzas Recipe
- Prep Time: 5 minutes
- Cook Time: 10 minutes
- Total Time: 15 minutes
- Yield: 4 mini pizzas
- Category: Snack
- Method: Baking
- Cuisine: Italian-American
Description
Garlic Toast Pizzas are a quick and delicious snack or meal option featuring crispy garlic bread topped with savory pizza sauce, melted mozzarella, and your favorite pizza toppings. Perfect for a fast homemade treat with all the flavor of classic pizza and the crunch of garlic toast.
Ingredients
Base
- 4 slices garlic bread (store-bought or homemade)
Sauce and Cheese
- 1/2 cup pizza sauce
- 1 cup shredded mozzarella cheese
- 1 tbsp grated Parmesan cheese
Toppings
- 1/4 cup sliced pepperoni (or your favorite pizza toppings)
- 1/4 cup sliced black olives (optional)
- 1/4 cup bell peppers, diced (optional)
- 1 tsp Italian seasoning
Garnish
- Fresh basil leaves (optional, for garnish)
Instructions
- Preheat Oven: Preheat your oven to 375°F (190°C) or follow the garlic bread package instructions if using store-bought garlic bread to ensure the bread toasts properly and toppings cook evenly.
- Prepare Garlic Bread: If using homemade garlic bread, toast it lightly in the oven or on a skillet for about 2-3 minutes until golden and crispy to create a sturdy base for the toppings.
- Add Sauce: Spread approximately one tablespoon of pizza sauce evenly on each slice of garlic bread, giving a flavorful foundation for the pizza.
- Layer Cheese: Generously sprinkle shredded mozzarella cheese over the sauce on each slice to create a gooey, melty cheese layer.
- Add Toppings: Place your favorite toppings such as sliced pepperoni, black olives, and diced bell peppers over the cheese. Sprinkle Italian seasoning and grated Parmesan cheese for added flavor complexity.
- Bake Pizzas: Arrange the prepared garlic toast pizzas on a baking sheet and bake in the preheated oven for 5-8 minutes until the cheese melts, becomes bubbly, and the edges of the garlic bread turn crispy.
- Garnish and Serve: Remove from the oven and optionally top with fresh basil leaves for a burst of color and herbaceous flavor. Serve immediately while hot and enjoy your delicious Garlic Toast Pizzas!
Notes
- You can customize these pizzas with any toppings you like such as mushrooms, onions, or different cheeses.
- If you use store-bought garlic bread, check package instructions to avoid over-toasting.
- To make homemade garlic bread, spread garlic butter over sliced bread and toast lightly before adding toppings.
- For a crispier base, pre-toast the garlic bread slightly before adding toppings.
- These mini pizzas work great as a quick snack, appetizer, or light meal.

