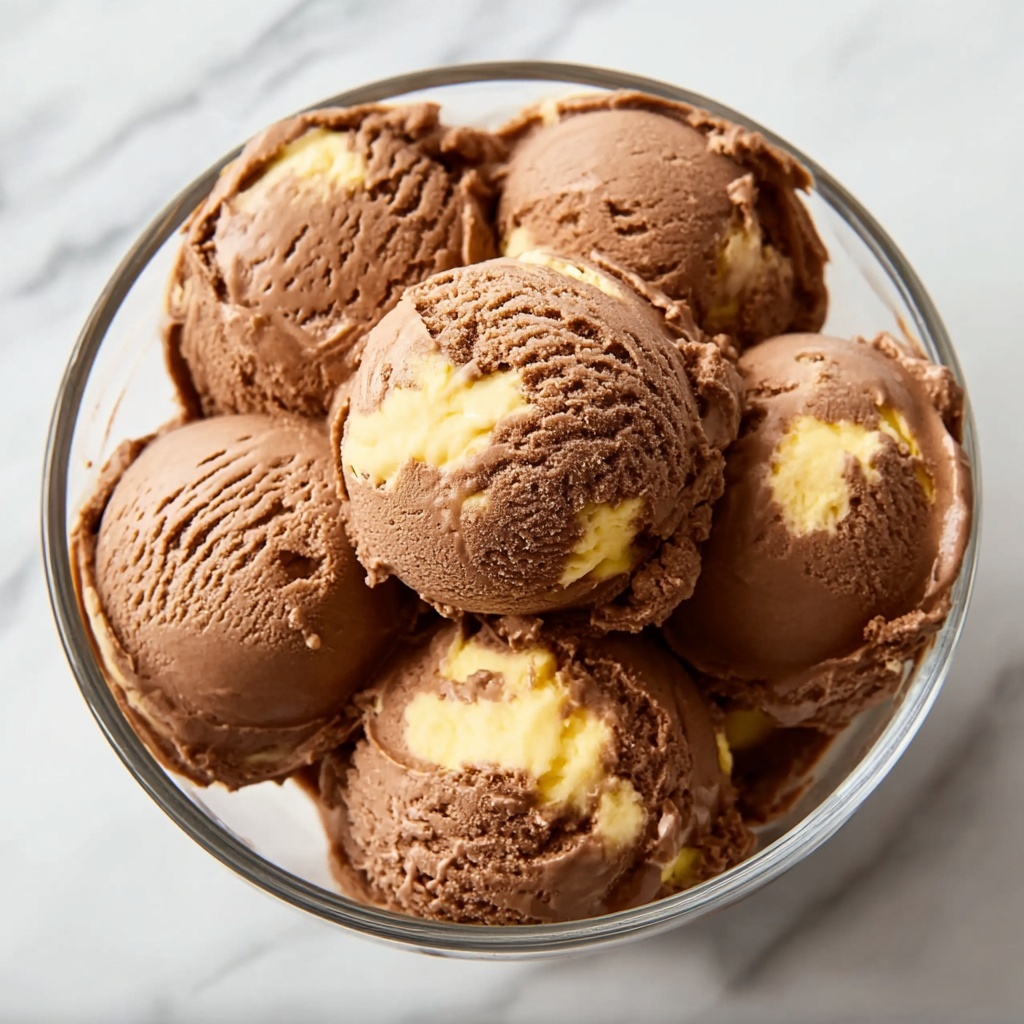
If you’re craving an indulgent treat that balances rich chocolate and creamy peanut butter without any gluten worries, you are going to love this Gluten Free Chocolate Peanut Butter Ice Cream Recipe. It’s a luscious, velvety dessert that manages to satisfy those sweet moments while being kind to your gluten-sensitive tummy. The combination of full-fat coconut milk, smooth peanut butter, and deep cocoa makes this ice cream irresistibly creamy and packed with flavor, perfect for sharing (or keeping all to yourself, no judgment here).
Ingredients You’ll Need
This recipe uses a handful of simple but powerful ingredients that come together effortlessly. Each ingredient plays an important role in creating the perfect balance of taste, texture, and beautiful color, all while keeping the dish entirely gluten free.
- Full-fat coconut milk (2 cups): Provides a rich, creamy base and dairy-free alternative that’s essential for smooth texture.
- Creamy natural peanut butter (½ cup): Gives the ice cream that irresistible nutty flavor and smoothness essential to this recipe.
- Coconut sugar (½ cup): Adds a subtle caramel sweetness with a lower glycemic index; can be swapped with maple syrup or honey.
- Unsweetened cocoa powder (4 tablespoons): Delivers deep chocolate intensity without overwhelming sweetness.
- Pure vanilla extract (1 teaspoon): Enhances the overall flavor landscape by adding warmth and depth.
- Fine sea salt (¼ teaspoon): Balances the sweetness and heightens the peanut butter and chocolate flavors.
- Xanthan gum (½ teaspoon): A gluten-free thickener that ensures creamy texture and prevents icy crystals from forming.
- Semi-sweet gluten-free chocolate (4 oz, chopped): Melts into the mix for an ultra-rich and smooth finish.
- Natural peanut butter (½ cup, for the swirl): Used as a luscious swirl that adds bursts of peanut buttery goodness.
- Maple syrup (2 tablespoons, for the swirl): Sweetens the peanut butter swirl naturally and keeps it smooth.
- Pinch of salt (for the swirl): Balances the sweetness and intensifies the swirl’s flavor.
How to Make Gluten Free Chocolate Peanut Butter Ice Cream Recipe
Step 1: Blend and Heat the Base
Start by combining your coconut milk, peanut butter, coconut sugar, and cocoa powder in a medium saucepan. Heat it gently over medium heat while whisking continuously until it just begins to simmer. This is a crucial step because it dissolves the cocoa powder completely, preventing gritty bits that can ruin that silky texture we want in the final ice cream. Watch it carefully so it doesn’t burn — this will be your luscious chocolate peanut butter ice cream base.
Step 2: Melt in the Chocolate
Once your mixture reaches a simmer, remove it from heat and stir in the chopped semi-sweet gluten-free chocolate. Let it rest for about a minute, then whisk until perfectly smooth. The residual heat will work its magic, melting the chocolate thoroughly into the mix, enriching the flavor and making the texture extra creamy.
Step 3: Add Vanilla, Salt, and Xanthan Gum
Now, whisk in the pure vanilla extract, sea salt, and xanthan gum while the mixture is still warm. The xanthan gum acts as your secret weapon here — it helps keep the ice cream from forming icy crystals, ensuring a creamy, smooth scoop every time. Whisk well so no lumps remain.
Step 4: Chill the Mixture
Transfer the base mixture into a bowl, and cover it tightly with plastic wrap pressed directly onto the surface. This prevents a skin from forming. Refrigerate for at least 4 hours or overnight if possible. Chilling fully is one of the keys to achieving that perfect ice cream texture when you churn later.
Step 5: Prepare the Peanut Butter Swirl
While your base chills, mix together the peanut butter, maple syrup, and a pinch of salt in a small bowl until smooth. Pop this mixture into the fridge to firm up; when it’s time to swirl into the ice cream, you want it thick enough to create beautiful ribbons of flavor without disappearing.
Step 6: Churn the Ice Cream
Pour your chilled chocolate peanut butter mixture into your ice cream maker and let it churn for roughly 20–25 minutes until it reaches a soft-serve consistency. Churning introduces air, which is essential for that light, creamy texture we all adore.
Step 7: Layer and Swirl
In a freezer-safe container, spoon half of the churned ice cream, then dollop half the peanut butter swirl on top. Repeat the layering with the remaining ice cream and peanut butter mixture. Using a knife, gently swirl the layers together in a flowing figure-eight motion for a beautiful marbled effect without overmixing.
Step 8: Freeze Until Firm
Cover your container and freeze for at least 4 hours until the ice cream is completely firm. If you don’t have an ice cream maker, the no-churn method works well too: after mixing, freeze the base for 45 minutes, then whisk or beat every 30-45 minutes to incorporate air. Add the peanut butter swirl during the last whisk for that signature flavor patch.
How to Serve Gluten Free Chocolate Peanut Butter Ice Cream Recipe
Garnishes
This ice cream is a star on its own, but you can elevate it by adding crushed peanuts for extra crunch, a drizzle of warm chocolate sauce, or even a sprinkle of sea salt flakes to amplify the peanut butter flavor. Fresh berries also add a bright, refreshing contrast that’s perfect on a warm day.
Side Dishes
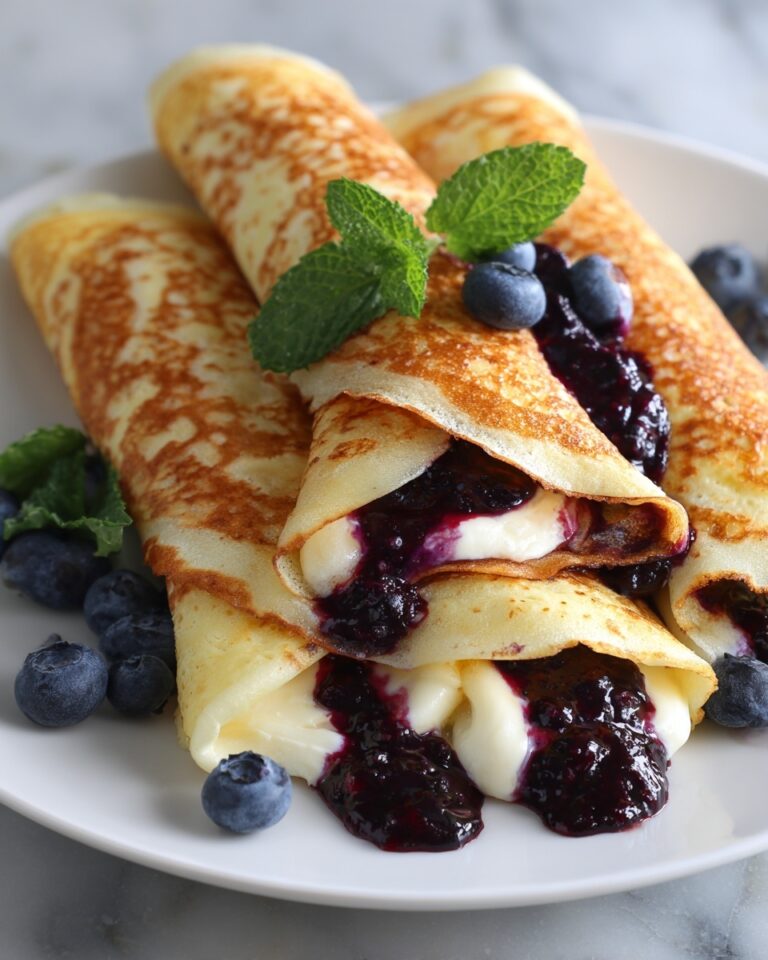
Pair this ice cream with warm gluten-free brownies for a double chocolate dream, or try it alongside sliced bananas for an easy, fruity dessert combo. It’s incredible as a topping for gluten-free waffles or pancakes as well, turning simple breakfast into a decadent treat.
Creative Ways to Present
Consider serving this ice cream in chocolate-dipped gluten-free cones or hollowed-out mini coconuts for a tropical flair. You could also try layering it in parfait glasses with gluten-free cookie crumbles and whipped coconut cream for an impressive presentation that looks and tastes like a dessert from a fancy café.
Make Ahead and Storage
Storing Leftovers
Store any leftovers tightly covered in an airtight container to prevent freezer burn and ice crystals. For best texture, consume within one week; otherwise, the ice cream may become too hard or grainy. Let it sit at room temperature a few minutes before serving to soften up perfectly.
Freezing
This ice cream freezes very well thanks to the xanthan gum. After churning and swirling, cover it tightly and freeze for at least 4 hours. If you’re using the no-churn method, make sure to incorporate air during the freezing steps to keep the texture from becoming dense.
Reheating
Ice cream doesn’t require reheating, but letting it soften at room temperature for 5–10 minutes before scooping helps the creaminess come through beautifully. If it’s too firm, a short burst in the microwave (10–15 seconds) can help soften just enough without melting.
FAQs
Is this ice cream completely dairy-free?
Yes! This recipe uses full-fat coconut milk instead of any dairy, making it a creamy and delicious option for those who are lactose intolerant or avoiding dairy altogether.
Can I substitute peanut butter with another nut butter?
Absolutely! Almond or cashew butter can work well, though the flavor profile will change slightly. Just make sure the nut butter you choose is smooth and gluten-free.
What if I don’t have an ice cream maker?
No worries! The no-churn method described in Step 8 works perfectly. Just be patient with the intermittent whisking to create a light texture without the ice cream maker.
How do I ensure this recipe stays gluten free?
Check that all your ingredients, especially the chocolate and peanut butter, are certified gluten-free. Also, use gluten-free utensils and containers to avoid cross-contamination.
Can I make this recipe vegan?
Yes, this recipe is naturally vegan when you use maple syrup or coconut sugar as the sweetener and ensure your chocolate is dairy-free.
Final Thoughts
Making this Gluten Free Chocolate Peanut Butter Ice Cream Recipe is such a rewarding experience — you get to enjoy a rich, creamy, and deeply satisfying dessert that’s both gluten free and packed with flavor. Whether you’re treating yourself after a long day or sharing with loved ones, this ice cream is sure to become a favorite you reach for again and again. Give it a try and revel in the perfect harmony of chocolate and peanut butter with every scoop!
Print
Gluten Free Chocolate Peanut Butter Ice Cream Recipe
- Prep Time: 4 hours 10 minutes
- Cook Time: 15 minutes
- Total Time: 4 hours 25 minutes
- Yield: 4.4 servings
- Category: Dessert
- Method: Stovetop
- Cuisine: American
- Diet: Gluten Free
Description
This delicious gluten free chocolate peanut butter ice cream combines rich cocoa and creamy peanut butter in a smooth, homemade frozen dessert. Made with full-fat coconut milk and natural sweeteners, it offers a dairy-free and gluten-free treat with a distinct peanut butter swirl for extra flavor. The recipe involves heating the base on the stovetop to meld ingredients beautifully, then chilling and churning in an ice cream maker, or using a no-churn method, resulting in a creamy, irresistible ice cream perfect for any occasion.
Ingredients
Ice Cream Base
- 2 cups full-fat coconut milk
- ½ cup creamy natural peanut butter, well-stirred
- ½ cup coconut sugar (or substitute with ½ cup maple syrup or honey)
- 4 tablespoons unsweetened cocoa powder
- 1 teaspoon pure vanilla extract
- ¼ teaspoon fine sea salt
- ½ teaspoon xanthan gum
- 4 oz semi-sweet chocolate, chopped (ensure it’s gluten-free)
Peanut Butter Swirl
- ½ cup natural peanut butter
- 2 tablespoons maple syrup
- Pinch of salt
Instructions
- Combine and Heat Ingredients: In a medium saucepan, combine 2 cups of full-fat coconut milk, ½ cup creamy natural peanut butter, ½ cup coconut sugar (or your chosen sweetener), and 4 tablespoons unsweetened cocoa powder. Heat over medium heat, whisking continuously until the mixture begins to simmer to dissolve the cocoa powder fully and prevent grittiness. Watch carefully to avoid burning.
- Melt Chocolate: Remove from heat and stir in 4 oz chopped semi-sweet chocolate. Let sit for 1 minute, then whisk until smooth, allowing the residual heat to melt the chocolate evenly for a rich texture.
- Add Flavorings and Stabilizer: Stir in 1 teaspoon pure vanilla extract, ¼ teaspoon fine sea salt, and ½ teaspoon xanthan gum into the warm mixture, whisking thoroughly to ensure a lump-free, smooth base that will prevent ice crystals.
- Chill the Base: Transfer the mixture to a bowl and cover tightly with plastic wrap pressed directly onto the surface to prevent skin formation. Refrigerate for at least 4 hours or overnight until completely cold.
- Prepare Peanut Butter Swirl: Mix ½ cup natural peanut butter, 2 tablespoons maple syrup, and a pinch of salt in a small bowl until smooth. Refrigerate until ready to use to maintain distinct swirl ribbons in the ice cream.
- Churn the Ice Cream: Pour the chilled chocolate base into an ice cream maker and churn according to manufacturer’s instructions (usually 20-25 minutes) until it reaches a soft-serve consistency, incorporating air for a creamy texture.
- Layer and Swirl: In the last minute of churning, spoon half the ice cream into a freezer-safe container, dollop half the peanut butter swirl on top, then add the remaining ice cream and remaining swirl. Use a knife to gently swirl the layers in a figure-eight pattern, being careful not to overmix.
- Freeze to Firm: Cover and freeze for at least 4 hours until firm. Alternatively, for a no-churn method, freeze the combined mixture for 45 minutes, then vigorously whisk or beat every 30-45 minutes 3-4 times, adding the peanut butter swirl in the final whisk before freezing fully.
Notes
- Ensure the semi-sweet chocolate is certified gluten-free to keep the recipe gluten-free.
- Xanthan gum is crucial for smooth texture and to prevent ice crystals in gluten free ice cream.
- The no-churn method is a good alternative if you don’t have an ice cream maker but requires intermittent whisking for best texture.
- Press plastic wrap onto the surface of the base while chilling to avoid a skin forming.
- Use natural peanut butter without added sugars or oils for best results.
- Adjust sweetness to taste, depending on your preferred sweetener.
- Allow the ice cream to soften slightly before scooping for easier serving.
