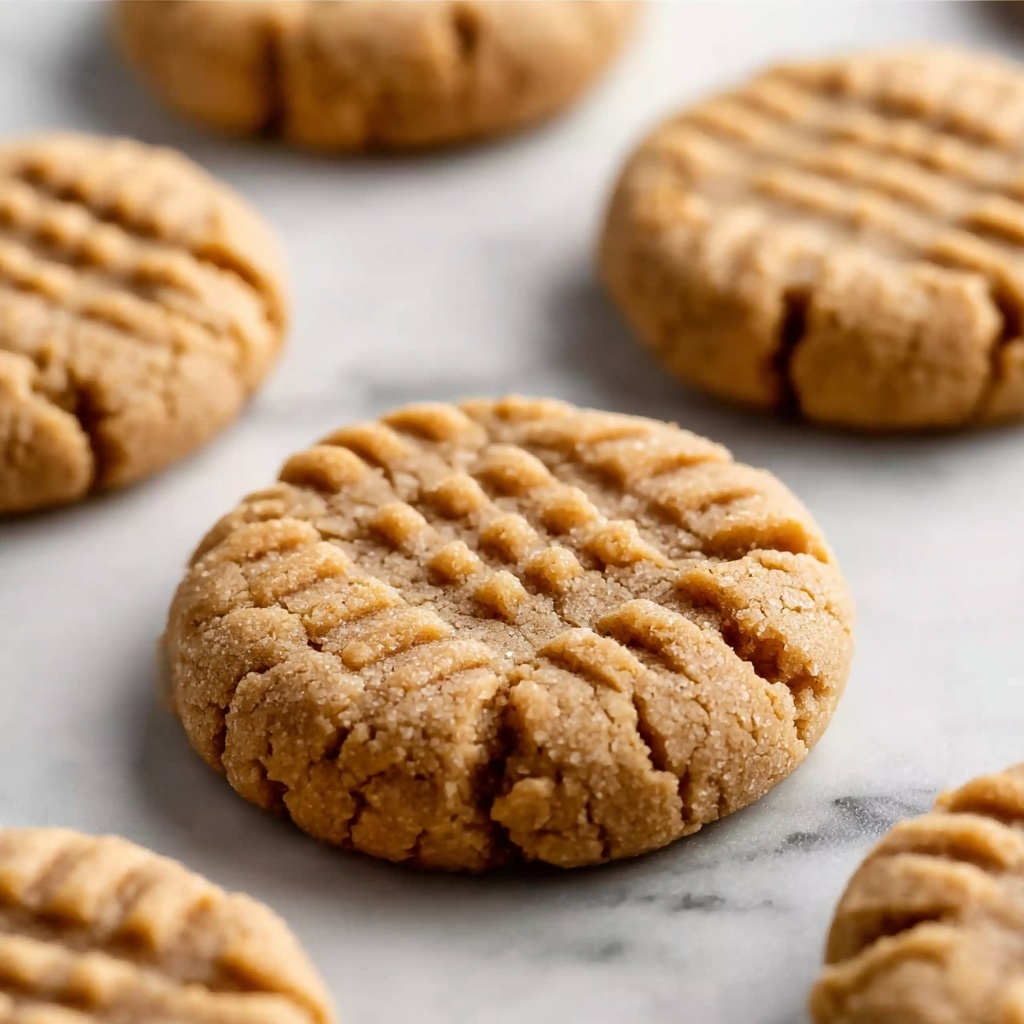
If you have a peanut butter obsession like I do, then you are going to absolutely fall in love with this Gluten-Free Peanut Butter Cookies Recipe. These cookies are perfectly soft, chewy, and bursting with that rich, nutty peanut butter flavor that you crave, all while being completely gluten-free. The magic lies in a clever blend of gluten-free flours, browned butter, and a touch of tapioca starch, delivering a texture and taste that rivals any traditional peanut butter cookie out there. Whether you need a treat to satisfy your sweet tooth or a comforting snack to share, this recipe is a guaranteed winner.
Ingredients You’ll Need
The real joy in this recipe is how straightforward and accessible the ingredients are. Each one plays an important role in crafting the ideal balance of flavor, texture, and chewiness that makes these gluten-free peanut butter cookies so memorable.
- Smooth no-stir peanut butter: Provides the rich, creamy base and signature flavor of the cookie.
- Unsalted butter: Browning it adds a nutty depth that elevates the overall taste.
- Granulated sugar: Adds sweetness and helps with the classic cookie crunch.
- Light brown sugar: Contributes moisture and a subtle molasses flavor.
- Large eggs: Bind everything together and add richness.
- Pure vanilla extract: Enhances the sweetness and rounds out the flavors.
- Gluten-free all-purpose flour with xanthan gum: The backbone for these cookies, ensuring structure without gluten.
- Blanched almond flour: Adds tender moisture and a slight nuttiness.
- Tapioca starch: Improves binding and creates that mellow chewiness.
- Baking soda and baking powder: Leavening agents that help the cookies rise just right.
- Kosher salt: Balances sweetness and enhances all the flavors.
- Granulated sugar for rolling: Adds a delightful sparkle and crisp edge.
- Flaky sea salt (optional): Sprinkling on top offers a lovely contrast and flavor pop.
How to Make Gluten-Free Peanut Butter Cookies Recipe
Step 1: Brown the Butter
Start by melting the unsalted butter in a small saucepan over medium heat. Swirl it gently until it turns golden brown and gives off that irresistible nutty aroma, roughly 3 to 5 minutes. This step really intensifies the peanut butter flavor in the cookies, making them extra special. Be vigilant here because the butter can quickly go from browned to burnt.
Step 2: Mix the Peanut Butter with Browned Butter
Once your butter is perfectly browned, stir in the smooth peanut butter until the mixture is fully combined. Then, let it cool down for 5 to 10 minutes. This cooldown is crucial since adding eggs to a hot mixture can cause them to scramble, which you definitely want to avoid.
Step 3: Prepare the Dry Ingredients
In a separate bowl, whisk together the gluten-free all-purpose flour, blanched almond flour, tapioca starch, baking soda, baking powder, and kosher salt. This flour blend is the secret weapon that results in cookies that aren’t gritty or crumbly, but instead delightfully tender and chewy.
Step 4: Combine Wet Ingredients and Sugars
In a large bowl, beat the peanut butter-butter mixture with granulated and brown sugars using an electric mixer until light and fluffy, about two minutes. Add the eggs one at a time, mixing well after each, then add vanilla extract. Finally, fold in the dry flour mixture in two batches on low speed, mixing just until everything is incorporated. Overmixing here can make the cookies tough, so keep it gentle.
Step 5: Chill the Dough
Cover your dough with plastic wrap and refrigerate for at least 30 minutes, but up to 24 hours if you want to plan ahead. Chilling is important for handling and helps the cookies hold their shape instead of spreading too thin in the oven. If chilling for more than an hour, let the dough sit at room temperature for 10 to 15 minutes before shaping.
Step 6: Shape and Sugar-Cover the Cookies
Preheat your oven to 325°F and line two baking sheets with parchment or silicone mats. Scoop dough using a 1½-tablespoon cookie scoop, roll each into a ball, and dredge in the sugar. This step adds a wonderful sparkle and subtle crunch on the outside that’s just dreamy.
Step 7: Press and Add Finishing Touches
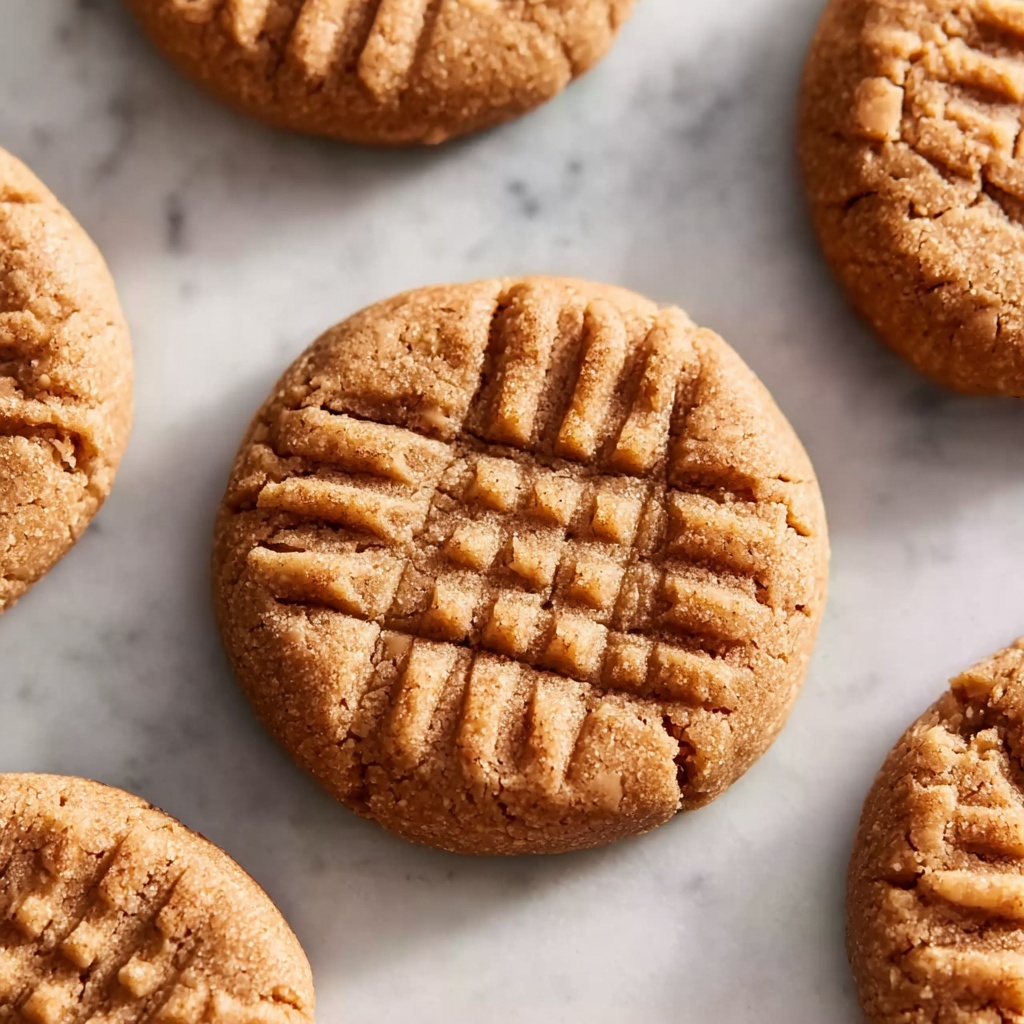
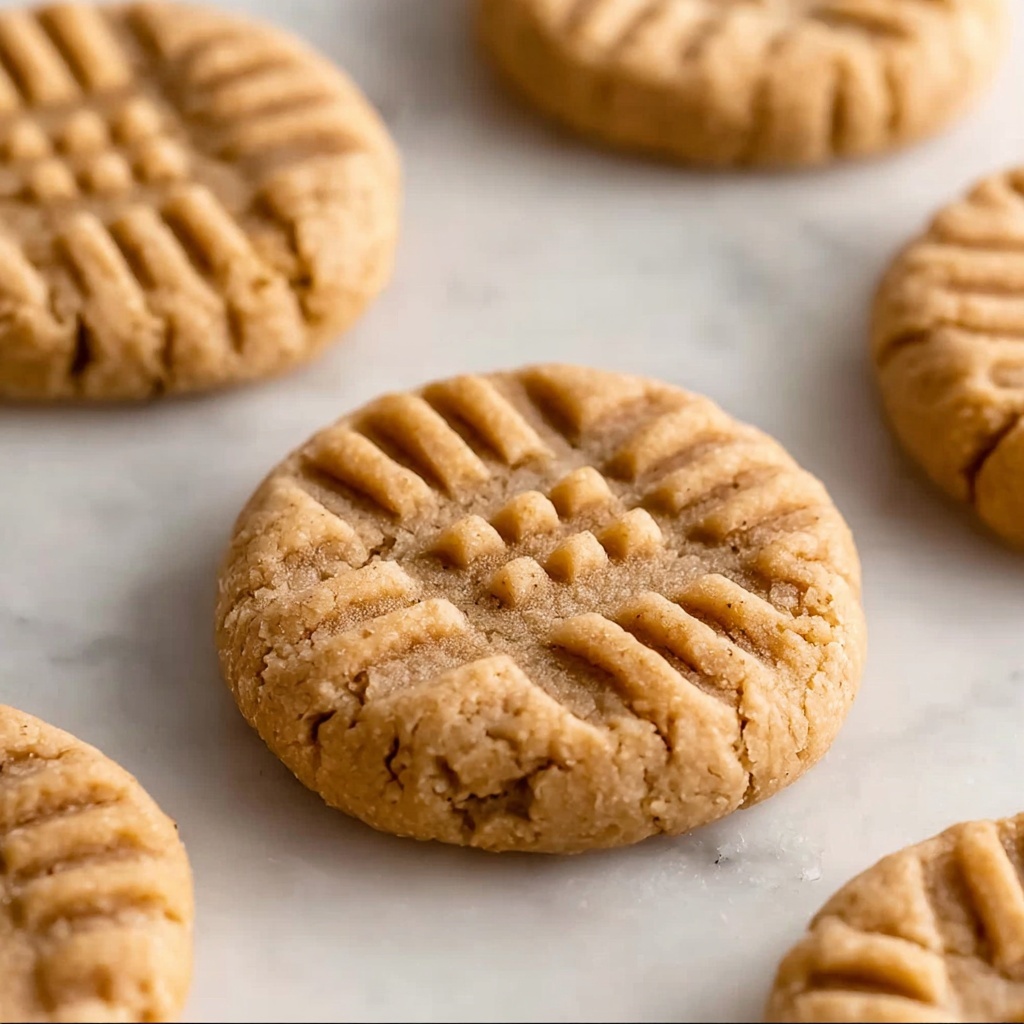
Place the sugar-coated dough balls about 2 inches apart on your pans. Use a fork to flatten with a crisscross pattern for classic peanut butter cookie looks, or gently flatten with your palm for a chewier texture with a crackly top. If you want to take things up a notch, sprinkle a pinch of flaky sea salt on each one before baking.
Step 8: Bake to Perfection
Bake for roughly 10 to 12 minutes if you want soft and chewy cookies or 14 to 15 minutes for a crispier bite. Look for lightly golden edges while the centers remain slightly underbaked—that’s exactly how they should be. They’ll firm up as they cool.
Step 9: Cool Properly
Allow your cookies to cool on the baking sheet for 10 minutes. This step is so important to let the cookies set and avoid breakage, as they are quite fragile fresh out of the oven. After cooling, transfer them to a wire rack to cool completely.
How to Serve Gluten-Free Peanut Butter Cookies Recipe
Garnishes
A light sprinkle of flaky sea salt on top of these cookies just before baking enhances the rich peanut butter flavor beautifully. For a festive twist, you can also drizzle a bit of melted dark chocolate over cooled cookies or sandwich two together with a dollop of homemade vanilla bean frosting.
Side Dishes
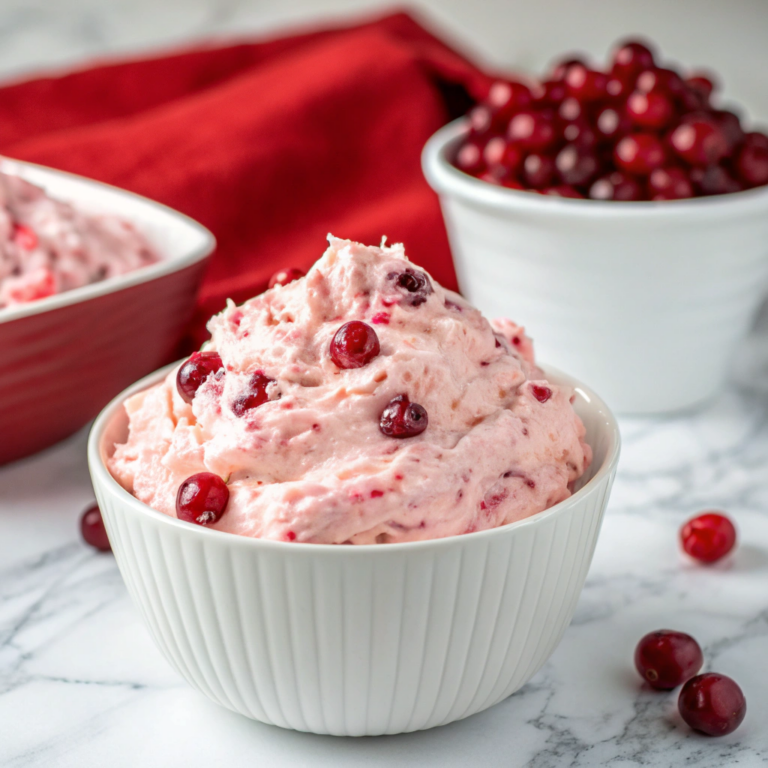
These cookies pair delightfully with a cold glass of milk or a warm cup of coffee or tea. For a gluten-free dessert platter, complement them with fresh berries, dairy-free whipped cream, or a scoop of vanilla ice cream to create an indulgent sweet treat.
Creative Ways to Present
For parties or gifts, stack these peanut butter cookies in pretty mason jars layered with parchment paper or tie a ribbon around a stack for that charming homemade look. You can also cut them into smaller bite-sized pieces and serve them alongside gluten-free brownies or fruit to make an inviting dessert board.
Make Ahead and Storage
Storing Leftovers
Store any leftover cookies in an airtight container at room temperature for up to five days. This keeps them soft and chewy, though they’re so good you might not have leftovers!
Freezing
You can freeze the baked cookies for up to three months. Place them in a single layer on a baking sheet to freeze initially, then transfer to a freezer-safe bag or container. For unbaked dough, shape and roll in sugar, then freeze balls individually on a tray before packing for easy baking later.
Reheating
To refresh the cookies, warm them in a preheated oven at 300°F for about 5 minutes. This brings back that freshly baked softness and melts the edges slightly to perfection without overcooking.
FAQs
Can I substitute natural peanut butter in this recipe?
Natural peanut butter can be used, but because it separates, you might want to stir it well beforehand and possibly reduce other oils slightly. The texture and binding might change a bit, but the flavor will be just as amazing.
Is the tapioca starch necessary?
Yes, tapioca starch plays an important role in binding the gluten-free flours and lending chewiness to the cookies, making it a key ingredient for the perfect texture.
Can I make these cookies vegan?
You can try replacing the butter with a vegan alternative and use flax eggs or chia eggs in place of regular eggs, but keep in mind the texture and flavor will be slightly different from the original.
Why do the cookies need to be chilled?
Chilling the dough helps it firm up, preventing excessive spreading in the oven which results in thicker, chewier cookies with better structure and flavor.
Are these cookies safe for people with gluten intolerance?
This Gluten-Free Peanut Butter Cookies Recipe uses carefully chosen gluten-free flours and xanthan gum to ensure it is safe and delicious for those avoiding gluten.
Final Thoughts
If you’re on the hunt for a Gluten-Free Peanut Butter Cookies Recipe that doesn’t compromise on flavor or texture, you’ve just found it. These cookies are a delightful blend of nutty richness and chewy perfection that will satisfy any cookie craving. I encourage you to try this recipe and enjoy the joyous smiles it brings to every bite.
Print
Gluten-Free Peanut Butter Cookies Recipe
- Prep Time: 1 hour
- Cook Time: 12 minutes
- Total Time: 1 hour 12 minutes
- Yield: 24 cookies
- Category: Dessert
- Method: Baking
- Cuisine: American
- Diet: Gluten Free
Description
These gluten-free peanut butter cookies offer a perfect balance of chewy texture and rich, nutty flavor enhanced by browned butter. Made with a blend of gluten-free all-purpose flour, almond flour, and tapioca starch, these cookies are tender and hold their shape beautifully. The dough is chilled to prevent spreading, yielding thick, flavorful cookies with an optional sprinkle of flaky sea salt for an irresistible finish.
Ingredients
Wet Ingredients
- 1½ cups smooth no-stir peanut butter
- 4 tablespoons unsalted butter
- 2 large eggs, room temperature
- 1 teaspoon pure vanilla extract
Dry Ingredients
- 1¼ cups gluten-free all-purpose flour with xanthan gum
- ¼ cup blanched almond flour
- 2 tablespoons tapioca starch
- ½ teaspoon baking soda
- ¼ teaspoon baking powder
- ½ teaspoon kosher salt
Sugars & Toppings
- ⅓ cup granulated sugar
- ⅔ cup light brown sugar, packed
- 2 tablespoons granulated sugar (for rolling)
- Flaky sea salt (for sprinkling, if desired)
Instructions
- Brown the Butter: Melt the unsalted butter in a small saucepan over medium heat, swirling occasionally. Continue cooking for 3-5 minutes until it turns golden brown and emits a nutty aroma. Carefully watch to prevent burning.
- Combine Peanut Butter and Butter: Add the peanut butter to the browned butter and stir until fully combined. Allow this mixture to cool for 5-10 minutes, ensuring it is fluid but not hot enough to cook the eggs.
- Mix Dry Ingredients: In a separate bowl, whisk together the gluten-free all-purpose flour, almond flour, tapioca starch, baking soda, baking powder, and kosher salt to create a smooth, uniform blend.
- Beat Wet Ingredients and Sugars: In a large bowl, combine the cooled peanut butter mixture with granulated sugar and brown sugar. Beat with an electric mixer on medium speed for about 2 minutes until light and fluffy. Add eggs one at a time, beating well after each, then stir in vanilla extract until smooth.
- Add Dry Ingredients: Incorporate the dry flour mixture in two batches, mixing on low speed just until combined. Avoid overmixing to prevent tough cookies.
- Chill the Dough: Cover the dough with plastic wrap and chill for at least 30 minutes or up to 24 hours. If chilled longer than an hour, let it sit at room temperature for 10-15 minutes before shaping.
- Preheat and Prepare Baking Sheets: Preheat oven to 325°F (163°C). Line two baking sheets with parchment paper or silicone mats. Place 2 tablespoons of granulated sugar in a small bowl for rolling the dough balls.
- Shape the Cookies: Using a 1½-tablespoon cookie scoop, form dough balls and roll each into the granulated sugar. Place balls 2 inches apart on the prepared sheets. Press each ball with a fork in a crisscross pattern for classic cookies, or flatten slightly with your palm for chewier, crackly-top cookies. Optionally, sprinkle flaky sea salt on top before baking.
- Bake: Bake cookies for 10-12 minutes for chewy texture or 14-15 minutes for a crisper bite. Edges should be set and lightly golden, while centers may appear slightly underdone.
- Cool: Allow cookies to cool on the baking sheets for 10 minutes to set properly, then transfer to a wire rack to cool completely. This step is essential to prevent breakage.
Notes
- Chilling the dough improves texture and prevents spreading, resulting in thicker cookies.
- Using browned butter enhances the nutty flavor and depth of the cookies.
- Do not overmix the dough once dry ingredients are added to avoid tough cookies.
- The choice between fork-pressed or palm-flattened shapes influences texture: fork-pressed yields classic cookies, palm-flattened yields chewier ones.
- Flaky sea salt topping is optional but adds a pleasant contrast to the sweetness.
- If chilling for more than an hour, bring dough to room temperature briefly before baking for easier handling.

