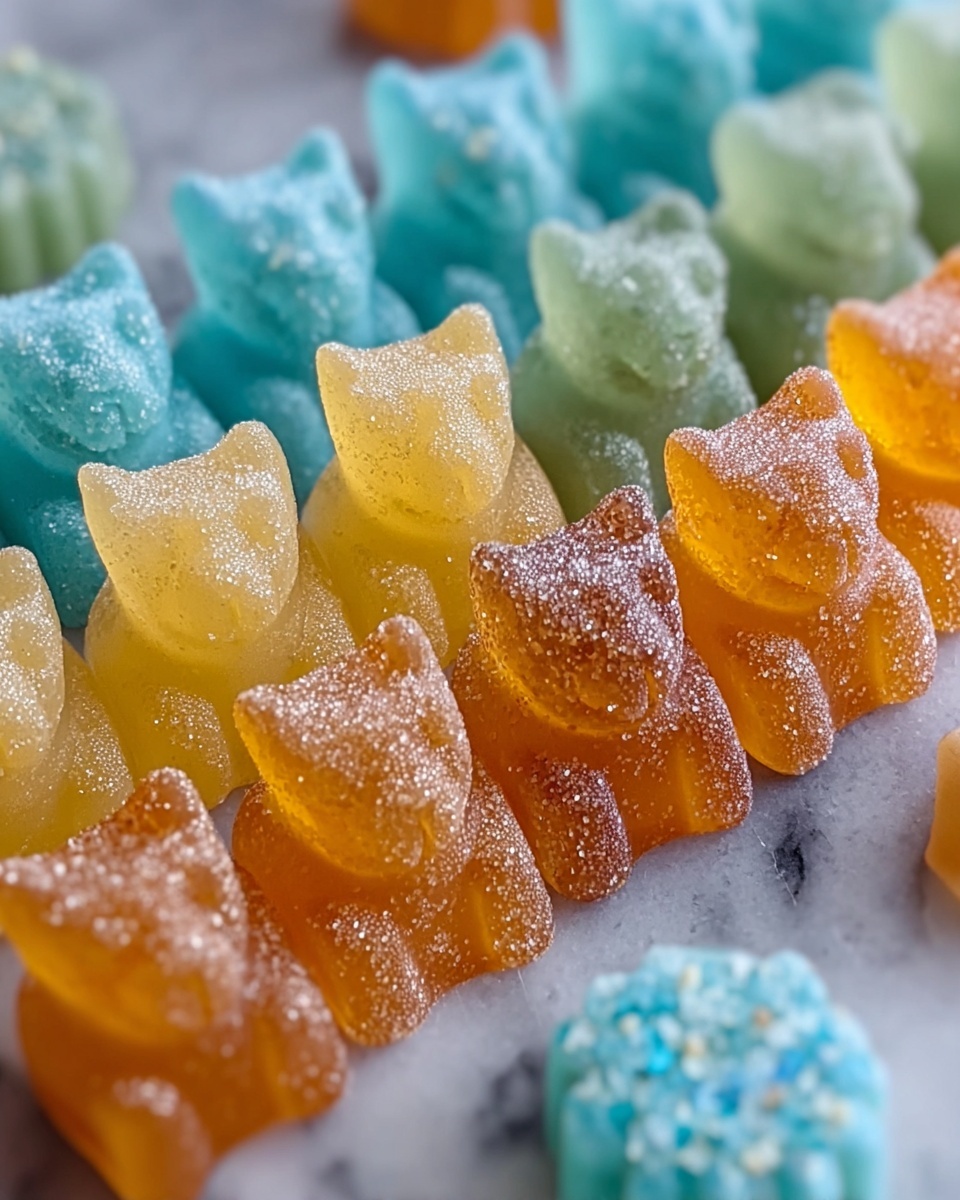
If you have a sweet tooth and a curiosity for kitchen science, this Homemade Rock Candy Recipe is an absolute delight to try. It’s not just about making candy; it’s about watching sugar crystals grow into dazzling, colorful sticks while creating a treat that tastes like childhood nostalgia with a touch of personalized flavor. Simple, mesmerizing, and incredibly satisfying, this recipe turns your kitchen into a mini candy lab where patience rewards you with sparkling sweetness.
Ingredients You’ll Need
Gathering the right ingredients for your Homemade Rock Candy Recipe is a breeze, yet each one plays a crucial role. From the sugar that forms the sweet crystalline base, to the water that dissolves and nurtures the crystals, every component is essential to achieve that perfect rock candy texture and taste.
- Granulated sugar: The star ingredient that will crystallize into your rock candy’s beautiful structure.
- Water: Helps dissolve the sugar, providing the perfect environment for crystals to grow.
- Flavoring extract (½ to 1 teaspoon): Adds your favorite taste—vanilla, peppermint, or cherry are great choices for classic rock candy flavor.
- Food coloring (optional): Introduces vibrant hues to your candy, making it as eye-catching as it is delicious.
- Wooden skewers or strings (4): Serve as the foundation where crystals will form and grow.
- Clothespins or clips: Secure the skewers so they hang just right inside your jars.
- Tall glass jars or cups: Provide the perfect container for your growing sweet crystals to develop undisturbed.
How to Make Homemade Rock Candy Recipe
Step 1: Prepare the Sugar Syrup
Start by combining 2 cups of granulated sugar and 1 cup of water in a saucepan over medium heat. Stir constantly until the sugar completely dissolves and the mixture reaches a rolling boil. Once boiling, stop stirring and let it simmer for 2 to 3 minutes. This concentrated syrup is essential for crystal growth, so don’t rush this step.
Step 2: Add Flavor and Color
Remove your saucepan from the heat and stir in your chosen flavoring extract—between half and one teaspoon depending on how intense you like your candy. If you’re feeling creative, add a few drops of food coloring now to make your crystal sticks extra festive and fun.
Step 3: Prep Your Skewers
While the syrup cools for about 10 minutes, dampen each wooden skewer and roll it lightly in granulated sugar. This sugar coating acts as “seed crystals,” giving the sugar structure to cling to and ensuring your rock candy grows beautifully.
Step 4: Set Up the Jars
Pour the cooled syrup into your clean glass jars. Suspend each sugar-coated skewer inside the jars using clothespins or clips, making sure the skewers do not touch the sides or the bottom to allow even crystal growth on all sides.
Step 5: Let the Crystals Grow
Place the jars in a cool, undisturbed spot and wait patiently. Within a day, you’ll see the sugar crystals begin to form, and over 5 to 7 days, they’ll grow to the perfect rock candy size. When you’re happy with the size, remove the sticks and let them air dry for a few hours before enjoying your homemade masterpiece.
How to Serve Homemade Rock Candy Recipe
Garnishes
While the rock candy shines wonderfully on its own, you can also dress it up by serving it alongside whipped cream, fresh berries, or even dipped in melted chocolate for an indulgent twist. These touches complement the sweet crunch while adding visual appeal and texture.
Side Dishes
Pair your sparkling rock candy with refreshing iced teas or lemonades to balance the sweetness. It works beautifully as a charming sweetener and garnish in drinks or as a bright, crunchy element on dessert platters with cookies or cupcakes.
Creative Ways to Present
For parties or gifts, wrap each homemade rock candy stick in clear cellophane tied with colorful ribbons. Arrange them in mason jars or vintage glasses for a rustic look that invites compliments. You can even use themed food coloring and extracts to match holidays or special occasions.
Make Ahead and Storage
Storing Leftovers
Once your rock candy sticks have dried, store them in an airtight container to keep them crisp and free from moisture. Proper storage ensures your Homemade Rock Candy Recipe treats stay fresh and ready to nibble for days or even weeks.
Freezing
Freezing rock candy is not recommended, as the crystals can become brittle and lose their charming texture once thawed. It’s best enjoyed fresh or stored at room temperature.
Reheating
If you have leftover syrup after removing your rock candy, you can reheat it gently to make a second batch. This is a wonderful way to reduce waste and enjoy even more sparkly, sweet sticks without starting completely from scratch.
FAQs
How long does it take for rock candy to grow?
Typically, you’ll notice crystals forming within 24 hours, but letting it sit for 5 to 7 days yields the best, largest crystals ready for eating.
Can I use brown sugar instead of white sugar?
Brown sugar has additional molasses which affects crystal growth and color, so it’s best to stick with granulated white sugar for the classic crystal texture and clarity.
What if my crystals aren’t growing?
Make sure your sugar syrup was heated long enough to become supersaturated, and that your skewers were properly seeded with sugar. Also, ensure the jars are in a cool, undisturbed spot without drafts or vibrations.
Can kids safely make this recipe?
Absolutely! With adult supervision during the boiling and handling of hot syrup, this recipe makes a fun and educational kids’ science and cooking project.
How do I customize the flavor of my rock candy?
Simply choose your favorite food-safe flavoring extract to add to the syrup before it cools. Popular options include vanilla, peppermint, cherry, or almond, each creating unique and delicious variations.
Final Thoughts
Trying out this Homemade Rock Candy Recipe is like capturing a little bit of childhood magic in your own kitchen. It’s a sweet reward for patience and a fun way to experiment with flavors and colors. Whether you savor it alone, share it with friends, or present it as a charming gift, this recipe is sure to bring smiles and sparkle to any day. So go ahead, give it a try, and watch your sugar dreams crystalize into reality!
Print
Homemade Rock Candy Recipe
- Prep Time: 20 minutes
- Cook Time: 5 minutes
- Total Time: 7 days
- Yield: 4 rock candy sticks
- Category: Dessert, Candy
- Method: No-Cook
- Cuisine: American
- Diet: Gluten Free, Vegetarian
Description
Homemade Rock Candy is a fun and simple DIY candy project that creates beautiful crystalline sugar sticks perfect for a sweet treat or a kids’ science activity. Using basic ingredients like sugar, water, and optional flavorings and colors, this recipe guides you through making your own shimmering rock candy at home over several days without any baking required.
Ingredients
Ingredients
- 2 cups granulated sugar
- 1 cup water
- ½ to 1 teaspoon flavoring extract (such as vanilla, peppermint, or cherry)
- Food coloring (optional)
- 4 wooden skewers or strings
- Clothespins or clips
- Tall glass jars or cups
Instructions
- Prepare Sugar Syrup: In a saucepan over medium heat, combine the sugar and water. Stir constantly until the sugar is fully dissolved and the mixture starts to boil. Once it reaches a rolling boil, stop stirring and let it boil for 2–3 minutes.
- Add Flavoring and Color: Remove the saucepan from heat and stir in the flavoring extract and food coloring if using. Allow the syrup to cool for about 10 minutes to prevent melting the sugar crystals.
- Prepare Skewers: While the syrup cools, dampen each wooden skewer and roll it in granulated sugar. This seed sugar coating encourages crystal formation. Let the coated skewers dry completely.
- Set Up Jars: Pour the cooled syrup carefully into clean tall glass jars. Suspend each sugar-coated skewer into a jar using a clothespin balanced across the top of the jar, ensuring the skewer doesn’t touch the bottom or sides.
- Cultivate Crystals: Place the jars in a cool, undisturbed area. Crystals will start to form within a day and grow over 5 to 7 days to the desired size.
- Harvest Candy: Once the rock candy has grown enough, remove the skewers from the syrup and let the crystals dry for a few hours before enjoying your homemade treat.
Notes
- Ensure jars are thoroughly clean and skewers are centered for even crystal growth.
- Leftover syrup can be reheated to create additional batches of rock candy.
- Experiment with different flavor extracts and colors to customize your rock candy.


