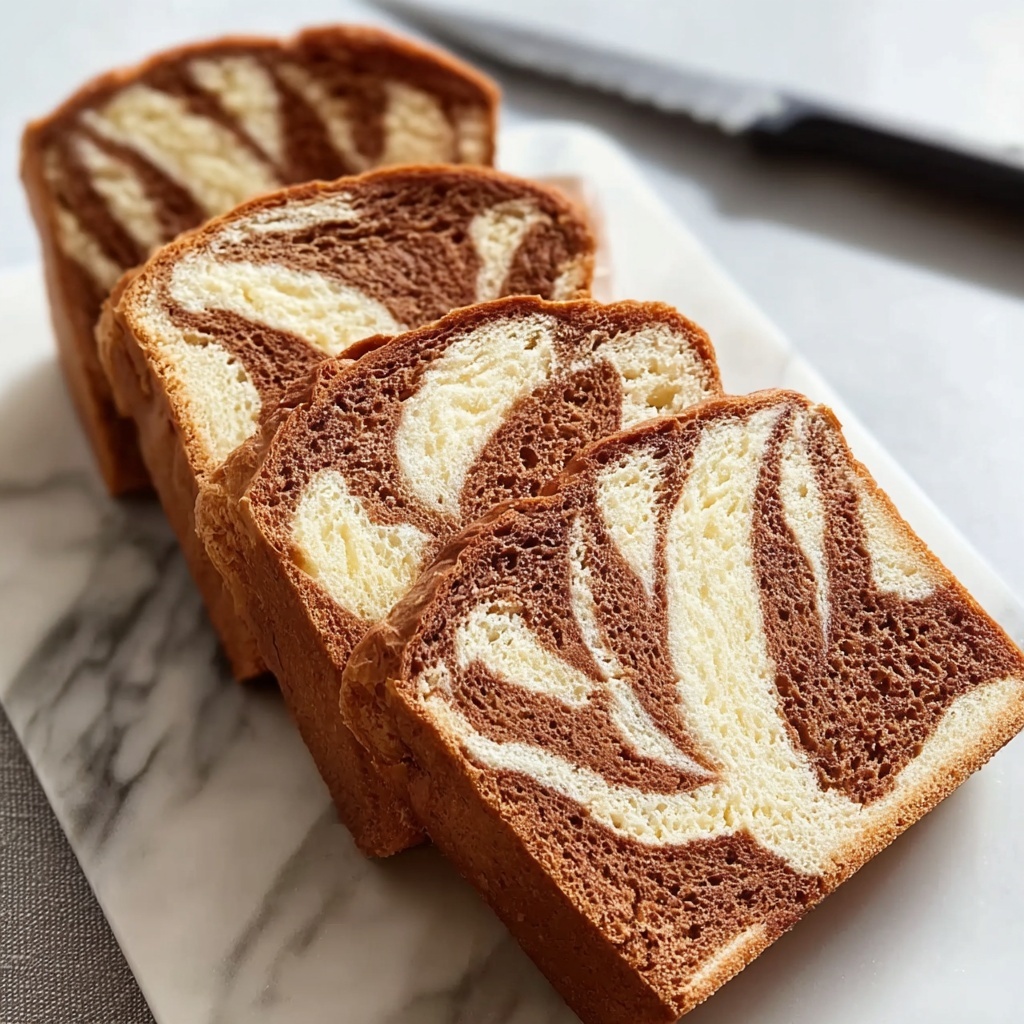
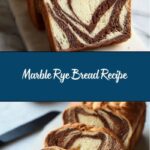
If you have ever dreamed of creating a stunning loaf that pairs beautiful swirls of dark and light rye dough with a depth of flavor that dances on your palate, then this Marble Rye Bread Recipe is your ticket to bread-baking bliss. Each slice reveals a captivating marbled pattern, accented by fragrant caraway seeds and a touch of cocoa-infused richness. It’s a perfect harmony of texture and taste that effortlessly elevates sandwiches or simply shines on its own slathered with butter. Trust me, once you try this Marble Rye Bread Recipe, your kitchen will never be the same.
Ingredients You’ll Need
The magic of this Marble Rye Bread Recipe lies in a handful of straightforward ingredients that bring so much character and flavor. Every component plays a vital role in creating the perfect texture, from the rye’s earthiness to the slight sweetness that balances the tangy notes.
- White rye flour: Adds that signature rye flavor and beautiful crumb texture.
- Bread flour: Provides the gluten structure needed for a chewy, resilient crumb.
- Instant yeast: Ensures a reliable, even rise for both light and dark doughs.
- Salt: Enhances all the flavors and controls yeast activity.
- Caraway seeds: Introduce that classic aromatic note essential to rye bread.
- Honey: Sweetens the light dough gently, rounding out flavors.
- Molasses: Brings deep, rich sweetness essential for the dark rye dough.
- Butter, softened: Contributes tenderness and richness.
- Water, room temperature: Hydrates and brings doughs together with just the right consistency.
- Cocoa powder: Adds the dark tone and subtle complexity for the marbled contrast.
- Egg white and water: Used as a glaze to give the crust a lovely sheen and help seeds stick.
How to Make Marble Rye Bread Recipe
Step 1: Prepare the Light Dough
Start by combining white rye flour, bread flour, yeast, salt, and caraway seeds to build your light dough’s base. Adding honey and butter creates a delicate sweetness and softness. Gradually mixing in water forms a dough that’s slightly tacky yet manageable, perfect for kneading into a smooth elastic ball. The windowpane test here is your best friend to confirm you’ve developed enough gluten for a great crumb.
Step 2: Craft the Dark Dough
Meanwhile, the dark dough gets its complexity from cocoa powder and molasses, blended with the same flours, yeast, salt, and caraway seeds. Because cocoa powder can soak up moisture, watch your water amounts closely to maintain that slightly tacky feel. Knead until it mirrors the light dough’s smooth elasticity; this balance is key for layering later.
Step 3: First Rise
Once both doughs are silky and elastic, place them into lightly oiled bowls, turning once to oil all surfaces. Cover and let them rest in a warm spot for about 1.5 hours until they nearly double in size. This rise develops flavor and lightens the dough, making it easier to work with for the marbling process.
Step 4: Shape and Layer the Doughs
After punching down the risen doughs, let them relax on floured surfaces for a short rest. Then, divide each dough into two portions, roll all four pieces into consistent rectangles, and stack them alternately light, dark, light, dark. This alternating stack is the heart of the Marble Rye Bread Recipe’s signature look. Lightly rolling the stack helps the layers meld beautifully without gaps.
Step 5: Roll, Seal, and Second Rise
Roll the stacked layers into a tight log starting from the short edge, pinching seams and ends to seal in the marbling. Place the loaf seam-side down in a greased pan or on parchment. Cover loosely and allow it to rise again for 60 to 90 minutes until puffy. This final rise ensures a tender crumb and perfect oven spring.
Step 6: Bake to Perfection
Preheat your oven to 350°F around 30 minutes before baking for an even temperature. Brush the loaf with an egg white wash and sprinkle remaining caraway seeds for that classic crust finish. Score three diagonal slashes atop to guide expansion. Bake for 40 to 45 minutes until golden brown with an internal temperature of 200°F. If it starts browning too fast, a foil tent can save the crust from burning while the inside finishes baking.
Step 7: Cool Completely
Remove the bread from its pan promptly and transfer to a wire rack. Cooling for at least two hours is essential for the crumb to set and maintain the stunning marble pattern in each slice. Resist the urge to cut early; patience here pays off in delicious, clean slices.
How to Serve Marble Rye Bread Recipe
Garnishes
A sprinkle of caraway seeds on top adds a charming rustic look, but you can also add a light brush of melted butter just after baking to enrich the crust’s flavor and softness. Fresh herbs like dill or chives serve as unexpected companions when spreading soft butter for a bright twist.
Side Dishes
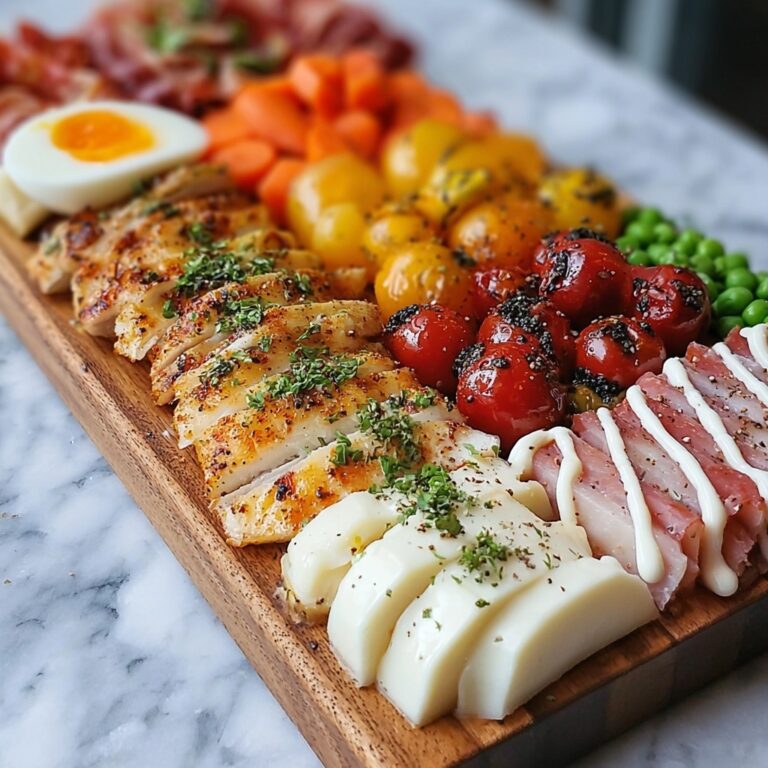
This bread pairs wonderfully with hearty, savory sides such as creamy coleslaw, smoked fish, or a thick bowl of borscht. It’s perfect alongside classic deli sandwiches layered with pastrami or corned beef, bringing that moist yet chewy texture and aromatic rye flavor to every bite.
Creative Ways to Present
Try slicing the Marble Rye Bread Recipe thick for grilled cheese sandwiches where the marbling creates an artful presentation. Or toast it and top creatively with avocado mash, smoked salmon, and a squeeze of lemon for a brunch-worthy treat that will wow your guests visually and gastronomically.
Make Ahead and Storage
Storing Leftovers
Once cooled completely, store your Marble Rye Bread Recipe in a paper bag or loosely wrapped in a tea towel at room temperature to preserve the crust’s texture while keeping the inside moist. Avoid plastic bags for longer storage as they tend to soften the crust too much.
Freezing
If you want to save some for later, slice the bread first and freeze the slices individually wrapped or in airtight containers. This way, you can toast or thaw exact portions without sacrificing freshness or texture.
Reheating
Reheat frozen slices in a toaster or oven set at about 325°F for 5 to 7 minutes. This revives both the crusty exterior and soft interior. For whole loaves, wrap in foil before warming to prevent drying out during reheating.
FAQs
Can I use only rye flour for this Marble Rye Bread Recipe?
While you can, it’s not recommended because rye flour alone lacks enough gluten to create structure. The bread flour balances this by providing elasticity and a better crumb texture, essential for the marbled layering.
Why is cocoa powder added to the dark dough?
Cocoa powder is used not to make the bread taste chocolatey but to deepen the color and add subtle earthiness. It enhances the visual contrast and complexity of the marble pattern without overpowering the traditional rye flavors.
How important is the second rise before baking?
The second rise is crucial as it allows the rolled loaf to relax and develop air pockets, leading to a lighter, airier texture. Skipping or shortening this step may result in a dense, less flavorful loaf.
Can I make the dough by hand if I don’t have a stand mixer?
Absolutely! Kneading by hand takes a bit longer but allows you to feel the dough’s readiness intimately. Just be sure to knead for around 7 to 8 minutes until the dough is smooth and elastic enough to pass the windowpane test.
What’s the best way to achieve the classic rye bread tang?
This recipe uses instant yeast for reliability, but to achieve a tangier rye, incorporating a sourdough starter or allowing a longer, cooler fermentation can develop those signature sour notes. Experimenting with fermentations can tailor the flavor to your preference!
Final Thoughts
There really is something special about baking your own Marble Rye Bread Recipe—a loaf that showcases the artistry of marbling and the nostalgic, comforting taste of rye bread. Whether you’re a baking novice or a seasoned pro, this recipe invites you to enjoy the process and savor every aromatic, flavorful slice. I can’t wait for you to bring this gorgeous, delicious bread into your home. Happy baking!
Print
Marble Rye Bread Recipe
- Prep Time: 30 minutes
- Cook Time: 45 minutes
- Total Time: 3 hours 45 minutes
- Yield: 1 loaf (9×5 inch)
- Category: Bread
- Method: Baking
- Cuisine: American
Description
This Marble Rye Bread recipe combines two complementary doughs—light and dark rye—with a unique marbled effect achieved by layering and rolling the doughs together. Featuring caraway seeds for a classic rye flavor and enriched with honey and molasses, this loaf offers a soft, elastic crumb with a beautiful swirl appearance inside. It’s perfect for deli sandwiches, toasting, or snacking fresh.
Ingredients
Light Dough
- 1 1/2 cups white rye flour
- 3 cups bread flour
- 1 3/4 teaspoons instant yeast
- 1 1/2 teaspoons salt
- 1 1/2 teaspoons caraway seeds
- 1 tablespoon honey
- 2 tablespoons butter, softened
- 1 1/4 cups water, room temperature (start with 1 cup and add as needed)
Dark Dough
- 1 1/2 cups white rye flour
- 3 cups bread flour
- 1 1/4 teaspoons instant yeast
- 1 1/2 teaspoons salt
- 1 1/2 teaspoons caraway seeds
- 1 tablespoon molasses
- 2 tablespoons butter, softened
- 2 tablespoons unsweetened cocoa powder
- 1 1/4 cups water, room temperature (start with 1 cup and add as needed)
For Topping
- 1 egg white
- 1 teaspoon water
- 1 tablespoon caraway seeds
Instructions
- Prepare Light Dough: In a large bowl or stand mixer, combine white rye flour, bread flour, instant yeast, salt, and caraway seeds. Add honey, softened butter, and 1 cup of water. Stir to form a shaggy dough, gradually adding more water until soft and slightly tacky but not sticky. Knead on low speed for 5 minutes or by hand for 7-8 minutes until dough is smooth and elastic, passing the windowpane test.
- Prepare Dark Dough: In a separate bowl, mix white rye flour, bread flour, instant yeast, salt, and caraway seeds. Incorporate molasses, cocoa powder, softened butter, and 1 cup water. Adjust water as needed for proper consistency. Knead until the dough is soft, slightly tacky, and elastic.
- First Rise: Place each dough ball in lightly oiled bowls, turning once to coat. Cover with plastic wrap and let rise in a warm area until doubled in size, approximately 1.5 hours.
- Divide and Roll Dough: Punch down both doughs and transfer to lightly floured surfaces. Rest for 10 minutes. Divide each dough into two equal pieces, totaling four pieces (2 light and 2 dark). Roll each piece into an 8×10-inch rectangle.
- Assemble Marble Loaf: Stack dough pieces alternating colors: light, dark, light, dark. Gently roll the stacked layers to adhere them, eliminating gaps for a clean marble pattern. Roll tightly from the short end into a log shape, pinching seams and ends closed.
- Second Rise: Place the dough log seam-side down in a greased 9×5 inch loaf pan or on a parchment-lined baking sheet. Cover loosely with oiled plastic wrap and let rise until nearly doubled, about 60 to 90 minutes. The dough should be puffy and slowly spring back when pressed.
- Prepare for Baking: Preheat the oven to 350°F (175°C) about 30 minutes before baking. Whisk together the egg white and water, then gently brush it over the top of the loaf. Sprinkle the remaining caraway seeds evenly on top. Use a sharp knife or lame to make three diagonal ½-inch deep slashes across the loaf.
- Bake: Bake the bread for 40 to 45 minutes until golden brown and an internal temperature of 200°F (93°C) is reached. Tent with foil if browning too quickly.
- Cool: Remove loaf from pan promptly and cool completely on a wire rack for at least 2 hours before slicing to set the crumb and enhance the marbled pattern.
Notes
- Adjust water slightly for dough consistency, especially in the dark dough where cocoa powder absorbs more liquid.
- Perform the windowpane test to ensure proper gluten development and dough elasticity.
- If the loaf browns too fast, tent with foil to avoid burning while finishing baking.
- Complete cooling is crucial for slicing as it sets the crumb structure and maintains the marbling effect.
- Use a sharp knife or lame for clean scoring to help control expansion and create an appealing crust texture.
