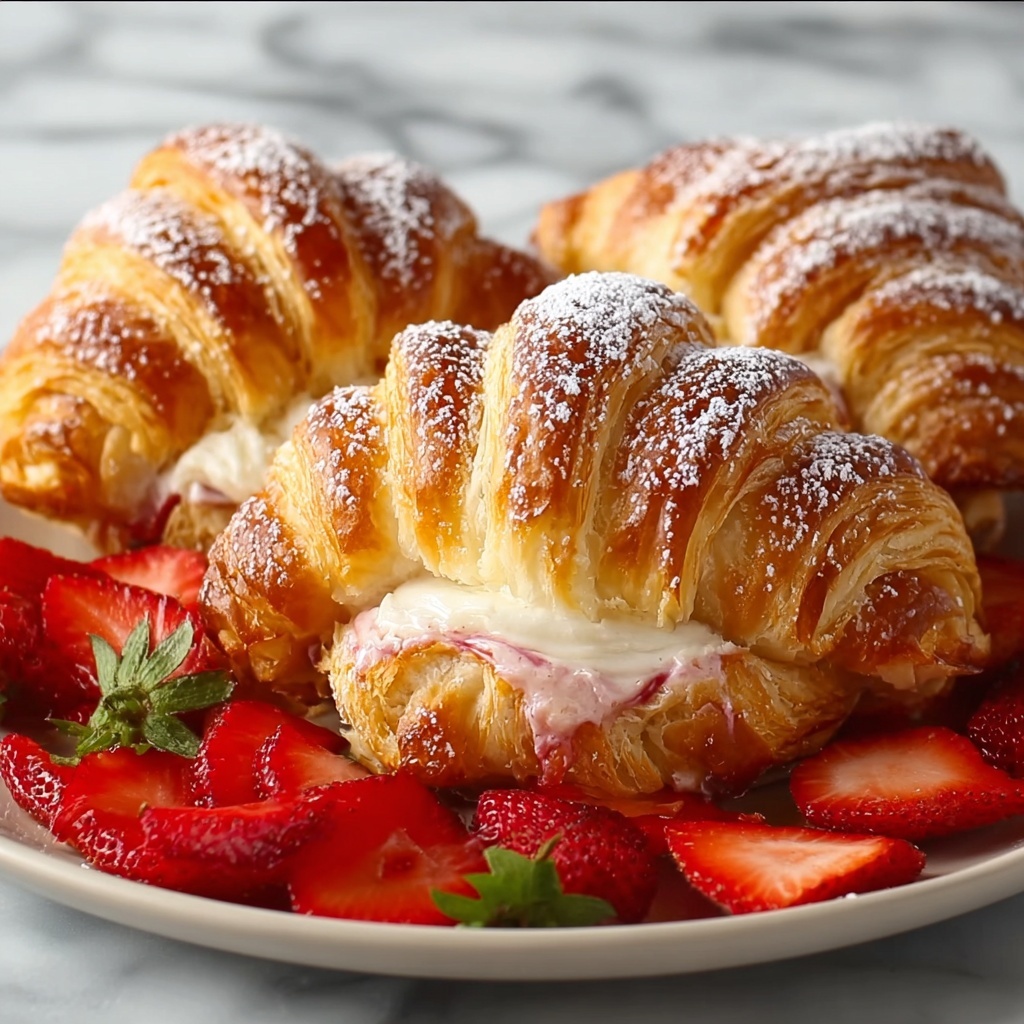
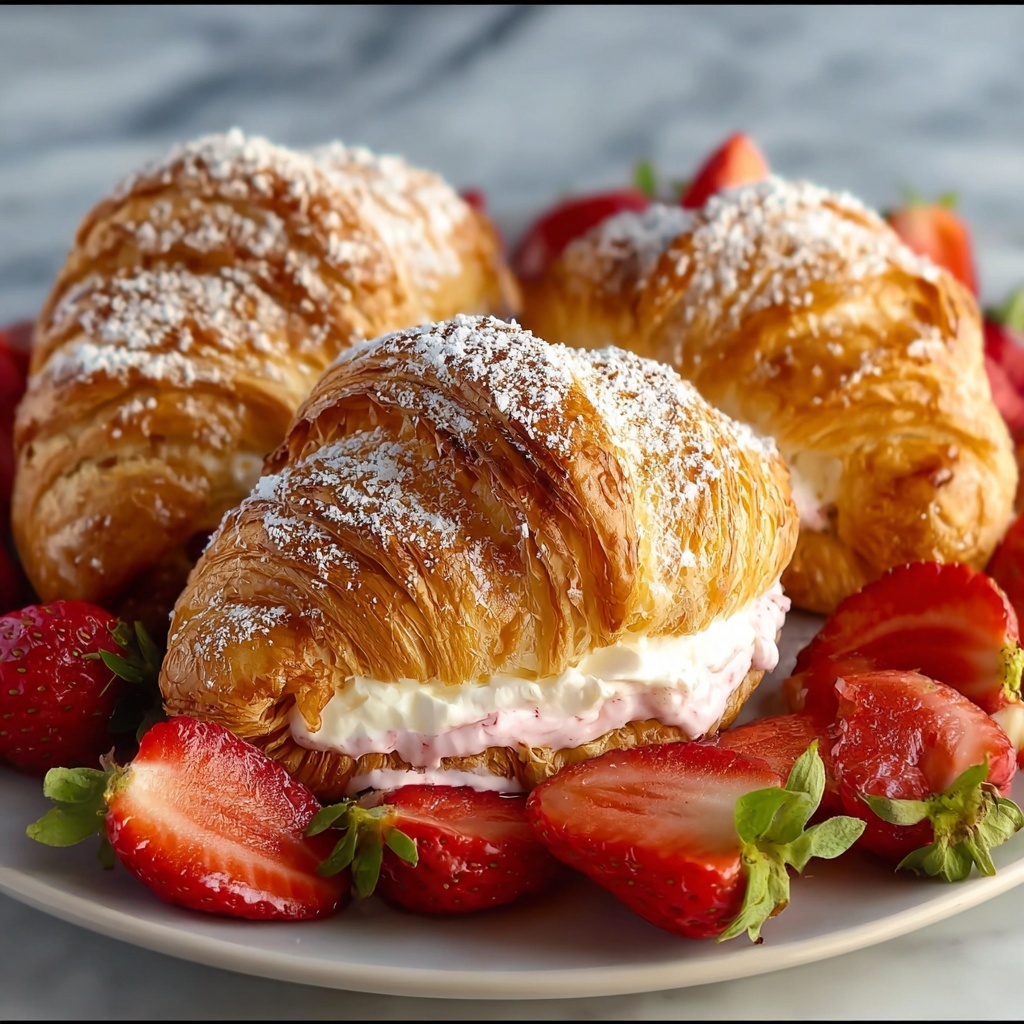
If you’re looking for a delightful treat that combines the buttery flakiness of crescent rolls with the creamy sweetness of cheesecake and the fresh burst of strawberries, then the Strawberry Cheesecake Crescents Recipe is exactly what you need. This dessert is wonderfully simple to make yet feels decadent enough to impress anyone at your table. The soft cream cheese filling complements juicy strawberries perfectly, all wrapped up in golden crescents with a sweet, crunchy sugar topping. It’s one of those recipes that feels like a little celebration in every bite, and once you try it, you’ll want to make it again and again.

Ingredients You’ll Need
Gathering the right ingredients is the first step to making a perfect batch of Strawberry Cheesecake Crescents. These simple, quality ingredients come together to create a harmony of flavors and textures that make this dish so irresistible.
- Crescent roll dough: Provides the flaky, buttery base that wraps all the delicious fillings together.
- Cream cheese: Adds a rich, creamy texture and tangy flavor that balances the sweetness.
- Powdered sugar: Sweetens the cream cheese filling gently without graininess.
- Vanilla extract: Adds warm, aromatic depth to the cream cheese mixture.
- Fresh strawberries: Brings juicy freshness and vibrant color to every bite.
- Lemon juice: Enhances the strawberry flavor with a bright, zesty note.
- Granulated sugar: Sprinkled on top for a lightly crunchy, sweet finish.
- Butter: Melted and brushed on the crescents for a golden, rich crust.
How to Make Strawberry Cheesecake Crescents Recipe
Step 1: Preheat and Prepare
Start by heating your oven to 375°F (190°C). Line a baking sheet with parchment paper or lightly grease it so the crescents won’t stick. This simple step ensures easy cleanup and a smooth baking process.
Step 2: Separate the Crescent Dough
Unroll the crescent roll dough carefully and separate it into individual triangles. These triangles will be your mini canvases for that creamy strawberry filling.
Step 3: Make the Cream Cheese Filling
In a medium bowl, beat together the softened cream cheese, powdered sugar, and vanilla extract until smooth and creamy. This luscious mixture brings that classic cheesecake flavor to the crescents and is key to the indulgent texture.
Step 4: Spread and Top with Strawberries
Spread a generous amount of the cream cheese mixture onto each dough triangle, leaving a small border around the edges to prevent the filling from leaking out. Then, sprinkle diced strawberries over the cream cheese and add a light drizzle of lemon juice to brighten the flavor.
Step 5: Roll and Prepare for Baking
Carefully roll each crescent from the wide end to the tip, enclosing the filling inside. Place the rolled crescents on your prepared baking sheet. Brush the tops with melted butter, which helps achieve a golden finish, and sprinkle granulated sugar for a little sparkle and crunch.
Step 6: Bake to Perfection
Bake the crescents for 12-15 minutes until they turn a beautiful golden brown and the filling bubbles slightly. This tells you the balance between a crisp exterior and that irresistibly creamy center has been perfectly achieved.
Step 7: Cool and Serve
Let the strawberry cheesecake crescents cool slightly before serving so the filling sets just enough to enjoy without burning your mouth. Optionally, add extra fresh strawberries on top as a garnish for an extra pop of color and flavor.
How to Serve Strawberry Cheesecake Crescents Recipe
Garnishes
Adding a sprinkle of powdered sugar or a dollop of whipped cream will elevate the presentation and enhance the dessert’s creamy sweetness. Fresh mint leaves also make a delightful, fresh garnish that complements the strawberries beautifully.
Side Dishes
Serve these crescents alongside a scoop of vanilla ice cream or a small bowl of fresh fruit salad to create a wonderfully balanced, indulgent treat. A hot cup of coffee or tea makes a lovely companion for a cozy afternoon snack.
Creative Ways to Present
Try arranging several crescents in a circle on a large platter, adding sliced strawberries and edible flowers for a stunning centerpiece at brunch or a party. You can also drizzle a bit of melted chocolate or strawberry sauce on top for an extra layer of decadence.
Make Ahead and Storage
Storing Leftovers
Place any leftover Strawberry Cheesecake Crescents in an airtight container and refrigerate. They will keep well for up to 3 days, maintaining most of their fresh flavor and texture when stored properly.
Freezing
You can freeze unbaked crescents assembled on a baking sheet; freeze until firm, then transfer to a freezer bag or container. When ready, bake them directly from frozen, adding a few extra minutes to the baking time to ensure they cook through. This makes it easy to enjoy this recipe anytime.
Reheating
To warm up leftover or frozen crescents, place them on a baking sheet and heat in a 350°F (175°C) oven for about 10 minutes, or until warmed through and slightly crisp. Avoid microwaving to keep that perfect flaky texture.
FAQs
Can I use frozen strawberries for this Strawberry Cheesecake Crescents Recipe?
While fresh strawberries are best for a vibrant flavor and texture, you can use frozen strawberries if fresh aren’t available. Just make sure to thaw and drain them well to avoid excess moisture that can make the crescents soggy.
Is it possible to make these crescents vegan or dairy-free?
Yes! You can substitute cream cheese with a vegan alternative and use dairy-free crescent dough and butter. The flavors will be slightly different but still delicious and satisfying.
Can I add other fruits besides strawberries?
Absolutely! Blueberries, raspberries, or diced peaches work beautifully and add their own unique twist to the Strawberry Cheesecake Crescents Recipe. Just adjust the lemon juice slightly to balance the flavor.
How do I prevent the filling from leaking during baking?
Leaving a small border around the edges when spreading the cream cheese mixture and rolling tightly helps seal the filling inside. Also, baking them on parchment paper reduces sticking if there is minor leakage.
What’s the best way to soften the cream cheese quickly?
Leave the cream cheese out at room temperature for about 30 minutes before mixing. If you’re in a hurry, microwave it in short 10-second bursts, stirring between each until smooth but not melted.
Final Thoughts
This Strawberry Cheesecake Crescents Recipe is one of those delightful desserts that feels like a special treat yet comes together effortlessly in your kitchen. With every bite, you’ll experience a perfect balance of creamy, fruity, and flaky textures that make dessert time unforgettable. I’m excited for you to try this recipe and share it with friends and family—it’s sure to become one of your favorites too!
Print
Strawberry Cheesecake Crescents Recipe
- Prep Time: 10 minutes
- Cook Time: 15 minutes
- Total Time: 25 minutes
- Yield: 8 servings
- Category: Dessert
- Method: Baking
- Cuisine: American
- Diet: Vegetarian
Description
Strawberry Cheesecake Crescents are a delightful and easy-to-make dessert featuring flaky crescent roll dough filled with a creamy sweetened cream cheese mixture and fresh strawberries. Baked until golden and topped with melted butter and sugar, these crescents offer a perfect balance of creamy, fruity, and buttery flavors, ideal for a quick treat or party dessert.
Ingredients
Crescent Dough
- 1 can (8 oz) crescent roll dough
Cheesecake Filling
- 8 oz cream cheese, softened
- 1/4 cup powdered sugar
- 1 teaspoon vanilla extract
Fruit Topping
- 1/2 cup fresh strawberries, diced
- 1 tablespoon lemon juice
Finishing Touches
- 1 tablespoon granulated sugar (for sprinkling)
- 1 tablespoon butter, melted
Instructions
- Preheat Oven: Preheat your oven to 375°F (190°C). Line a baking sheet with parchment paper or lightly grease it to prevent sticking.
- Prepare Dough: Unroll the crescent roll dough and separate it into individual triangles on a flat surface.
- Make Filling: In a medium bowl, beat together the softened cream cheese, powdered sugar, and vanilla extract until smooth and creamy to create the cheesecake filling.
- Assemble Crescents: Spread a generous amount of the cream cheese mixture onto each crescent roll triangle, leaving a small border around the edges to avoid overflow during baking.
- Add Strawberries: Place a few diced fresh strawberries on top of the cream cheese filling and drizzle with lemon juice to add a fresh and tangy flavor.
- Roll Crescents: Carefully roll each crescent roll from the wide end to the tip, encasing the filling securely inside to form crescent shapes.
- Prepare for Baking: Arrange the rolled crescents on the prepared baking sheet. Brush the tops with melted butter and sprinkle evenly with granulated sugar for added flavor and a golden crust.
- Bake: Bake in the preheated oven for 12-15 minutes or until the crescents turn golden brown and the filling is bubbling slightly, indicating they are cooked through.
- Cool and Serve: Remove from the oven and allow the crescents to cool slightly before serving. Optionally, garnish with extra fresh strawberries for an enhanced presentation.
Notes
- Ensure the cream cheese is softened for easier mixing and a smoother filling texture.
- For best results, use fresh, ripe strawberries to maximize flavor and juiciness.
- If desired, dust the crescents with powdered sugar before serving for an extra touch of sweetness.
- Handle the crescent rolls gently to prevent tearing the dough when rolling them with filling.
- These crescents are best enjoyed the same day but can be stored in an airtight container for up to 2 days.


